How to Ride Tight MTB Switchbacks Using a Stoppie Pivot (Step-by-Step Guide)
Learn how to ride tight MTB switchbacks using a controlled stoppie pivot. Step-by-step instructions, common mistakes, and practical trail tips.
SKILLS
2/12/20263 min read

How to Ride Tight MTB Switchbacks Using a Stoppie Pivot (Step-by-Step Guide)
Tight switchbacks can be some of the hardest features to ride clean on a mountain bike. Sometimes they’re so sharp that normal cornering just doesn’t cut it.
A lot of riders think stoppies are just a cool parking lot trick, and yeah, they kind of are. But they also have real trail applications.
One of the most practical uses? Rotating your bike around very tight switchbacks using a controlled stoppie pivot.
In this guide, I’ll break down exactly how to use a stoppie pivot to get around sharp switchbacks with more control and confidence.
Before You Try This
A stoppie pivot builds on the basic front brake lift. If you’re not comfortable lifting the rear wheel in control yet, start by learning a standard stoppie first.
👉 See my full step-by-step guide on how to do a stoppie here.
Once you can consistently lift and control the rear wheel, you’re ready to apply it on trail.
When to Use a Stoppie Pivot
This technique is useful when:
The switchback is extremely tight
The trail is narrow
There isn’t enough room to arc the turn normally
You’re climbing or descending steep terrain with limited space
It’s not always faster — but it can make certain turns much easier and more controlled.
Step-by-Step: How to Stoppie Pivot Around a Tight Switchback
1️⃣ Approach With Controlled Speed
Roll in slow, but with enough momentum to carry through the turn. Too slow and the pivot won’t rotate smoothly.
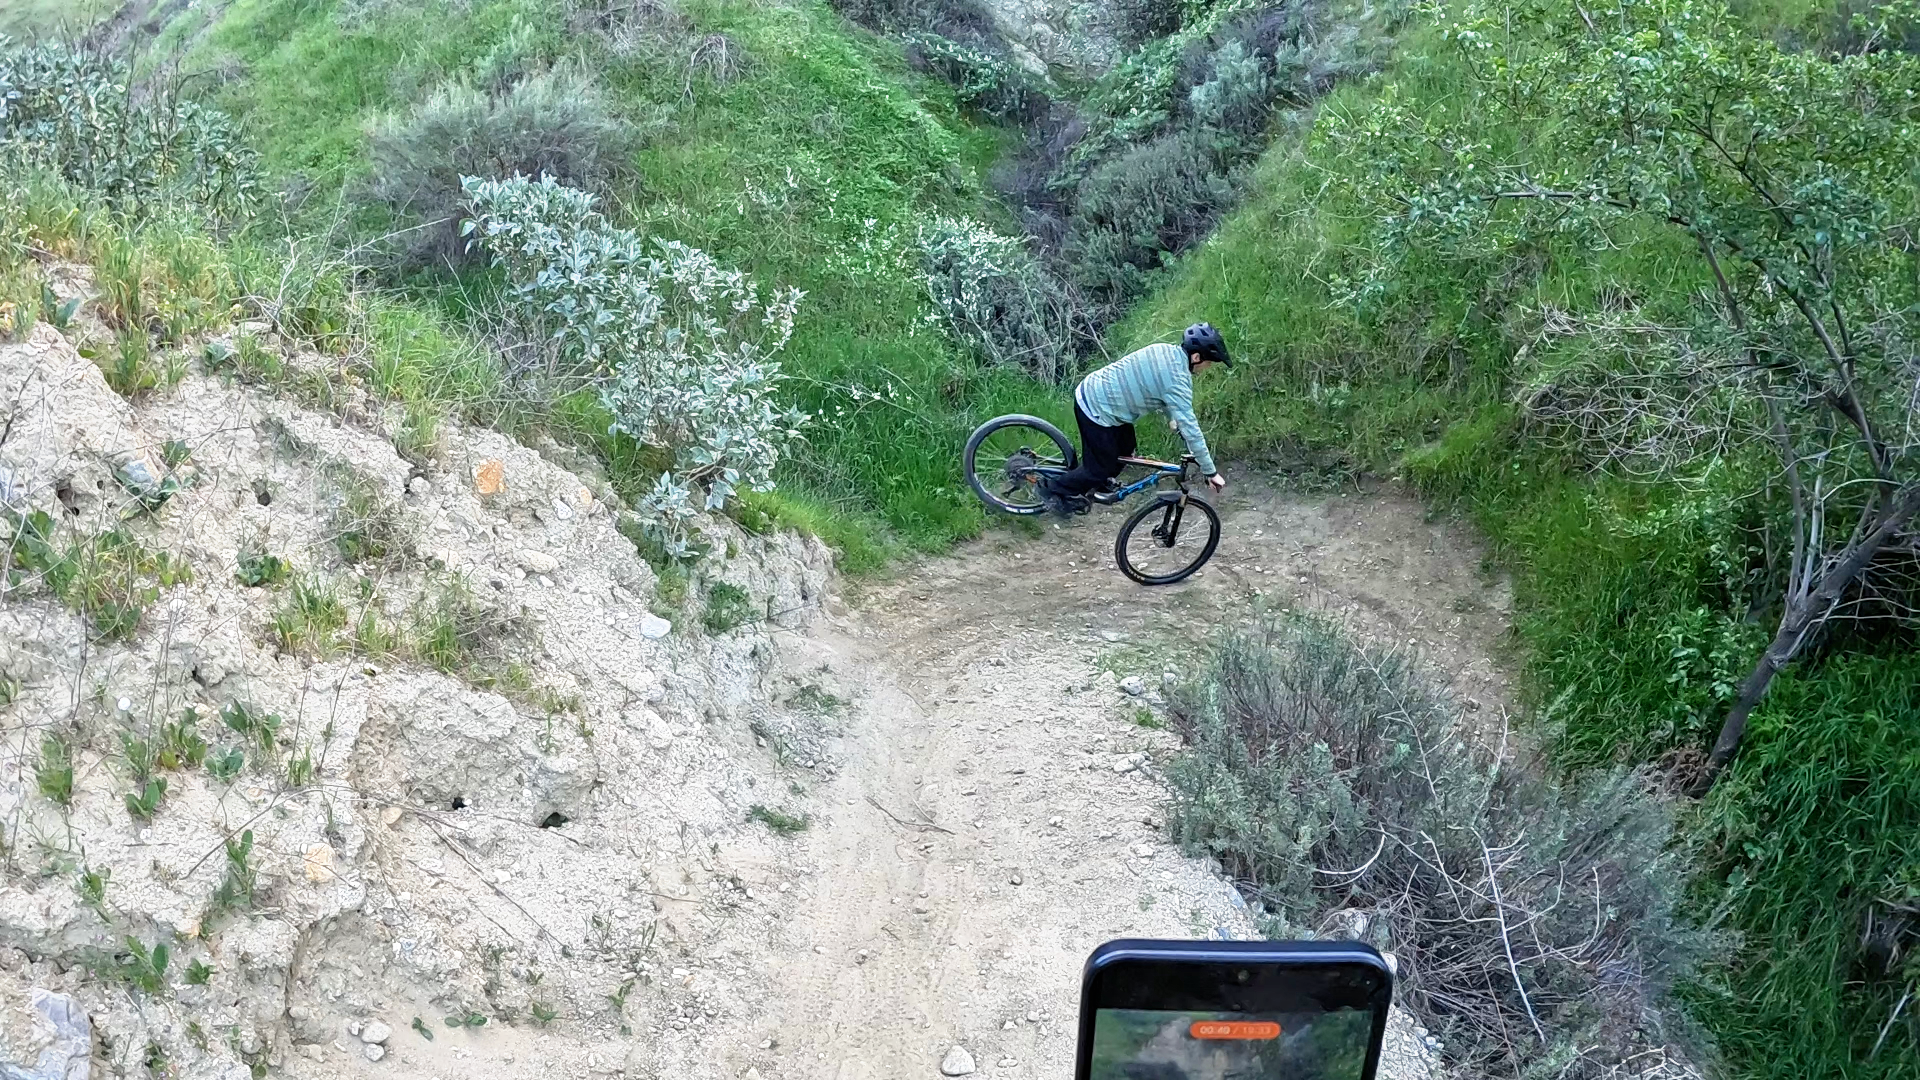
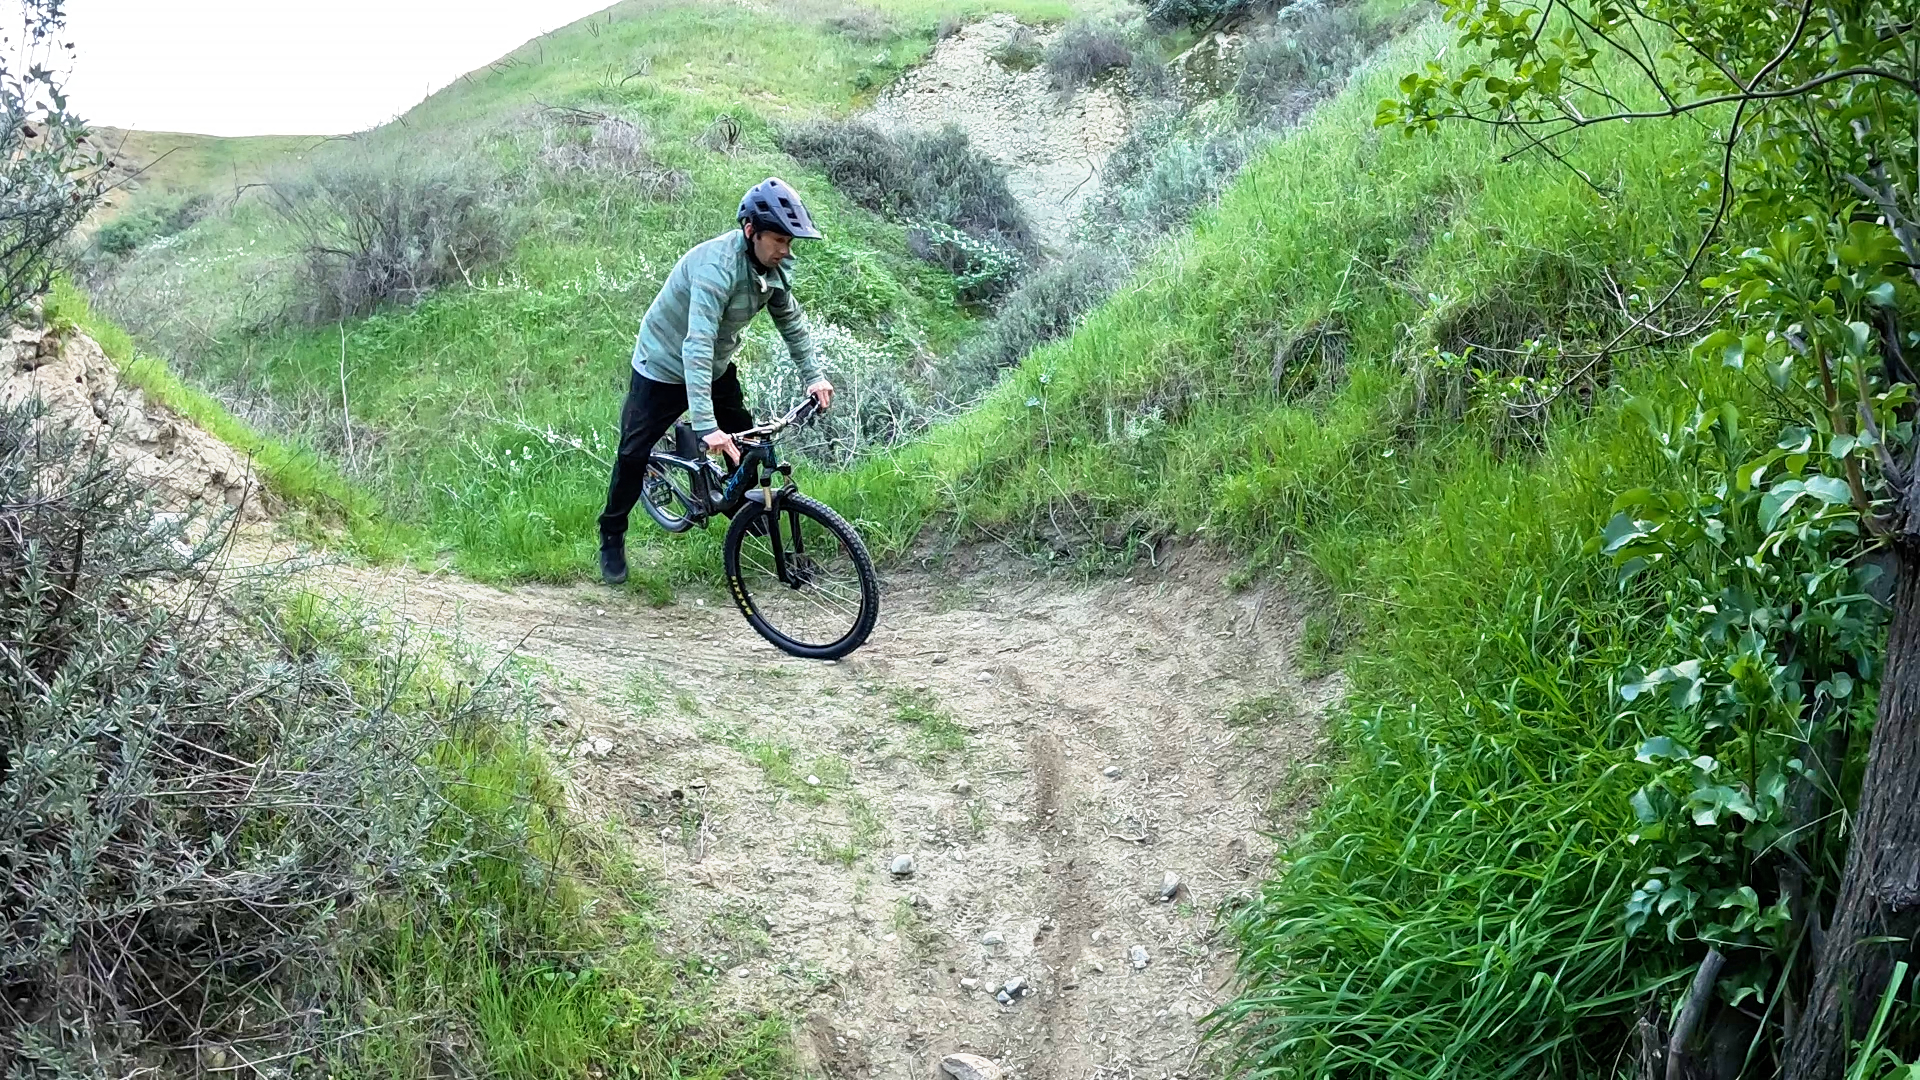
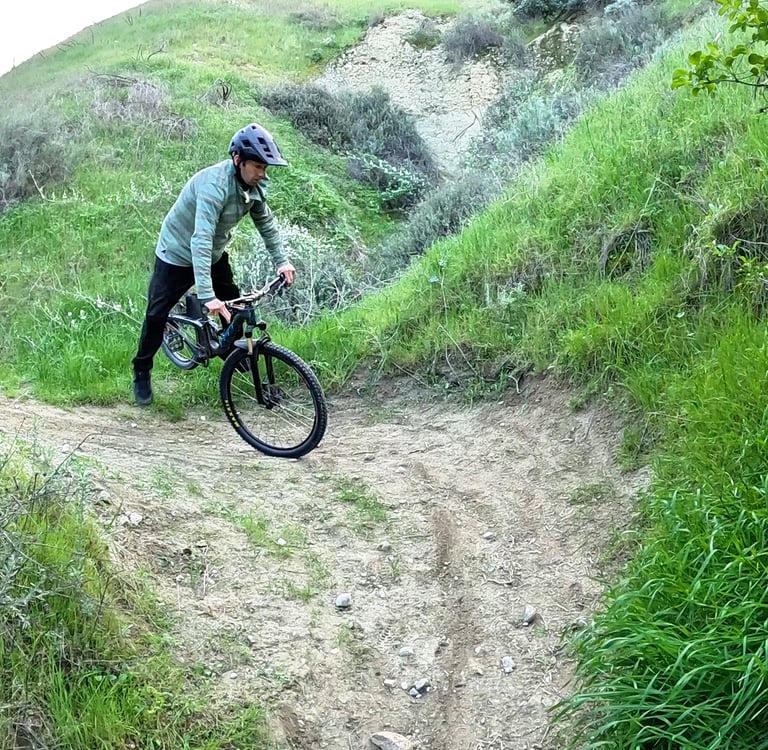
2️⃣ Initiate the Stoppie
Apply the front brake smoothly — just like a normal stoppie. You’re lifting the rear wheel in control, not slamming it up.
Keep your eyes looking through the exit of the switchback.
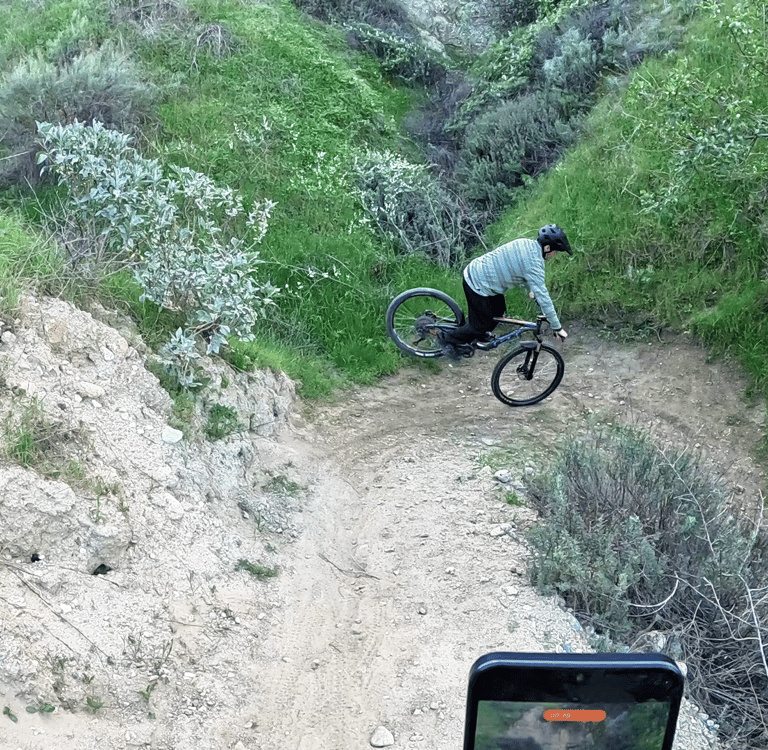
3️⃣ Lead With Your Shoulders
As the rear wheel lifts, slightly rotate your upper body toward the exit of the turn.
If it’s a right switchback, lead with your right shoulder.
If it’s a left switchback, lead with your left shoulder.
Your hips and rear wheel will naturally follow your upper body.
Avoid trying to force the turn with just your handlebars — the rotation comes from your body.
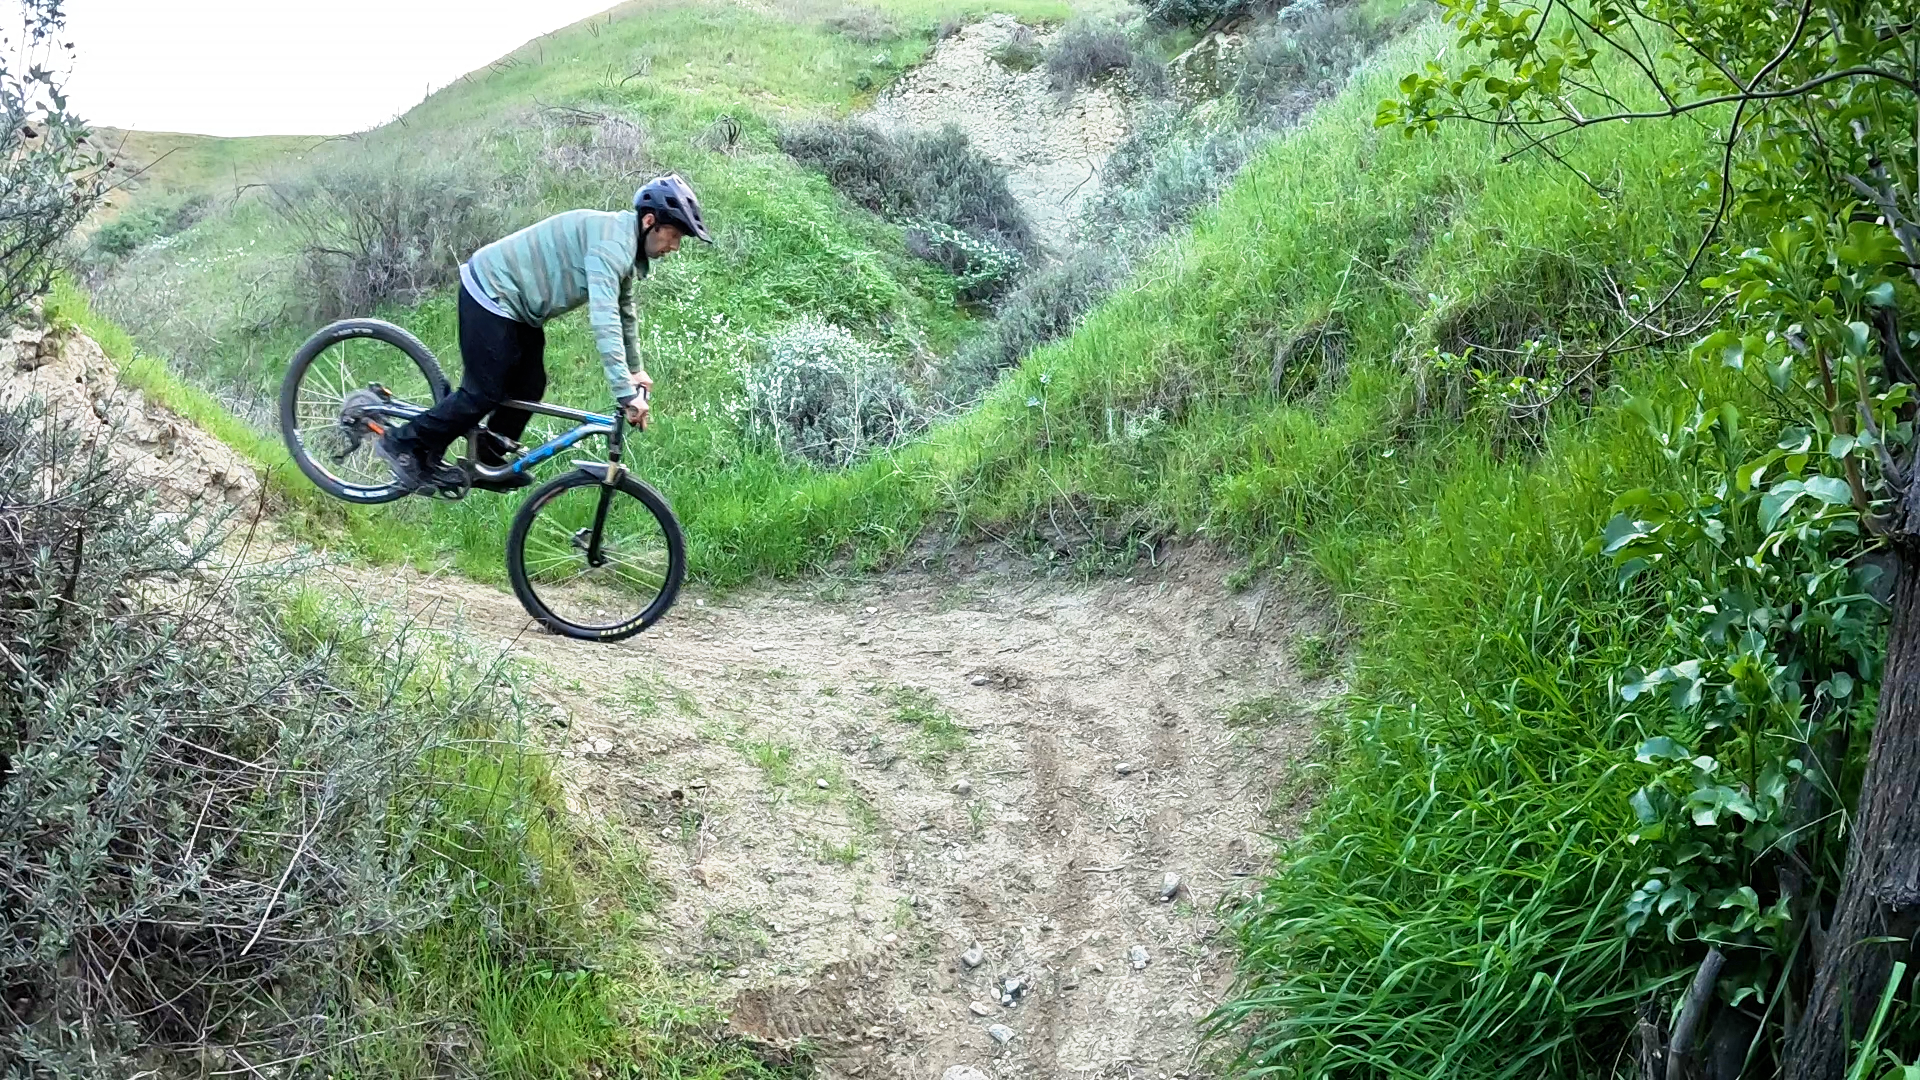
4️⃣ Control the Pivot
Modulate the front brake to control height and rotation.
Too much brake → abrupt lift or skid
Too little brake → rear wheel won’t lift
Smooth modulation is key.
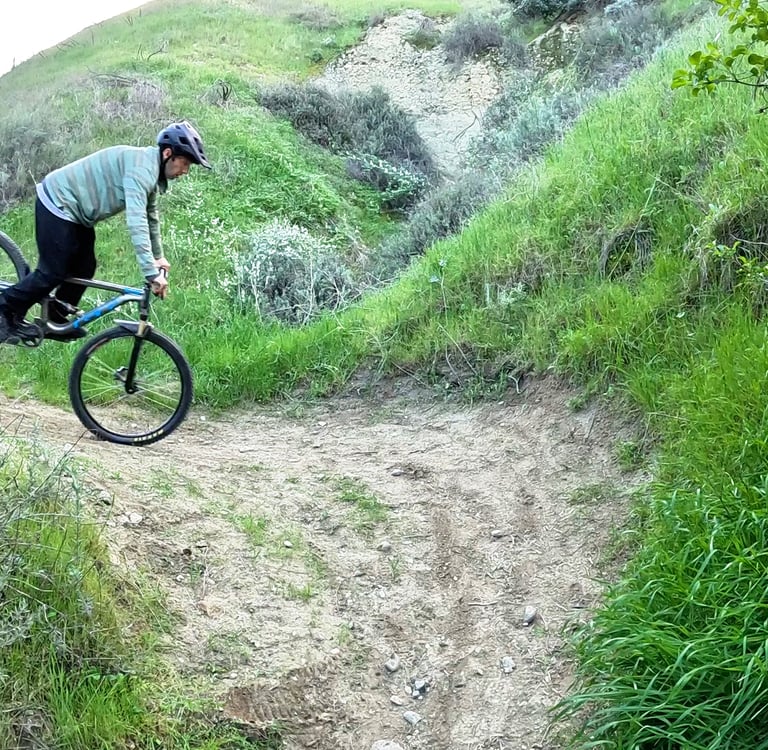
5️⃣ Set the Rear Wheel Down and Ride Out
As the rear tire drops, straighten your front wheel and roll away clean.
Try to land balanced and centered so you don’t need to put a foot down.
Common Mistakes
• Grabbing too much front brake → causes a front wheel skid or over-rotation
• Not enough brake → rear won’t lift high enough to pivot
• Trying to turn with the bars instead of your shoulders
• Leaning too far inside before the rear tire sets down → leads to a foot dab
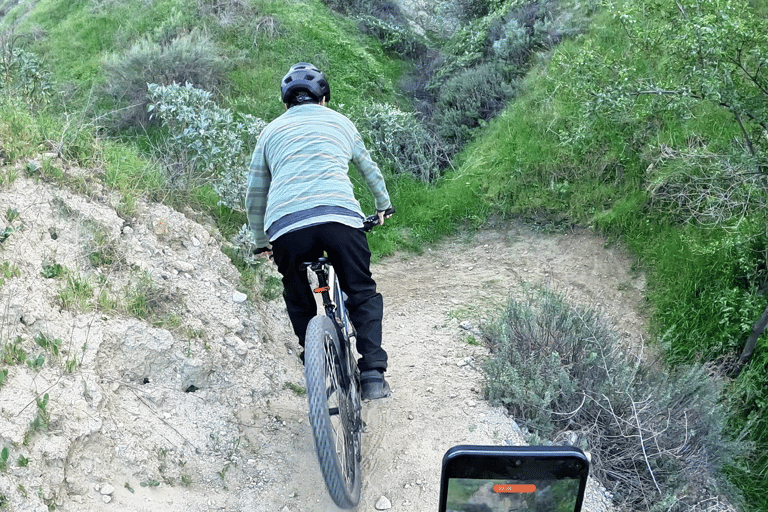
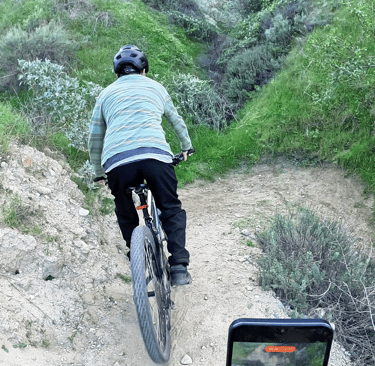
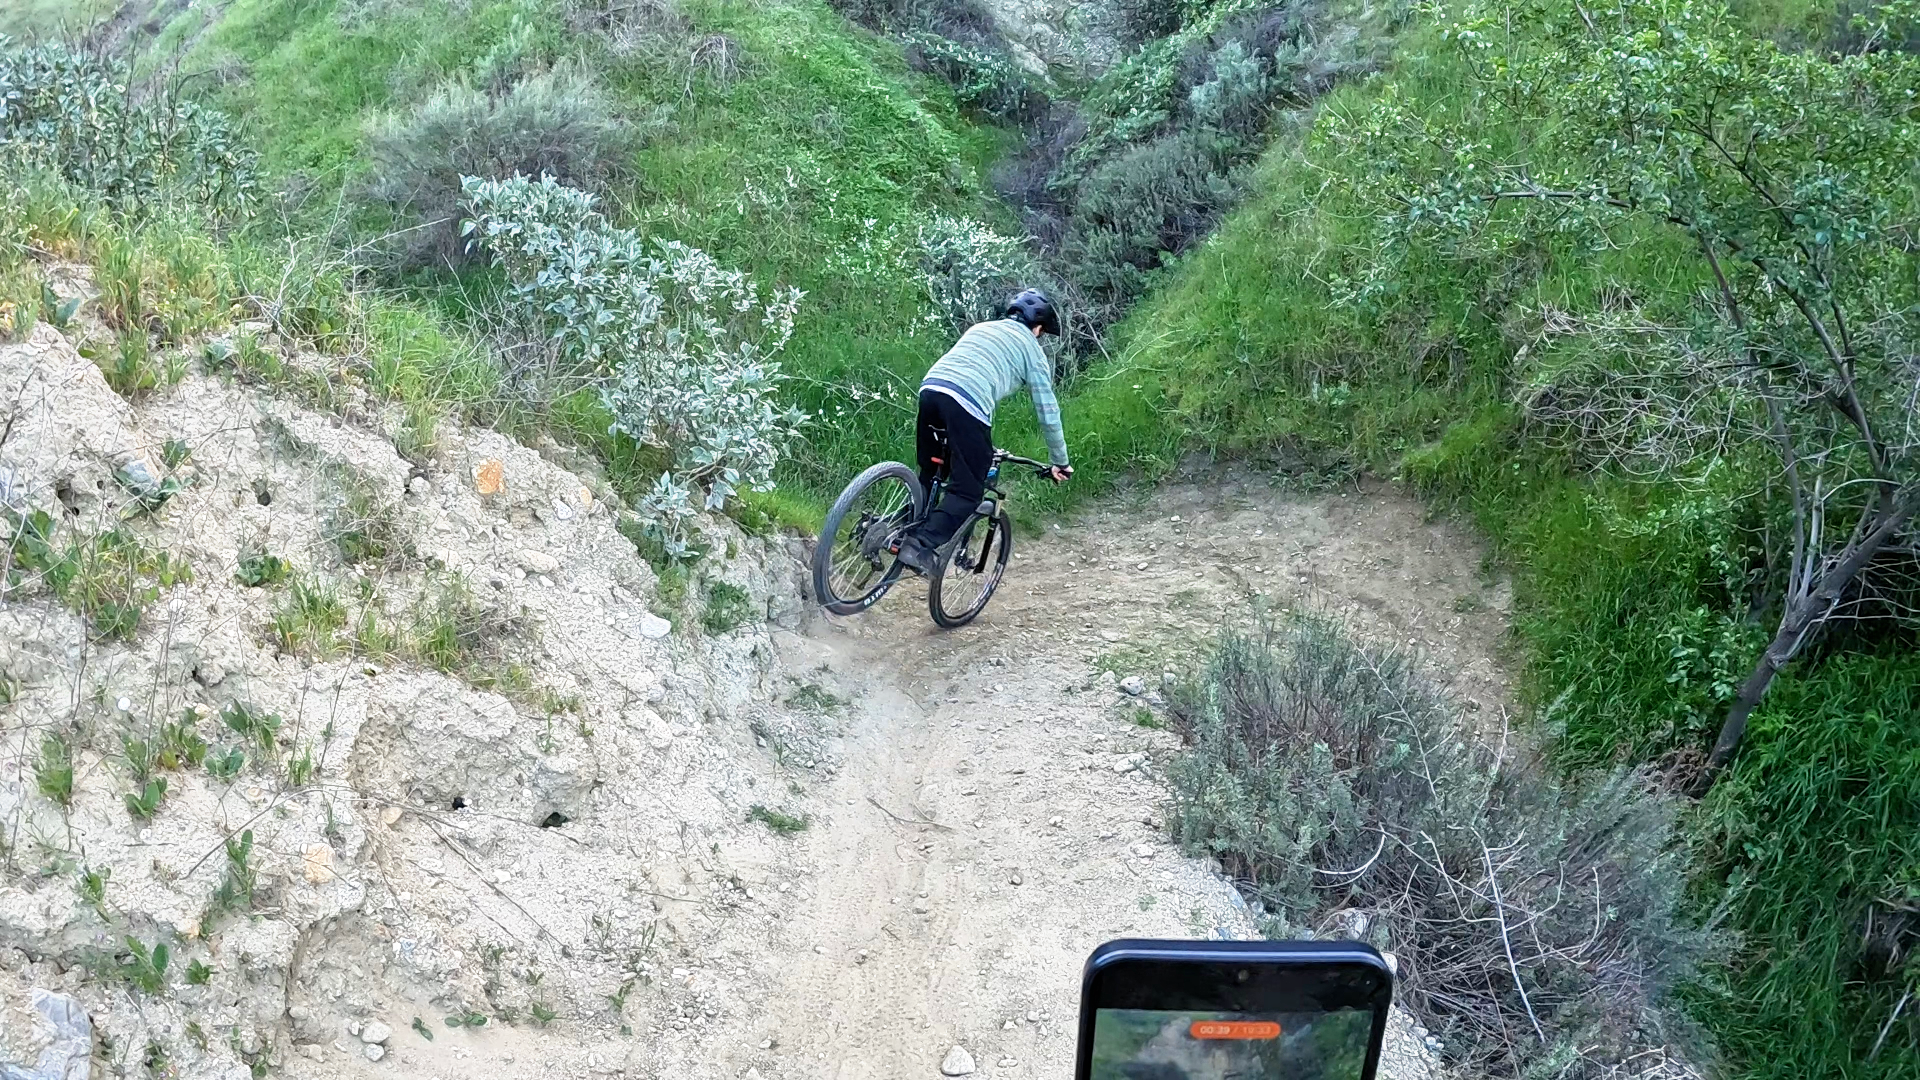
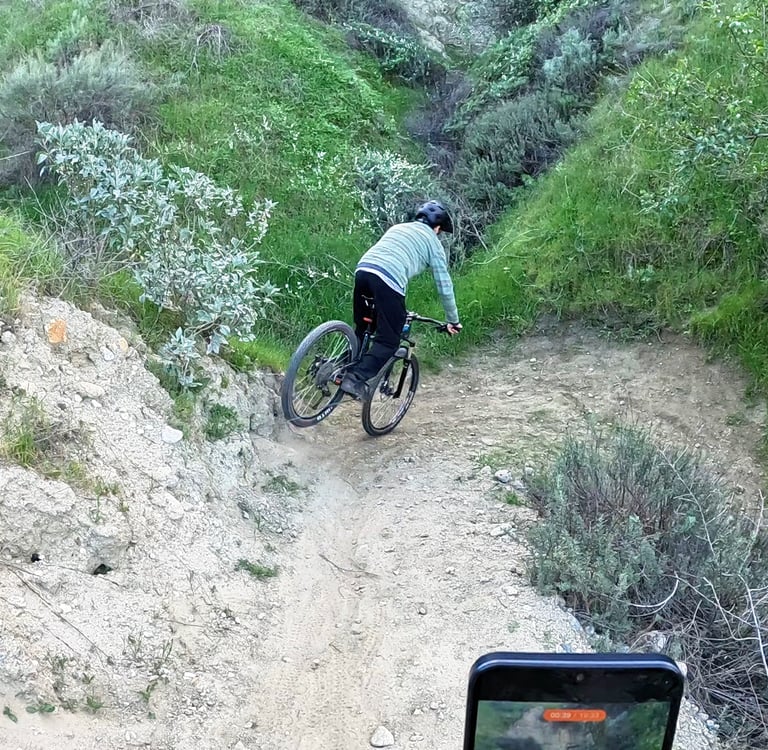
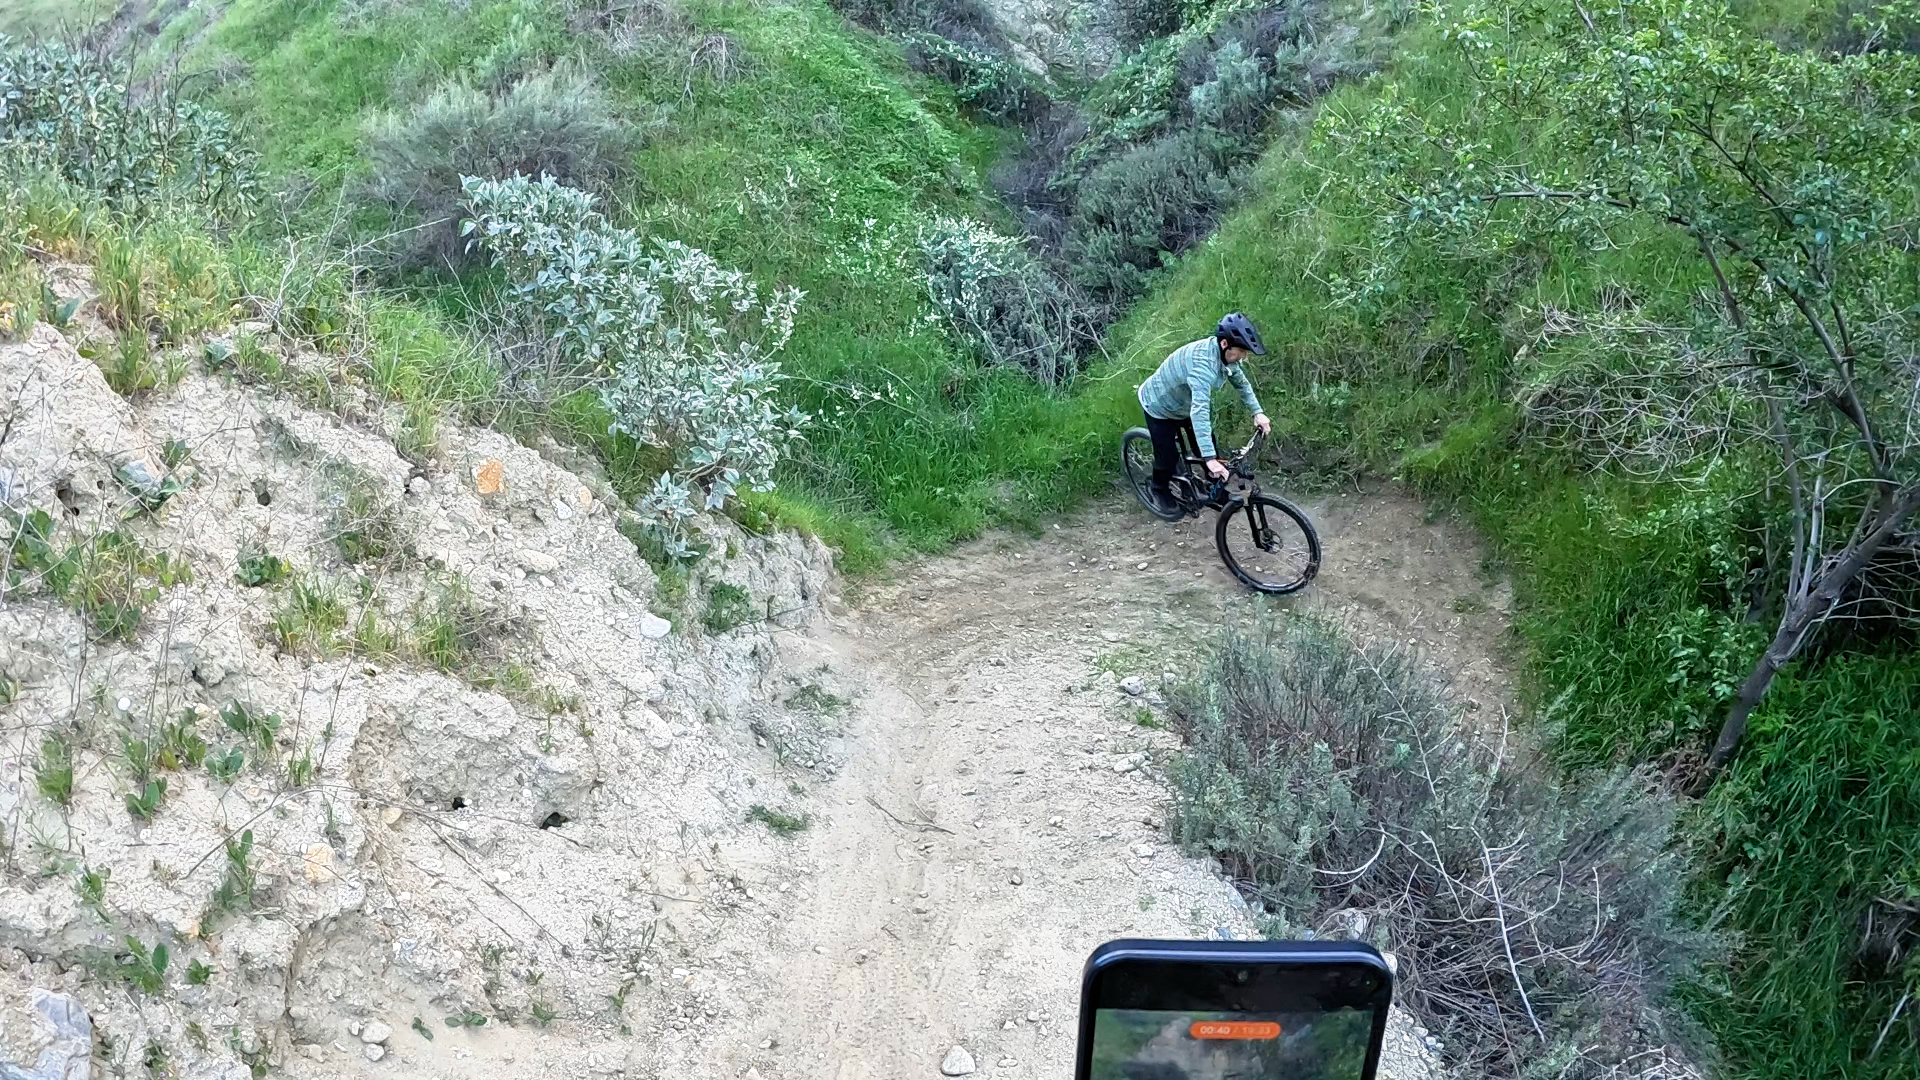
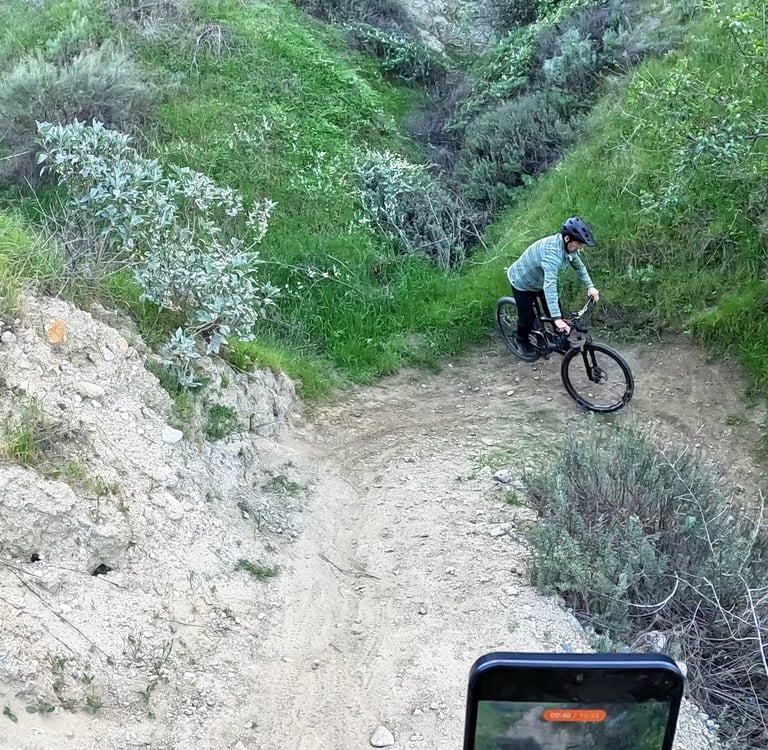
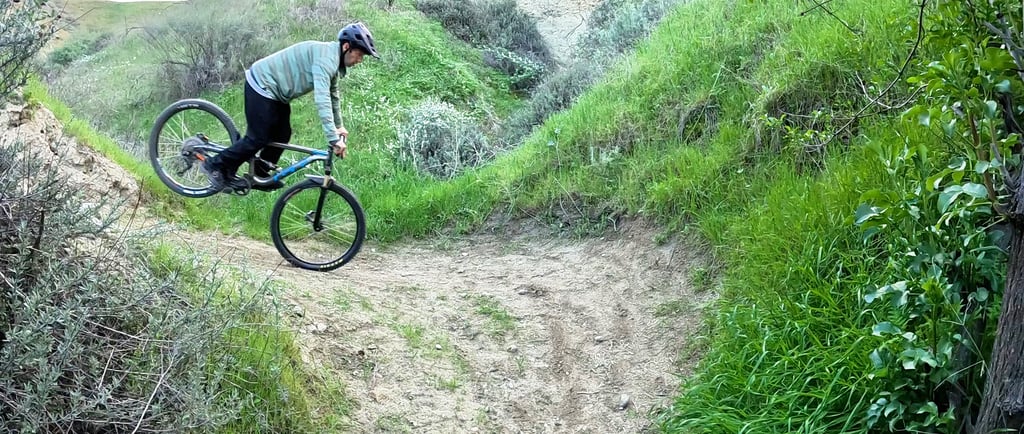
Watch the Technique in Action
Notice how the body rotation controls the rear wheel — not just the handlebars. The timing between brake pressure and shoulder movement is what makes the pivot smooth.
Final Thoughts
The stoppie pivot won’t replace normal cornering, but it’s a powerful skill to have when the trail gets tight and technical.
Practice it first in a safe, open area before trying it on trail. Once you build confidence, start applying it on mellow switchbacks before moving to steeper terrain.
Like most mountain bike skills, control and timing matter more than speed.