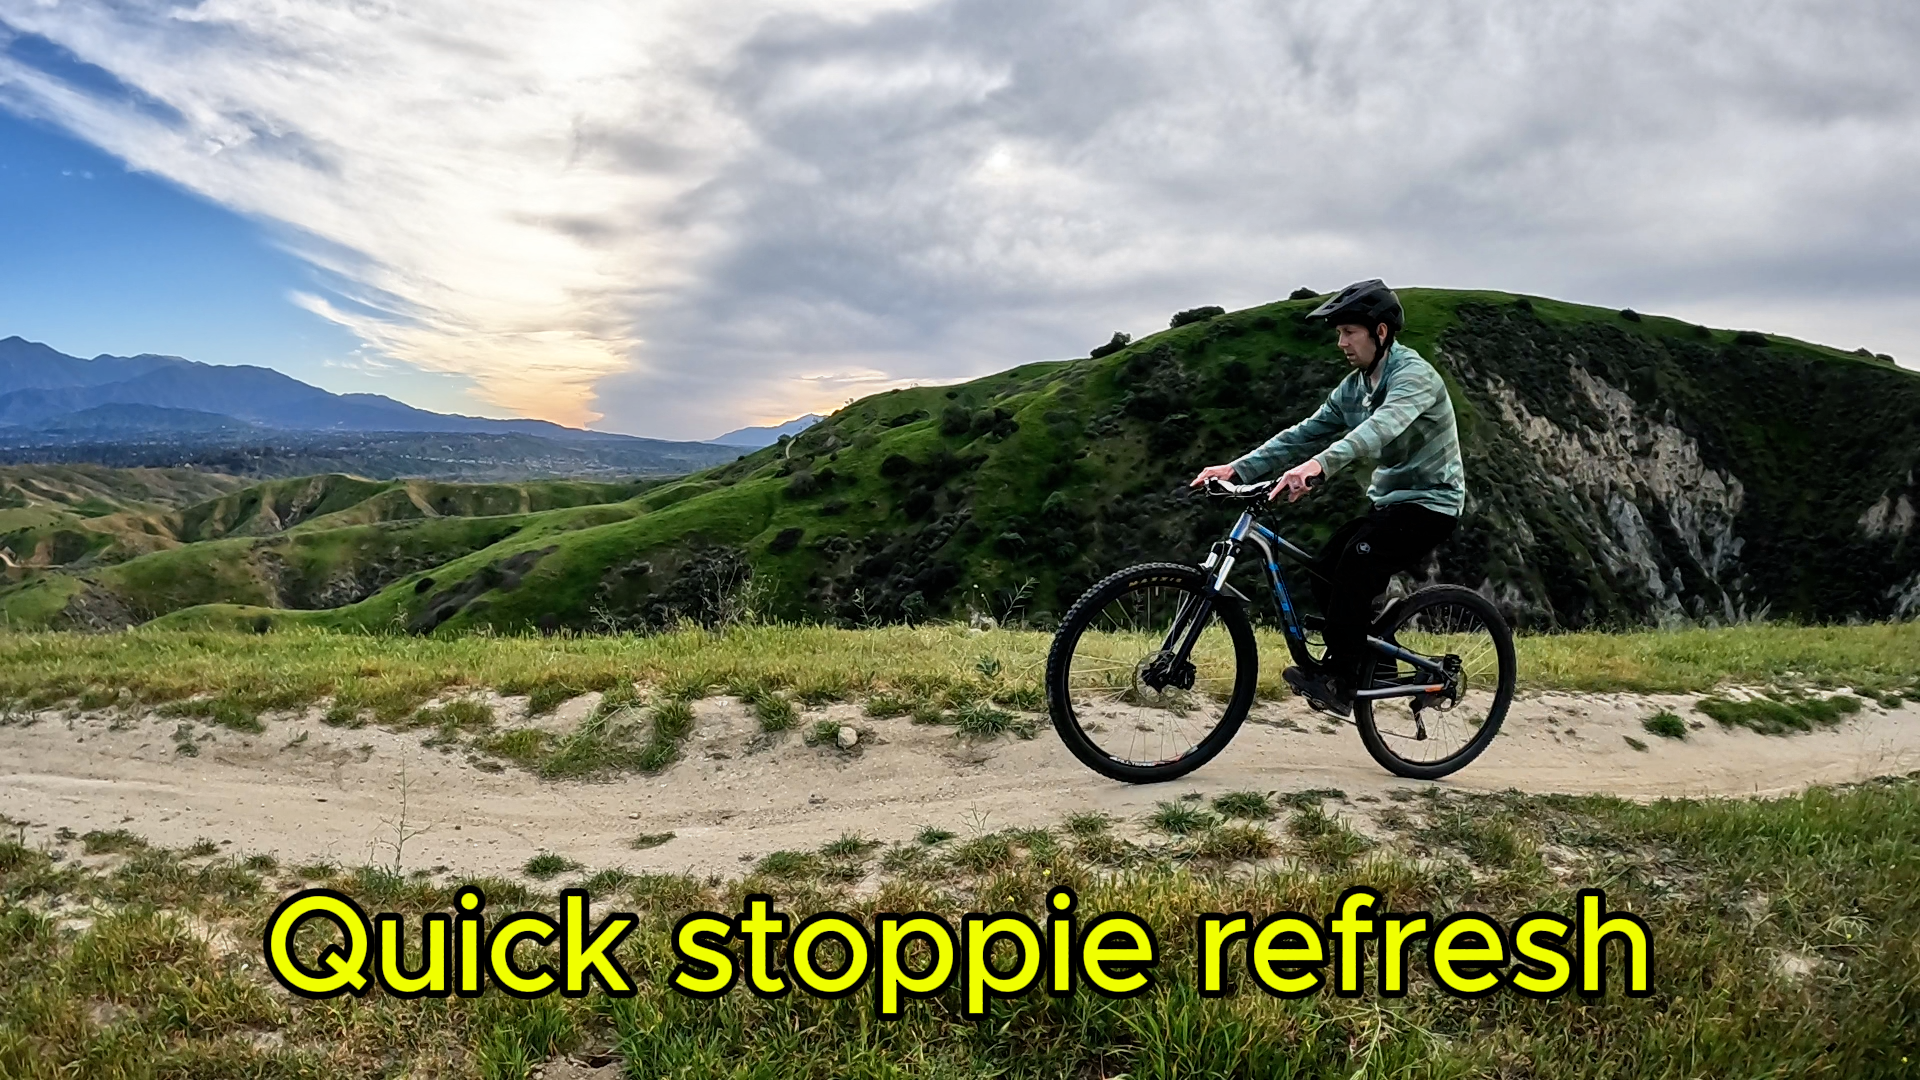
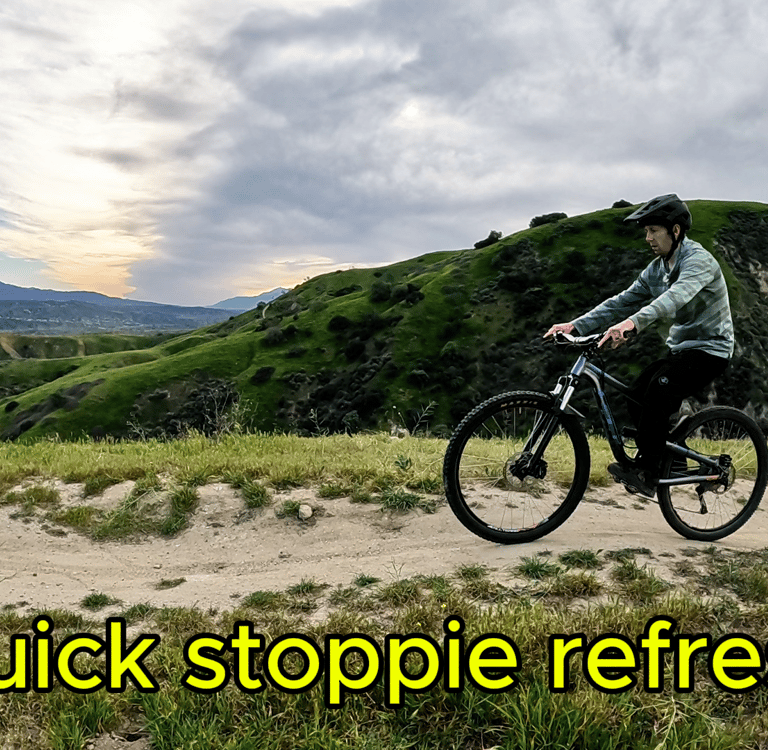
How to Do a Stoppie on a Mountain Bike (Step-by-Step Beginner Guide)
Learn how to do a stoppie on a mountain bike with this step-by-step beginner guide. Improve balance, brake control, and trail skills safely.
SKILLS
10/21/20253 min read

🛑 How to Do a Stoppie on a Mountain Bike
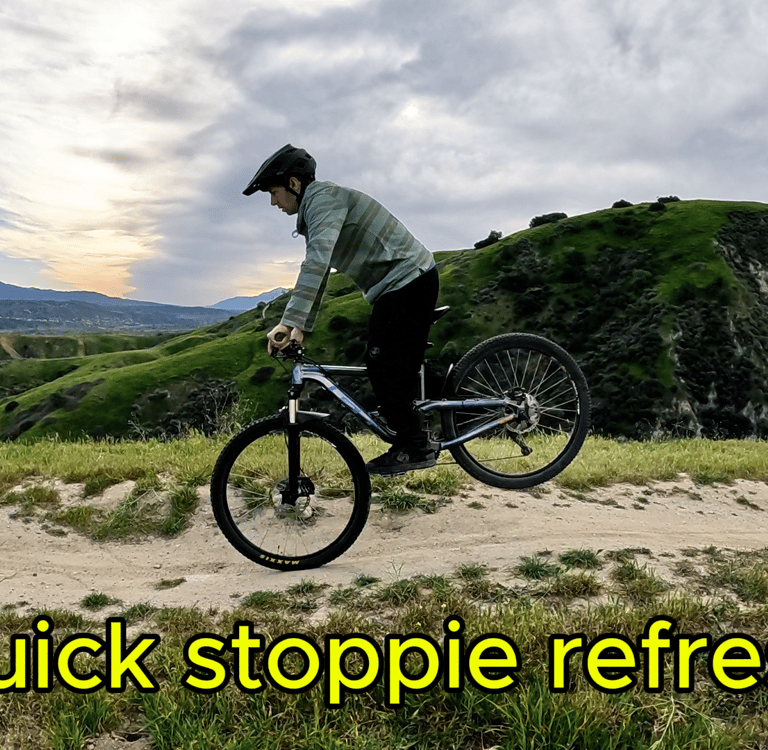
Stoppies are a fun and impressive skill that improve your overall balance, brake control, and feel for the bike. Beyond looking cool, they also teach technique that transfers directly to real trail skills, like stoppie pivots and tight switchback control (that’s for another post). A stoppie (also called a front wheel endo) is when you lift the rear wheel off the ground using controlled front brake pressure. It’s one of the best ways to improve your balance, brake control, and confidence on a mountain bike.
In this guide, I’ll walk you through exactly how to do a stoppie safely and in control.
🧠 Why Learn the Stoppie
Builds balance and front-brake control
Improves your confidence during steep descents
Strengthens your body awareness and timing
Makes an awesome “show-off” skill to demo for friends
⚙️ Where to Practice
Start somewhere safe and predictable.
Flat pavement or dirt lot is ideal.
If you’re new, find a driveway or empty parking lot with a grass patch at the end, that gives you a soft bailout zone if you go over the bars.
A slight downhill can make it easier to lift the rear wheel once you’ve got the feel.
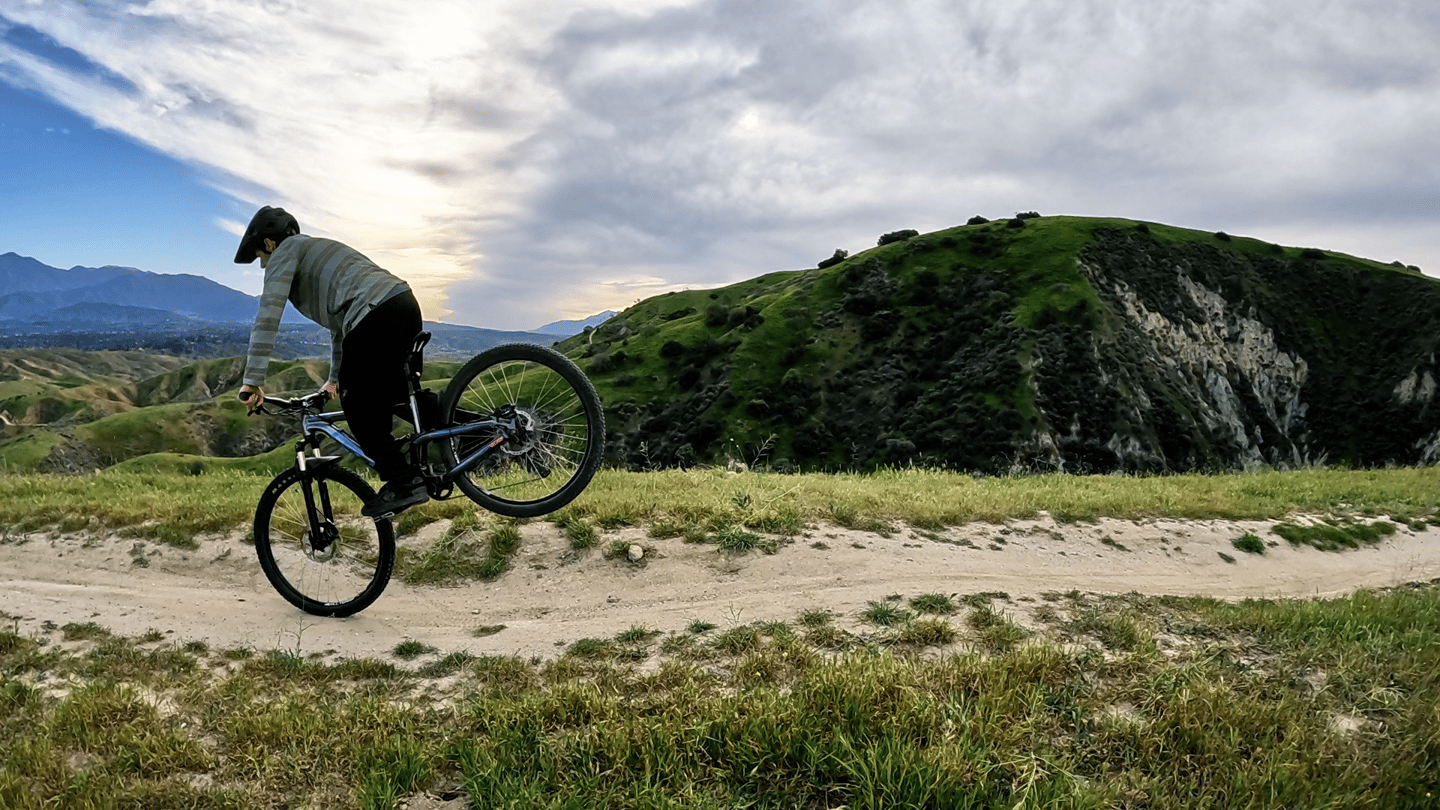
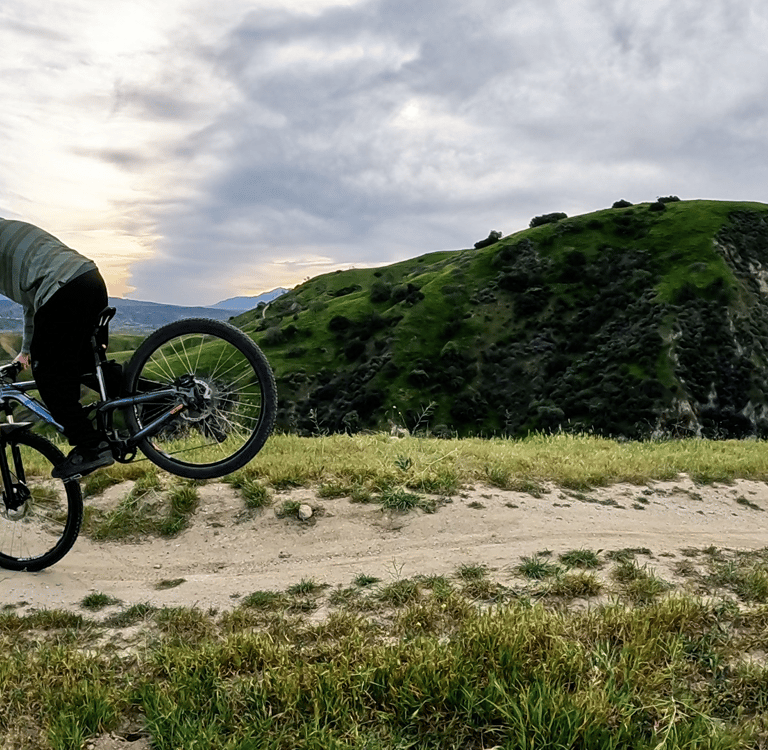
🚴♂️ Step-by-Step: How to Do a Stoppie
Approach at a walking or jogging pace.
Start slow. You don’t need speed for this skill, control is what matters.Shift your weight back before braking.
Shift your hips slightly back before applying the front brake.Apply the front brake smoothly.
Squeeze, don’t grab. You’re looking for steady pressure, too much and the front tire locks or slides, too little and the rear won’t lift.
4.Shift your weight forward as the rear lifts.
Once you feel the rear tire begin to rise, let your body follow forward slightly, keeping your arms straight and your eyes up.
5.Modulate the brake to control balance.
If the rear lifts too high, ease off the front brake slightly to bring it back down.
If it stays too low, squeeze a little firmer.
6.If you’re going over the bars, bail safely.
If you feel yourself going too far, release the brake and hop forward off the bike. You’ll land on your feet instead of crashing with the bike.
If you’re struggling to get the rear wheel up, you might also want to learn how to lift it without using the front brake — check out my full guide on rear wheel lifts here.
🧩 Common Mistakes
Grabbing the front brake too hard. → Leads to a front-wheel skid or over-the-bars.
Leaning too far back. → Rear won’t lift; you’ll just brake hard.
Looking down. → Throws off balance; always keep your eyes forward.
🎥 Watch It in Action
In this video, I demonstrate how to modulate the front brake and shift body weight smoothly to lift the rear wheel in control.
⚡ Practice Tips
Use one finger on the brake lever for more finesse.
Slightly lower tire pressure can increase traction and reduce front skids.
Try on both pavement and dirt to understand how grip changes.
Once you’re comfortable, you can start rolling stoppies and pivots.
🏁 Final Thoughts
The stoppie is a simple move with real benefits. It teaches you to trust your front brake, feel your traction, and handle weight shifts like a pro. Once you’re comfortable, you’ll find yourself using that same control on steep trails and techy switchbacks — or just showing off for fun.