Why Jump Trails Feel So Fast (And What To Do About It)
Jump trails feel alarmingly fast at first even on beginner lines. Here's why it happens, how to judge speed, avoid the braking trap, and build confidence on jump trails over time.
SKILLS
5/10/20265 min read
Why Jump Trails Feel So Fast (And What To Do About It)
Something you might not expect when you start riding jump trails is just how fast everything feels. When I say jump trails I mean trails that have a good amount of jumps on them — some right after the other, some slightly spread out. This is different from tight BMX or dirt jump style trails with steep takeoffs and landings right next to each other, which is its own topic for another post. You really notice this at bike parks where even blue trails can have jumps that feel alarmingly fast the first time you ride them. So let's talk about speed on jump trails — why it feels overwhelming and what you can actually do about it.
What Are Jump Trails?
Jump trails come in a few different forms and it helps to know what you're working with before you get out there.
Bike park jump trails are usually long downhill runs with jumps spread out along the way — some back to back, some more spaced out, often mixed with berms, wall rides, and other features. These tend to be faster and more committing than what you find on local trails.
Local jump trails built by riders in your area tend to be smaller and lower speed. That actually makes them a great place to learn — lower consequence, more forgiving, and you can session the same jumps repeatedly without a chairlift.
On most trail networks you'll also see the standard difficulty ratings. Green trails are beginner friendly — if there are any jumps they'll be small and rollable. Blue trails are intermediate with slightly bigger and faster jumps that can usually still be rolled if needed. Black and double black trails are advanced jump lines — high speed, bigger features, not somewhere to start out. Those can be a long term goal but there's no rush to get there.
Pump tracks are worth mentioning here too. They're not jump trails exactly but they're one of the best places to get comfortable with linked features and carrying speed through back to back sections — low consequence and great for building the feel you need before hitting proper jump trails.
Then there are BMX and dirt jump style trails — steep lips, steep landings, big gaps that need to be cleared. That's a different discipline and a different post.
For this video and post we're focusing on bike park jump trails and local MTB trails with jumps.
How to Find Jump Trails Near You
When you're first getting into jumping you might not know where to start looking. Trailforks is one of the best apps for finding local trails — you can filter by difficulty, trail type, and features and see what's near you. Google Maps searching "MTB trails near me" or "bike park near me" is also a simple starting point. Local bike shops are another good resource — the people working there usually ride and know exactly where to send you.
Judging Speed
This is something every rider wonders at first and honestly even as you get more advanced it comes up on new trails. How fast do I need to go for this jump?
When you're still learning to jump this is harder to know because you have fewer reps to draw from. One option is to follow someone who has already hit the line and is of similar size and weight — though if they crash you could ride into them, and if you're like me and ride solo most of the time that's not always an option anyway.
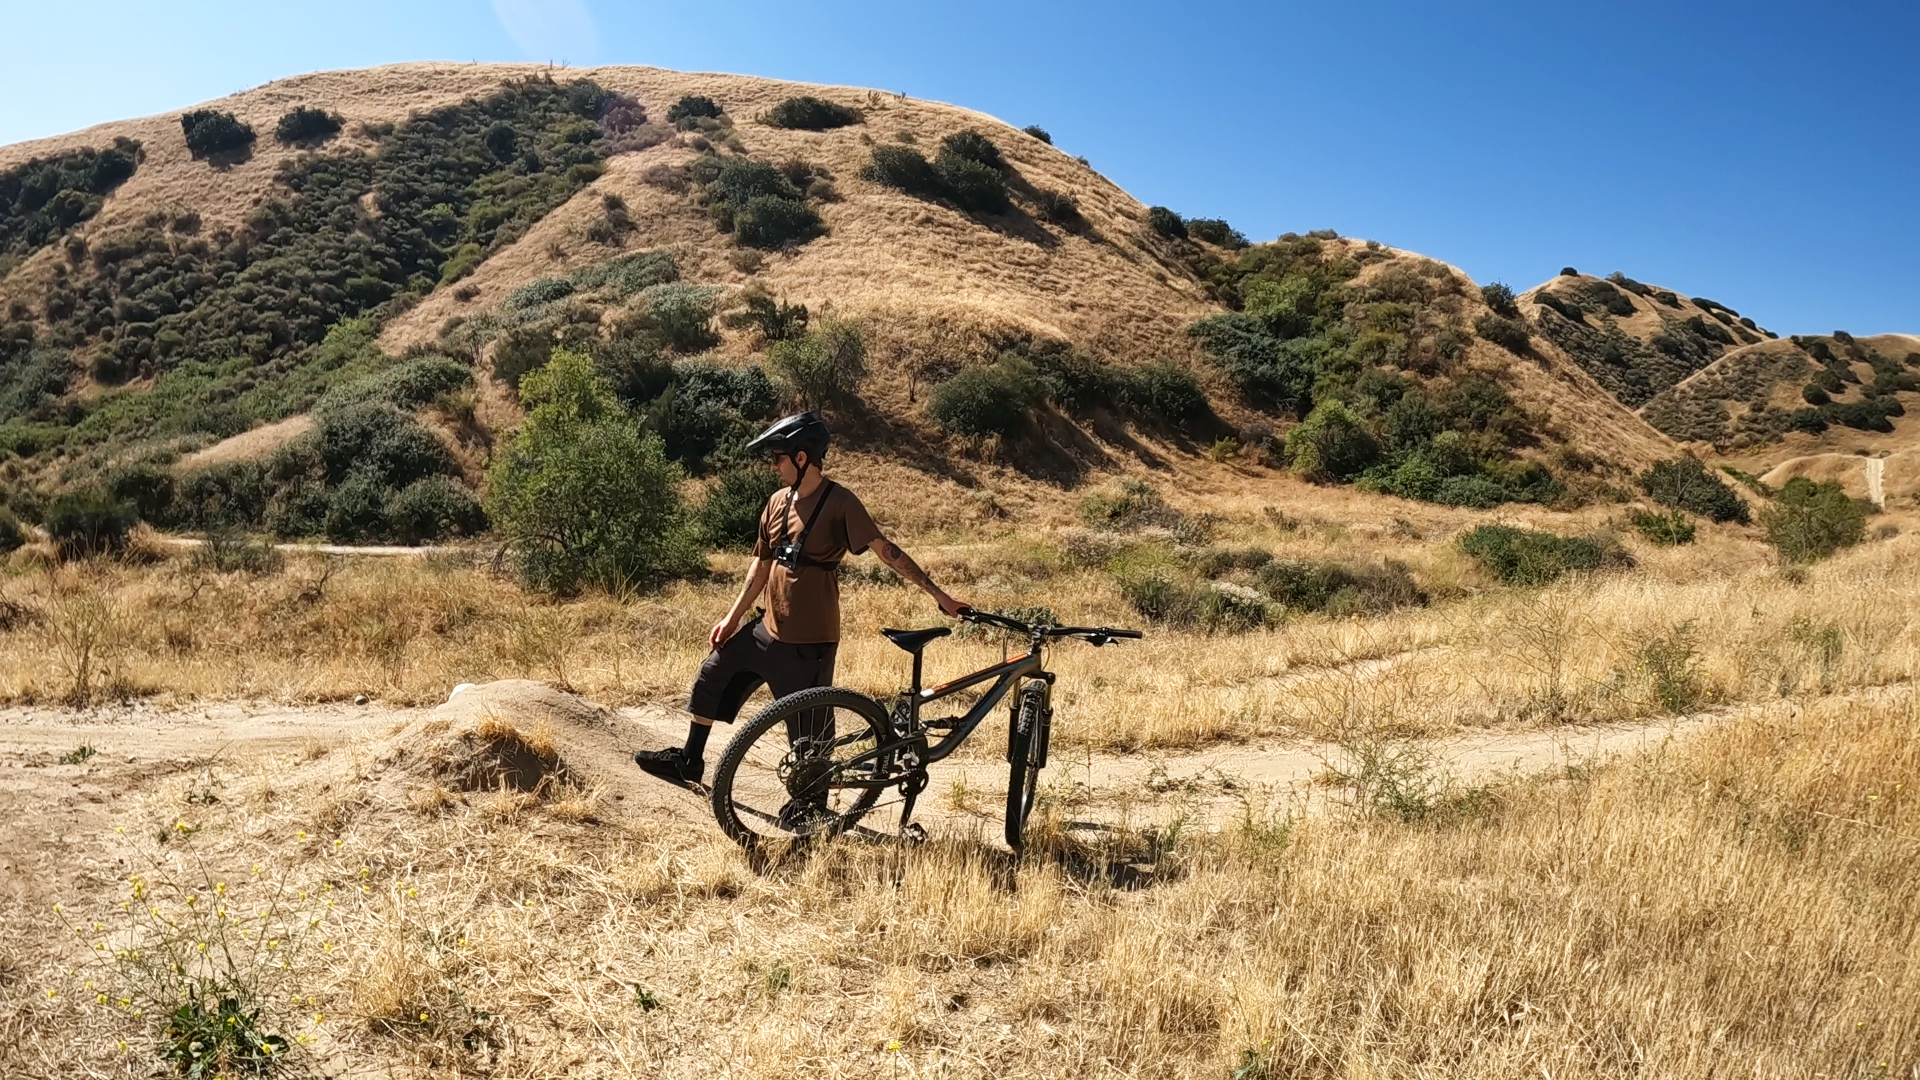
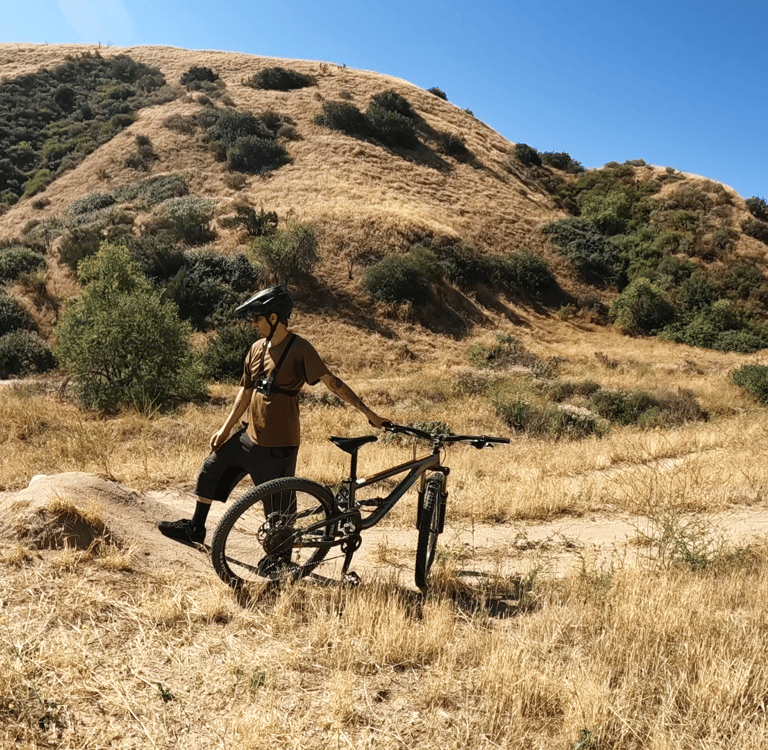
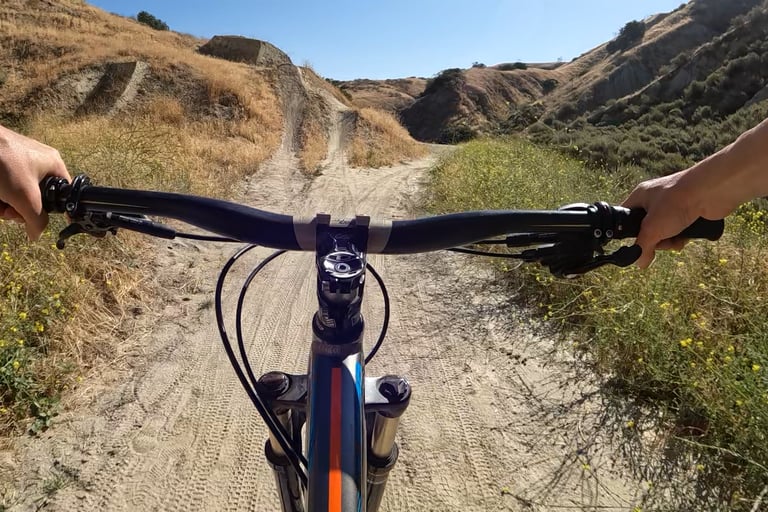
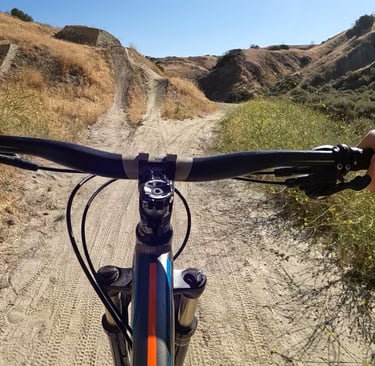
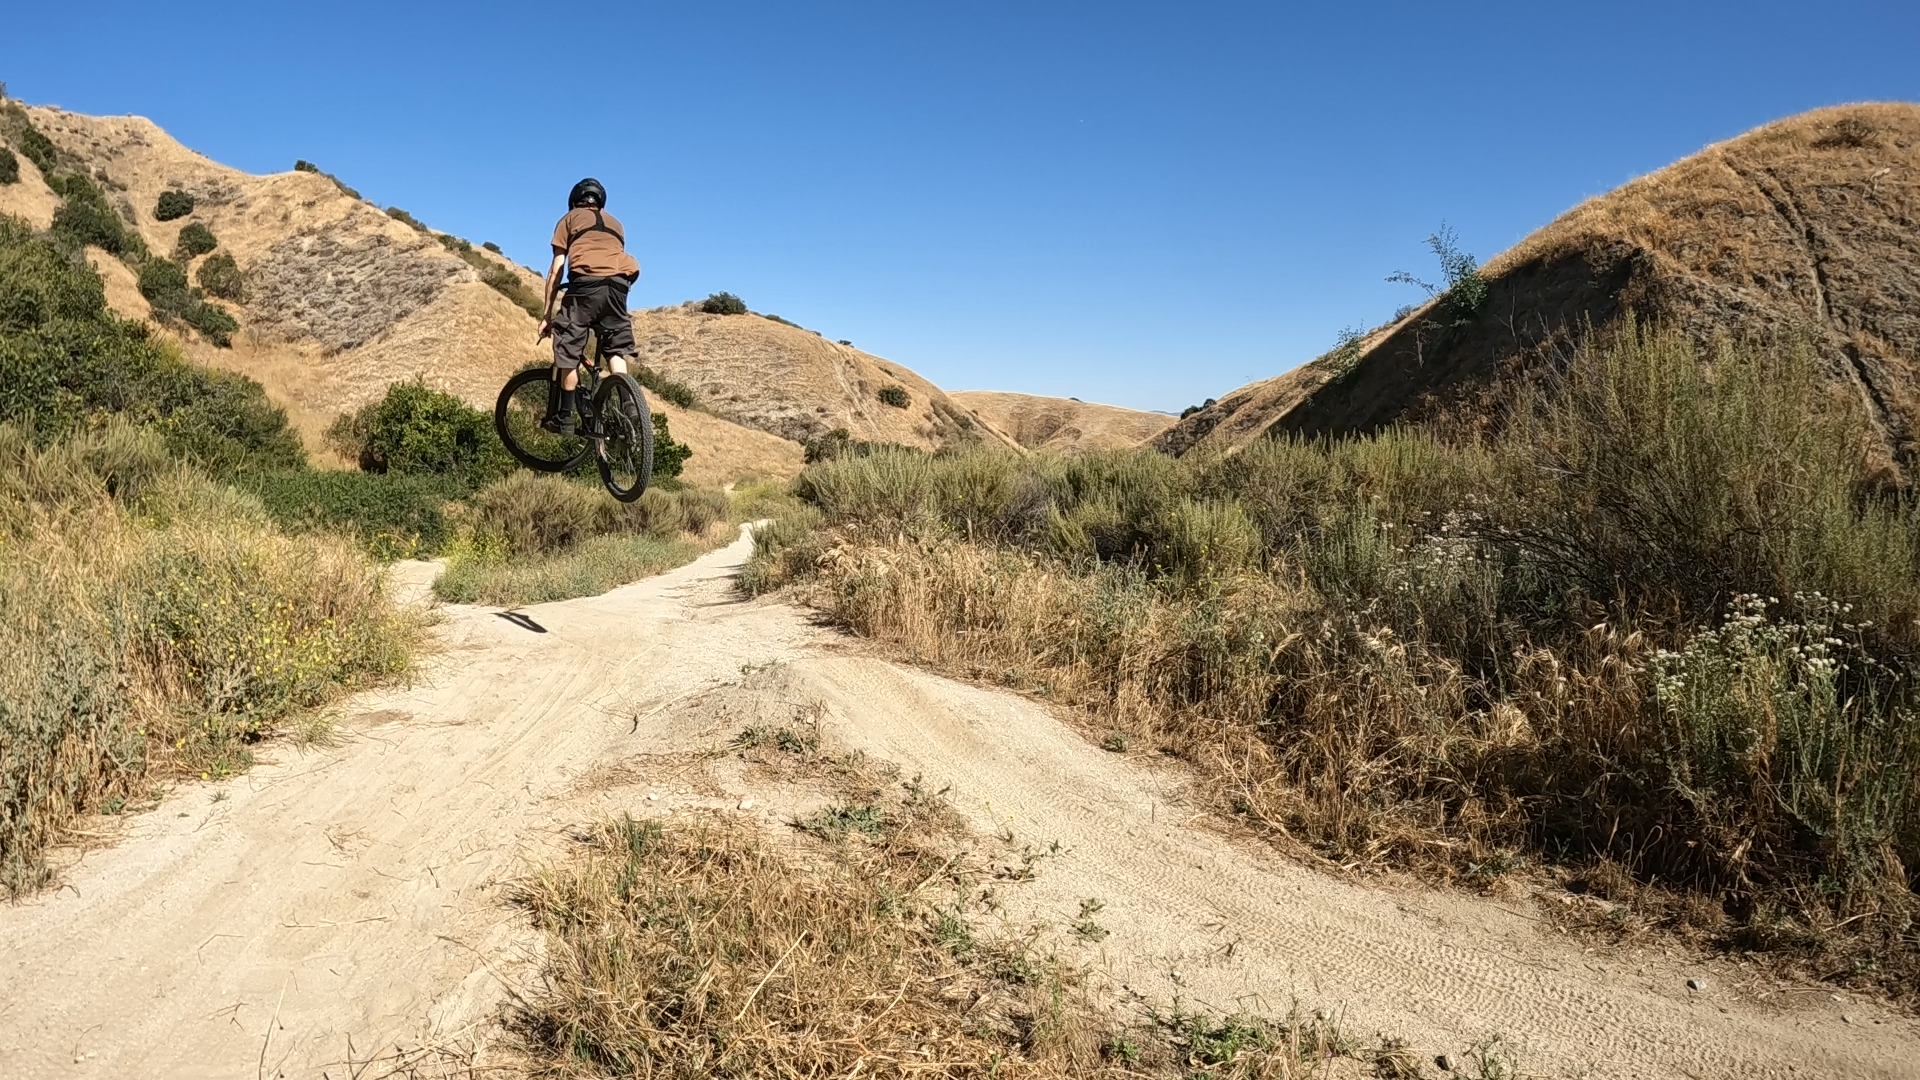
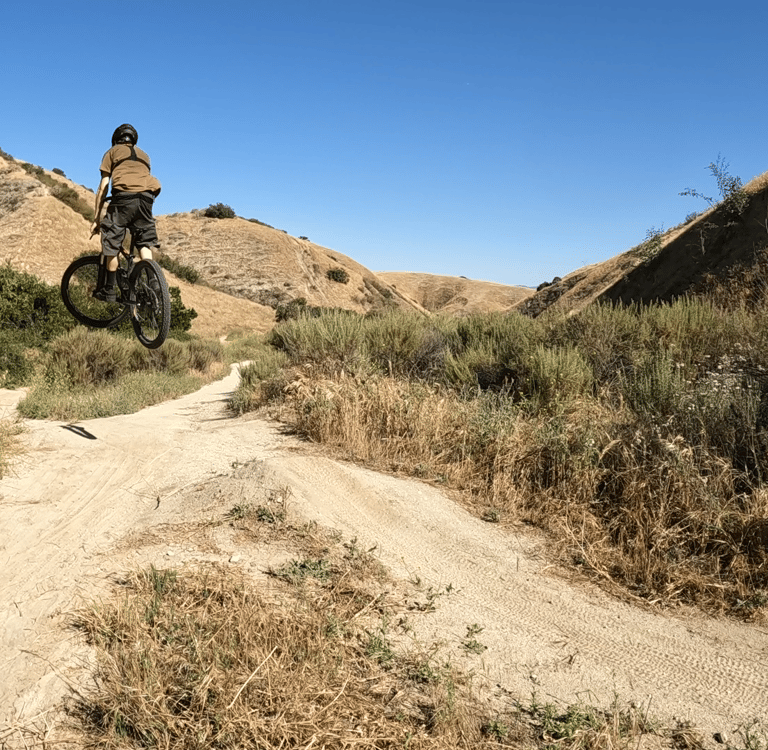
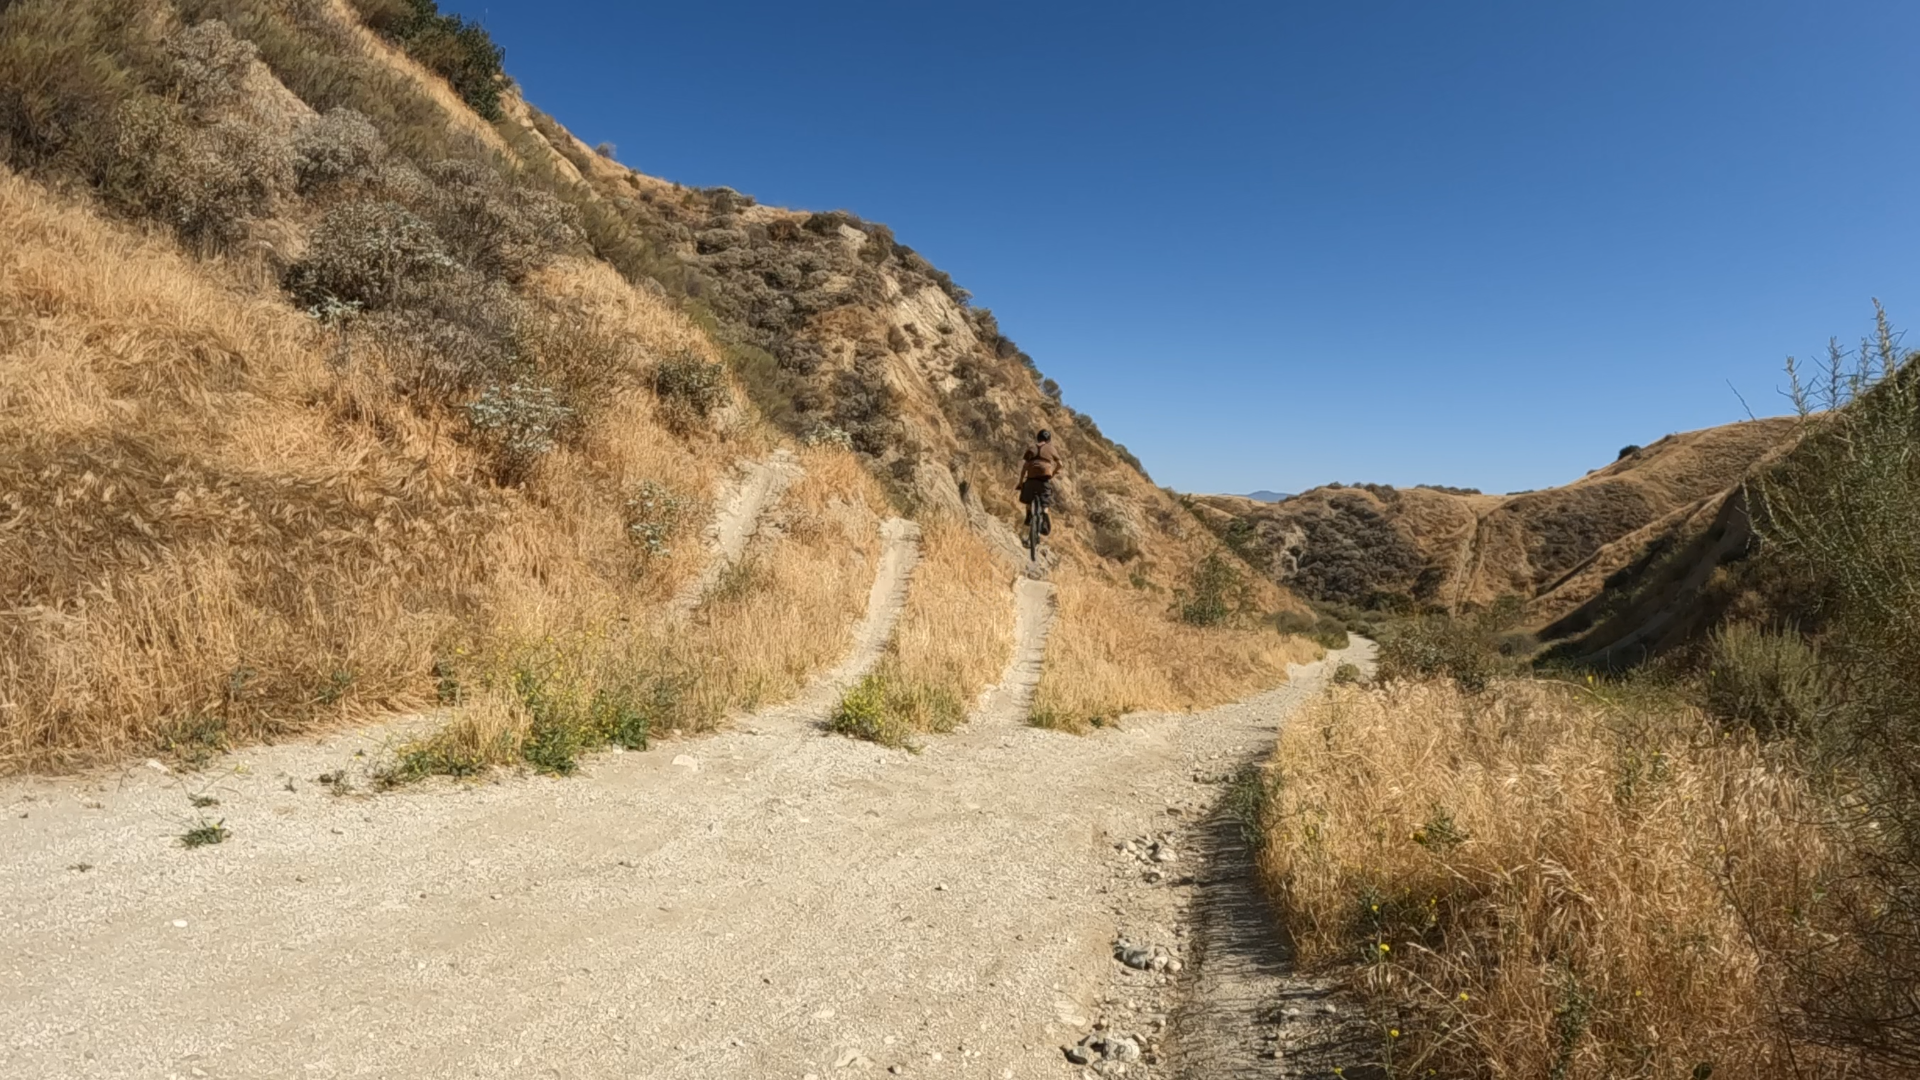
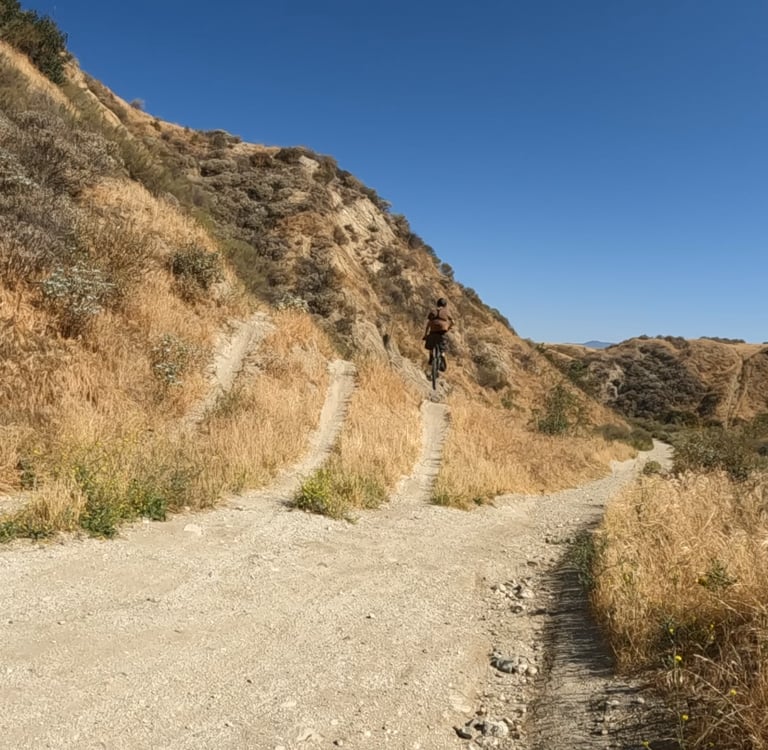
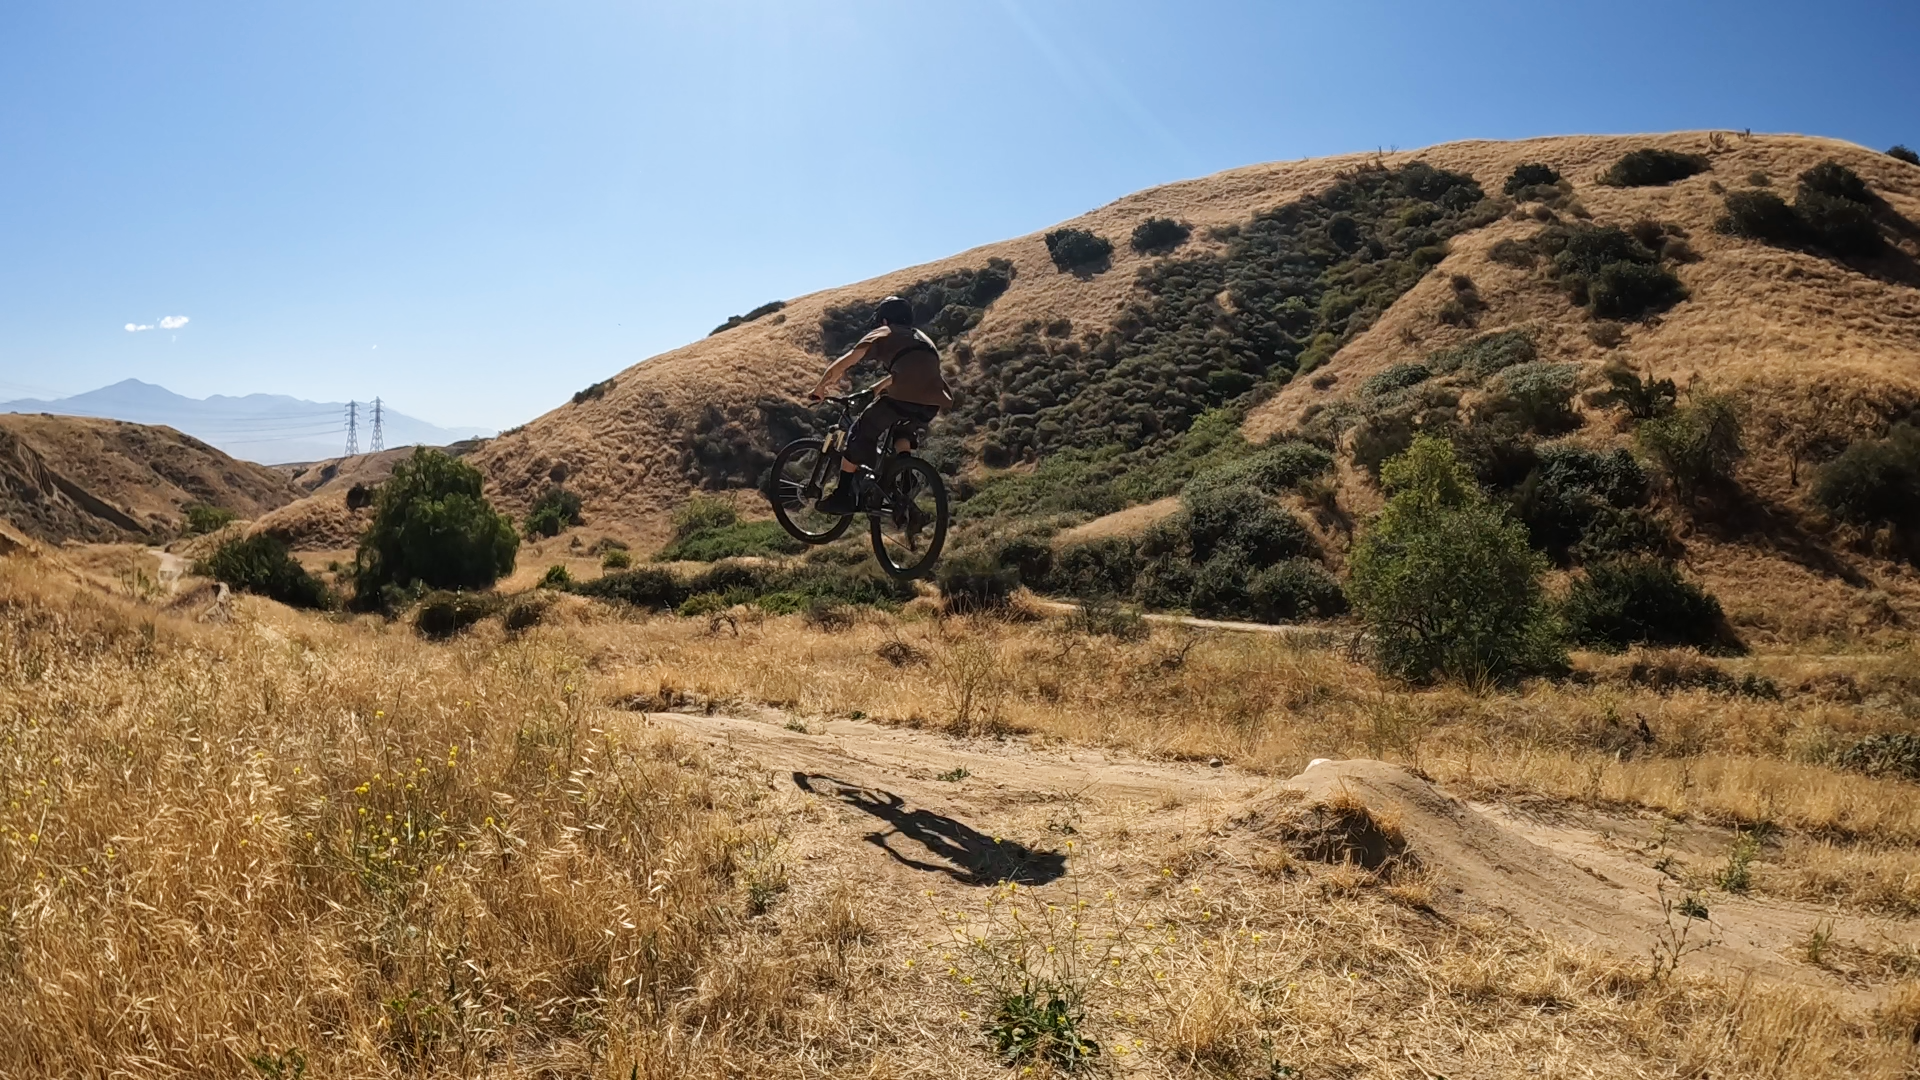
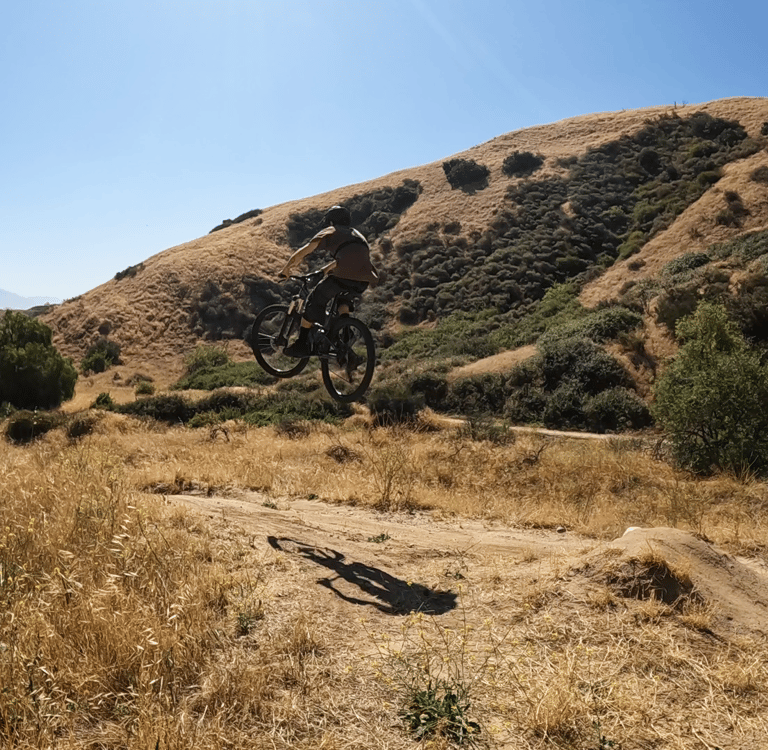
Test runs are one of the most useful tools when you can use them safely. Rolling up toward a jump a few times before committing gives you a feel for the approach, how the takeoff throws you, and what technique makes sense — boosting, staying low, neutral. For the jump in the photos here I did a few test runs because I was setting up my camera and couldn't roll in from as far back as I normally would. It gave me a feel for whether I could even carry enough speed for the gap.
One important note on etiquette — the jump I was filming on is not on a busy trail and it was early on a weekday with clear sightlines. That matters. Don't be the person stopped on top of a takeoff, on a table, or worse on a landing at a busy bike park. Other riders are coming in fast and if you're standing there looking at a feature that's dangerous for everyone. I've seen it end badly. At a bike park test runs are often not realistic or advisable — be aware of your surroundings at all times.
The Braking Trap
Here's a pattern that catches a lot of riders. You're coming up to a jump and it feels fast and a little scary so you grab the brakes. But you actually had the right speed — now you've bled too much off and you case the landing. Then you have to pedal hard to make up speed for the next jump and if you don't get it right you're either casing that one too or clearing it awkwardly. It becomes a cycle — brake, case, pedal, repeat.
That's not to say never brake. You absolutely need to manage speed on trail. But the goal is to learn what the right speed feels like and to avoid grabbing the brakes at the transition at the last second. A good way to build that feel is rolling a table at slower speeds first to understand what happens when you're slightly under speed, then gradually building confidence and commitment as you get a feel for it.
How to Build Up to It
One of the main ways I built confidence with jump trail speed when I was learning was starting small. Find trails with small rollers or beginner jump lines where getting the speed slightly wrong doesn't cost you much. Roll everything at first just to feel what it's like to link features one after another without the pressure of clearing a gap. Then gradually build speed and commitment as your brain starts to recognize what right feels like before you even hit the lip.
It never fully goes away on trails you've never ridden before — even experienced riders feel that alertness on a new jump line. But on trails you know, reading the speed and committing starts to feel almost automatic. That's what you're building toward one session at a time.
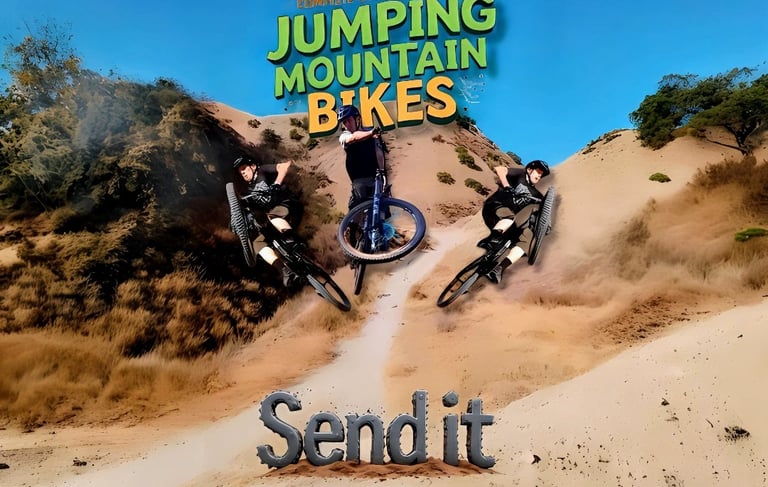
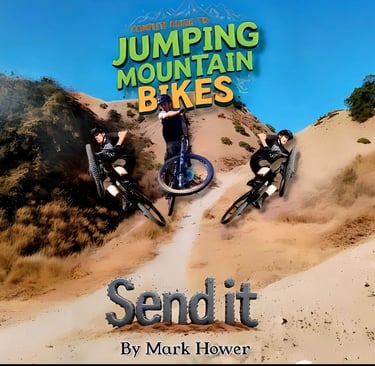
Want to go deeper on jump technique including how to read takeoffs and control your speed in the air? Check out the Complete Guide to Jumping Mountain Bikes linked below.
Also check out my post on 3 landing mistakes.