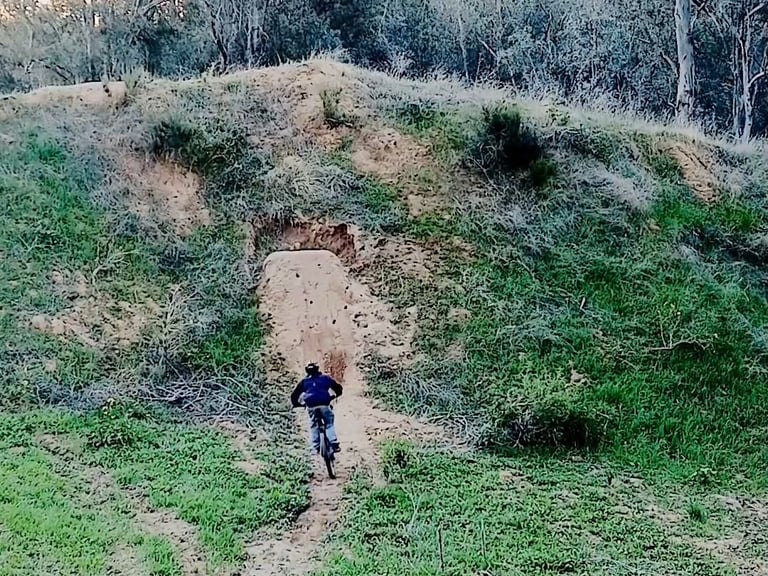
How to Hip Jump on a Mountain Bike (MTB Hip Basics)
Learn how to hip jump on a mountain bike with this step-by-step guide. Includes photos, key technique tips, and a link to my MTB Jumping Guide ebook.
SKILLS
3/23/20258 min read

How to Hip Jump on a Mountain Bike
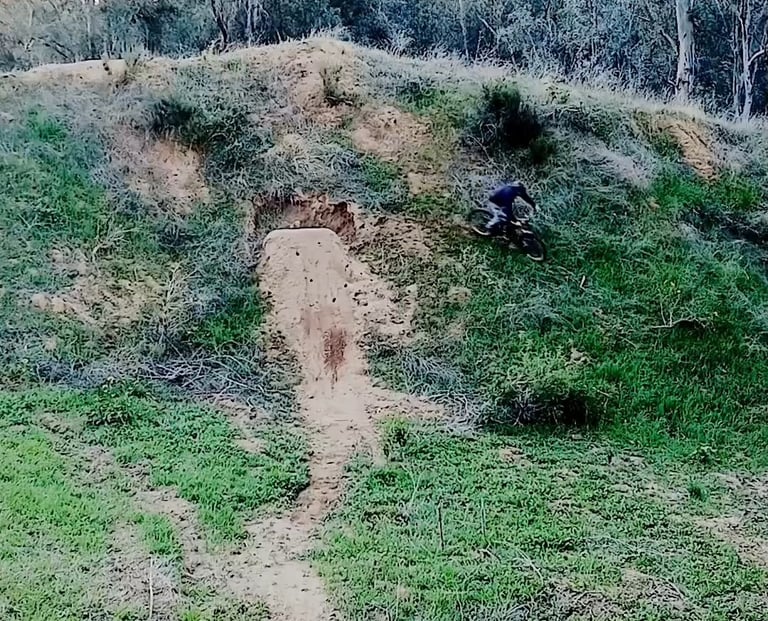
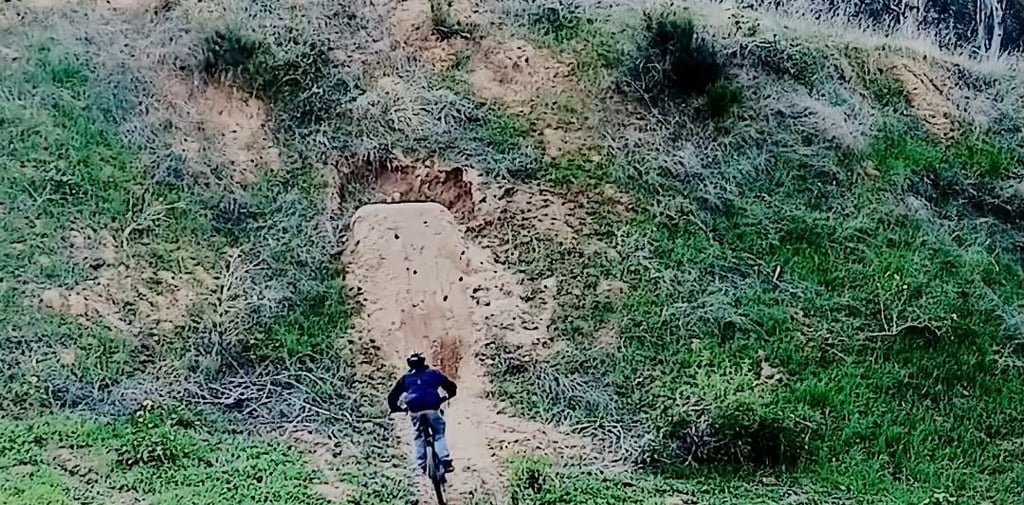
Hip jumps are some of my favorite jumps to ride. Unlike a straight jump where the takeoff and landing are lined up, a hip has the landing offset to one side. That means you need to change direction as you go through the jump instead of simply taking off and landing straight ahead.
Some hips are really mellow and only require a small amount of direction change. Others have the landing much farther off to the side and require you to carve more through the takeoff and turn the bike farther in the air. Once you get comfortable with them, hips are also great for adding style. I especially like them for throwing flat tabletops because you're already turning and leaning the bike in the direction of the hip, which can make it easier to lay the bike over.
What Is a Hip Jump?
A hip jump is basically a jump where the takeoff and landing aren't directly lined up with each other. The landing can be offset to either the left or right, and the amount of direction change varies considerably from one jump to another.
Some hips are so mellow that they don't feel much different from a normal jump. You only need a small carve and slight change in direction to line yourself up with the landing. Other hips are much sharper, with the landing farther to the side, so you need a more noticeable carve through the takeoff and more movement in the air.
I personally prefer hips that go to the right, although I can ride them in either direction. Most riders will probably find that one direction initially feels more natural than the other. That's fine, but I still think it's worth practicing both directions rather than only riding hips on your comfortable side.
Look at the Takeoff and Landing Before You Ride It
Before hitting a hip, I like to look at the takeoff and landing together and visualize the line between them. Instead of only looking at the lip, look at where the jump is actually asking you to go. How far is the landing offset? How much direction change will you need? Where do you want the bike pointing when you touch down?
If you're unsure about the line, watching another rider can help a lot. Following someone who's comfortable on the jump can give you a much better idea of the speed, approach, and amount of carve needed than standing there trying to figure everything out yourself. Obviously, choose someone whose speed and skill level make sense for you to follow rather than blindly chasing a much faster rider.
Set Up Your Approach
Your approach should give you enough room to follow the shape of the hip rather than forcing everything to happen after you're already airborne. Depending on the jump, you may need to set up a little wider and gradually change direction as you approach the lip.
How much you carve depends on the hip. On a mellow one, it might be a very small movement. On a sharper hip, the carve can be much more noticeable. The important thing is that it should feel like one smooth line through the jump, not riding completely straight at the lip and then suddenly trying to twist the bike sideways once you're in the air.
Don't Go Straight Off the Lip
One mistake I've seen riders make is treating a hip like a straight jump. They ride straight off the takeoff without following the direction of the hip and then come down too straight on the angled landing.
This can create a real problem. If the landing is angled one way but your bike is still traveling and pointing too straight, you're essentially landing across the slope instead of following it. Your tires now have to deal with that sideways force as you touch down, which can cause them to wash out.
That's why I think of the carve as an important part of riding a hip. You're beginning the direction change through the takeoff rather than expecting to fix everything after you've left the ground.
Look Where You Want to Land
As you're going through the takeoff, start moving your vision toward the landing. Don't stay locked onto the direction you were originally traveling. Look toward where you actually want the bike to go.
Your vision helps guide the rest of your body. As you look through the jump, your head, shoulders, hips, and eventually the bike can follow that direction much more naturally. You don't want to stare straight ahead, leave the lip, and then suddenly realize the landing is off to your side.
This is another reason I like visualizing the complete line before dropping in. You already have an idea of where you're going before you even reach the jump.
Let the Bike Turn With You in the Air
Once you're airborne, let the bike continue following the direction you've created on the takeoff. You're not trying to violently twist the handlebars or force the rear wheel around. The amount of movement depends on how sharp the hip is.
A mellow hip may require very little movement in the air. On a sharper hip, you'll need to bring the bike around farther so you're lined up correctly with the landing. Stay loose in your arms and legs and allow the bike to move underneath you instead of stiffening up and fighting it.
The goal is for the whole thing to feel connected: approach, carve, takeoff, movement in the air, and landing.
Get Lined Up With the Landing
By the time you touch down, your bike should be following the direction of the landing rather than landing across it. You don't necessarily have to be absolutely perfect, especially on a wide forgiving landing, but the closer your direction matches the landing, the smoother and safer it's going to feel.
This is one of the biggest differences between a hip and simply jumping straight. On a straight jump, your direction barely changes. On a hip, you're intentionally redirecting yourself so the bike meets a landing that's somewhere off to the side.
Start With a Mellow Hip
If you're learning hips, don't start with something that requires a huge amount of direction change. Find a mellow hip with a wide, forgiving landing where you can practice the basic movement without needing to throw the bike dramatically sideways.
Start by visualizing the line, making a small carve through the takeoff, looking toward the landing, and letting the bike follow you. Once that feels natural, gradually work toward sharper hips that require more direction change.
You don't need to immediately hit some huge hip and turn the bike 45 degrees in the air. Even a small amount of direction change teaches you the basic technique.
Common Hip Jump Mistakes
The biggest mistake I see is going too straight off the lip. If the jump is asking you to change direction and you don't, you can end up landing across the slope rather than following it. That can make the landing awkward and potentially cause your tires to wash out.
Another mistake is trying to do all of the turning once you're already in the air. You want the direction change to start with your setup and takeoff. At the other extreme, don't feel like you need to aggressively carve every hip. A mellow hip might require very little movement. Read the actual jump rather than deciding beforehand that every hip requires the same technique.
And don't worry about adding tricks while you're still figuring out the basic line. First learn to consistently take off, redirect the bike, and meet the landing correctly. Style can come later.
Why Hips Are Great for Tabletops
Once you're comfortable riding hips normally, they're some of my favorite jumps for throwing a tabletop. A hip already has you turning and leaning the bike as you travel toward the landing, so you're partway into the type of movement you'd use to lay the bike over.
For me, that makes getting the bike flatter feel easier than trying to force the same amount of movement on a completely straight jump. You're using the natural direction of the hip and adding style to a movement that's already happening.
I still wouldn't make throwing a flat table the goal when you're first learning hips. Get comfortable with the jump itself first. Once you can consistently follow the line and hit the landing, then you can start experimenting with laying the bike over more.
Follow Someone If You're Unsure
If you're looking at a hip and having trouble figuring out how much to carve or where the line goes, sometimes the easiest thing is simply watching someone else ride it. Seeing another rider connect the takeoff to the landing can make the line much more obvious.
If you have a riding buddy who's comfortable on the jump, following them can be even more helpful. You'll get a feel for where they set up, how much they change direction, and roughly what speed they're carrying. Just remember that you're still riding your own bike and your own ability level. Following someone is a reference, not a reason to blindly copy everything they do.
Final Thoughts
Hip jumps don't require an entirely different jumping technique, but they do add another element: changing direction between the takeoff and landing. The biggest thing I'd tell someone learning them is to look at the whole jump before riding it. Look at the takeoff, look at the landing, and visualize how much you need to carve and redirect the bike to connect the two.
Start on mellow hips, look toward where you want to land, and don't make the mistake of riding straight off the lip when the landing is asking you to go somewhere else. As you get more comfortable, you can work your way toward sharper hips that require more movement in the air.
Once they click, hips are incredibly fun. And when you're ready to start adding style, they're also one of my favorite places to work on laying the bike over into a flat tabletop.
Want to Learn More About MTB Jumping?
If you're working on your jumping technique, I go much deeper into takeoffs, body position, timing, different jump types, common mistakes, and progression in The Complete Guide to Jumping Mountain Bikes.