How to Film Yourself Mountain Biking (What I've Learned After 20+ Years)
From VHS dad cams to a GoPro Award with 250K views — here's everything I've learned about filming yourself on a mountain bike, including cameras, mounts, audio, and editing on a budget.
GEAR
4/25/20266 min read

How to Film Yourself Mountain Biking (What I've Learned After 20+ Years)
This post contains affiliate links. As an Amazon Associate I earn from qualifying purchases at no additional cost to you.
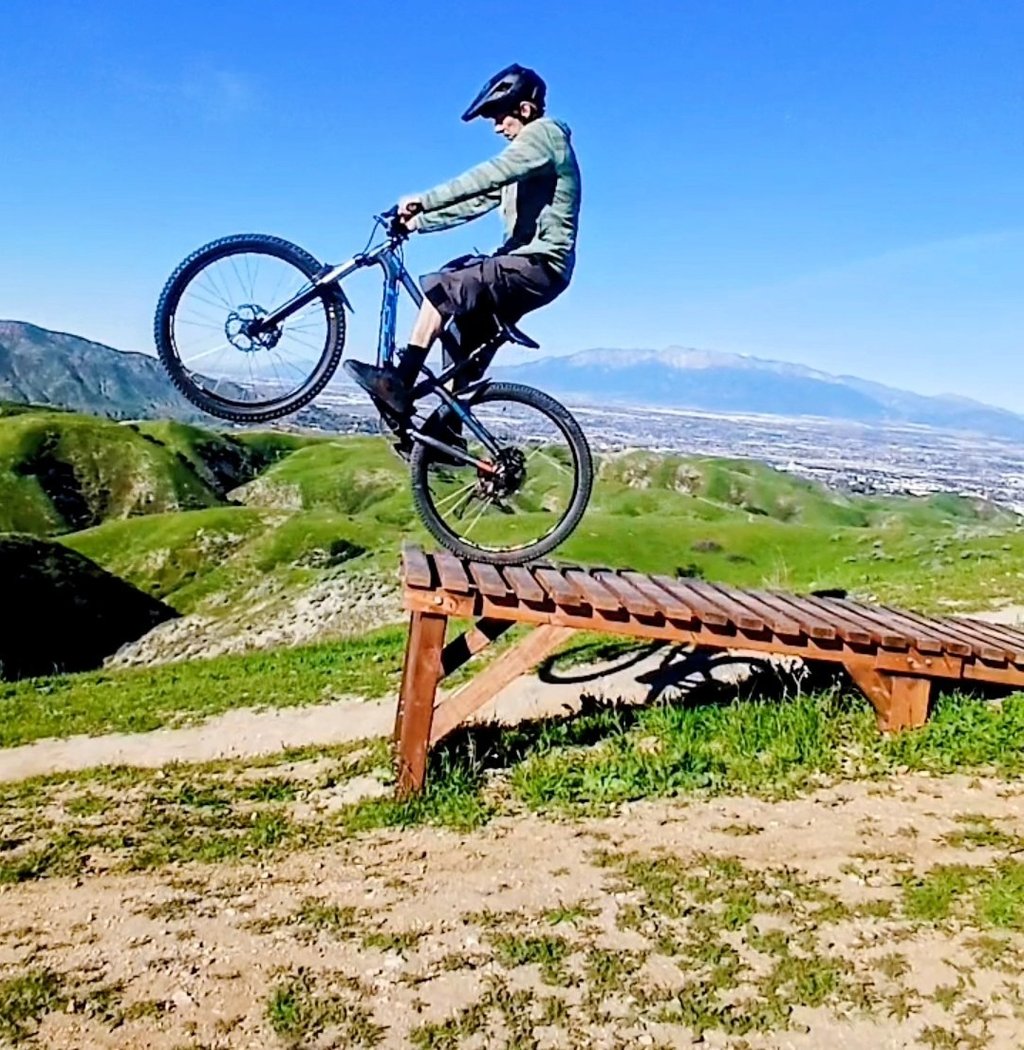
I was in Big Bear, boosted off a big jump, got so much air that my helmet visor snagged a tree branch mid-flight and ripped clean off — while it was still on my head. GoPro saw the footage, featured it on their channel under my name, and it now has over 250,000 views. I'll link the video below.
I tell you that not to brag but because it sums up why I film everything. You never know what you're going to capture.
I've been filming my riding since I was a kid in 2001, back when we used those big shoulder-mounted camcorders — the ones people call dad cams now — recording VHS tapes and editing them together to show my friends and grandparents. "Look at this cool edit I made." I've been chasing that feeling ever since.
Fast forward through a GoPro Hero 3 Plus, a free Hero 4 from the GoPro Awards, and now a Hero 10 Black that I use to film my YouTube tutorials and riding content — I've learned a lot about filming yourself on a mountain bike. Here's what actually works.
The Camera
Your phone works in a pinch but it has real limitations for MTB filming. The biggest one is POV footage, phone cameras aren't built for helmet or chest mounting and the stabilization isn't designed for rough trail vibration. Storage fills up fast too, especially if you're shooting a full session. That said I do use my phone regularly as a second camera — more on that in a minute.
For action cam footage a GoPro is the standard for good reason. The stabilization, durability, and image quality are hard to beat in this category.
Here's the thing though — you don't need the newest model. When I got my Hero 10 Black the Hero 12 was already out, but the 10 was significantly cheaper and does everything I need for YouTube tutorials and trail riding footage. Going one or two models back saves you real money and the quality difference is minimal for most riders.
Buying used is also worth considering. A used GoPro in good condition from a reputable seller can save you another chunk of change and works just as well.
One thing I learned the hard way — stay away from knockoff action cameras. I bought one for around $40, was excited about the deal, and was completely disappointed with the footage quality. Soft, washed out, and unusable for anything I'd actually want to post. Save your money and get a genuine GoPro even if it's an older used model.
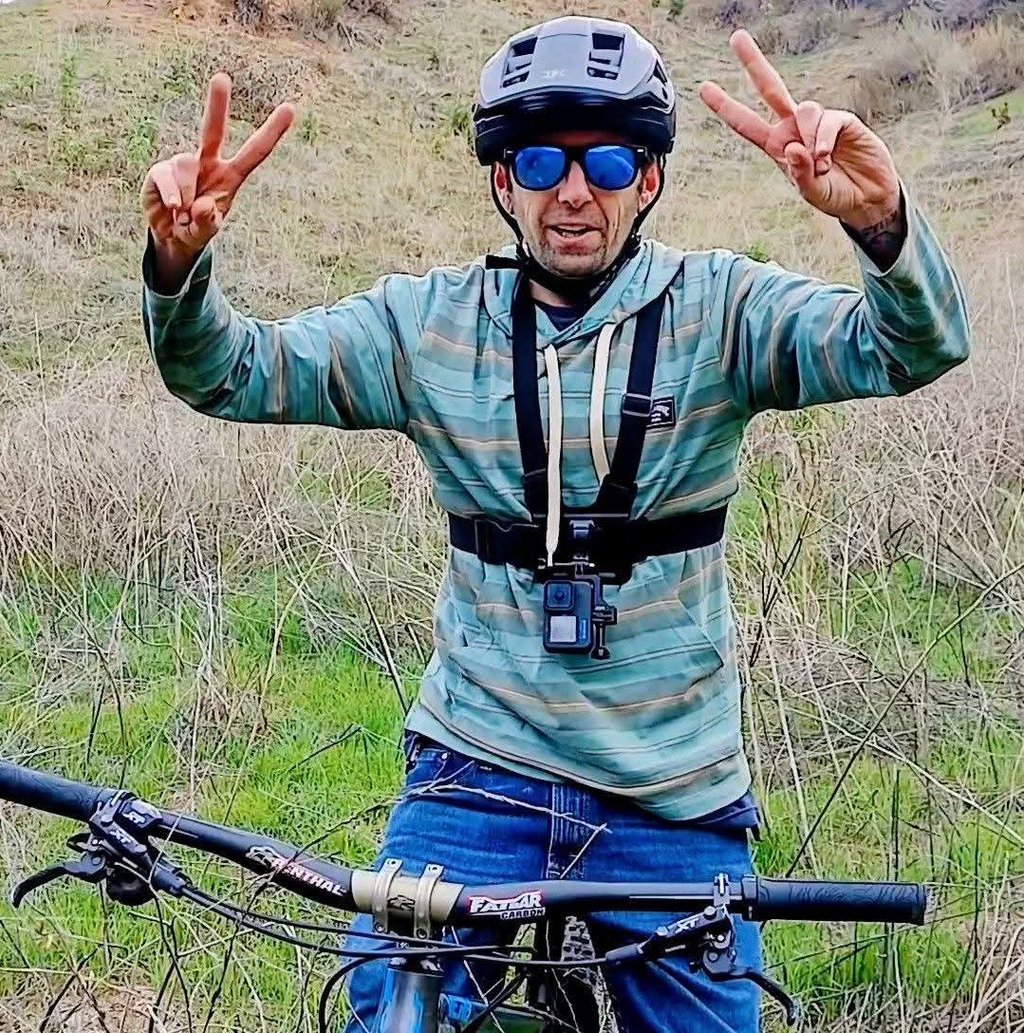
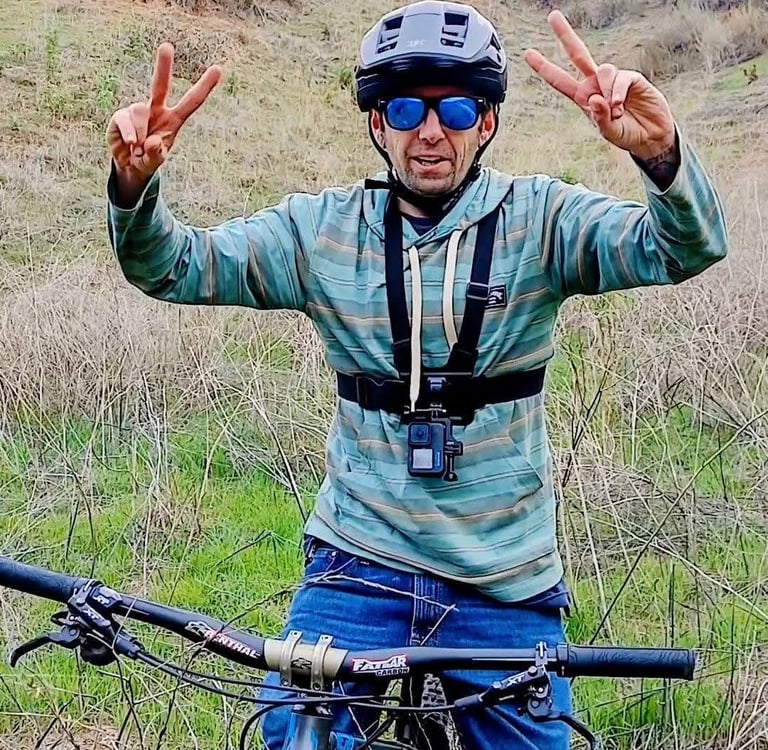
Mounts
GoPro makes a huge range of mounts and it can get overwhelming. The ones I actually use regularly are helmet mount and chest mount for riding footage, and a tripod for talking head and stationary shots.
One thing I had to dig around to find was a solution for vertical footage. GoPro shoots horizontal by default which is great for YouTube but if you want clips for Shorts, TikTok, or Instagram Reels you need vertical. Cropping horizontal footage to vertical works sometimes but not always — you lose too much of the frame. The fix is a simple adapter that mounts your GoPro vertically on a chest mount or tripod. It costs under $20 and solved the problem completely for me.
Check out vertical mount on Amazon that I use.
Now you might be wondering how to carry all this gear on the trail with you — I actually prefer a tactical style backpack over a hydration pack for longer sessions, see my post on why I use tactical backpacks for MTB
Using Two Cameras
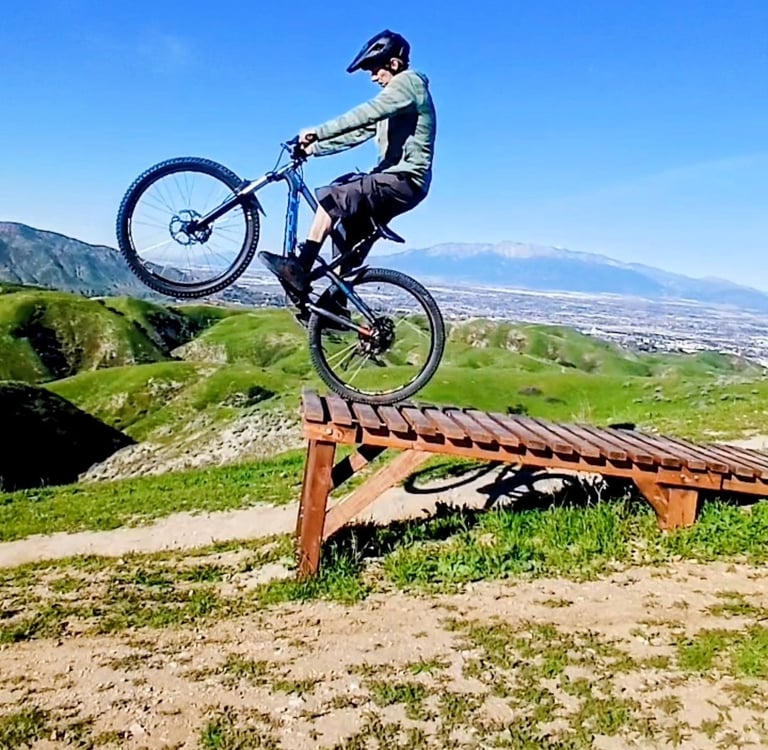
This is one of the most useful things I've figured out for solo filming. When I'm at a jump or a feature I'll set up my GoPro filming horizontally for YouTube footage and use my phone filming vertically for shorts at the same time. Two angles, two formats, one session.
The alternative is doing multiple runs to get different angles with one camera, which works but takes more time and energy. Two cameras running simultaneously is more efficient especially when you're riding alone.
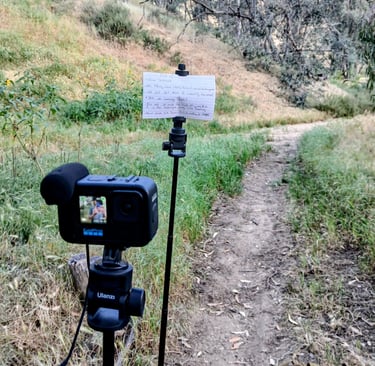
A basic tripod makes this possible. I have two — one with a GoPro mount and one with a phone holder. You can get a solid lightweight tripod for around $20 and it's one of the best investments I've made for filming. Before I had one I was balancing the camera on rocks or propping it against whatever I could find which is slow and unreliable.
Audio
This depends entirely on what you're filming.
If you're shooting trail rides, POV footage, or action clips the built-in GoPro mic is fine. It picks up wind and trail noise which is actually part of the experience.
If you want to do talking head segments, tutorials, or any kind of commentary where your voice needs to be clear and professional sounding, the built-in mic isn't good enough. GoPro makes a Media Mod accessory that improves it somewhat but if you're serious about audio quality get a dedicated mic.
I use a DJI Mic Mini which clips on and records clean audio wirelessly. The difference between built-in camera audio and a dedicated clip-on mic is noticeable immediately. For YouTube tutorials where you're explaining technique, clear audio matters as much as clear video.
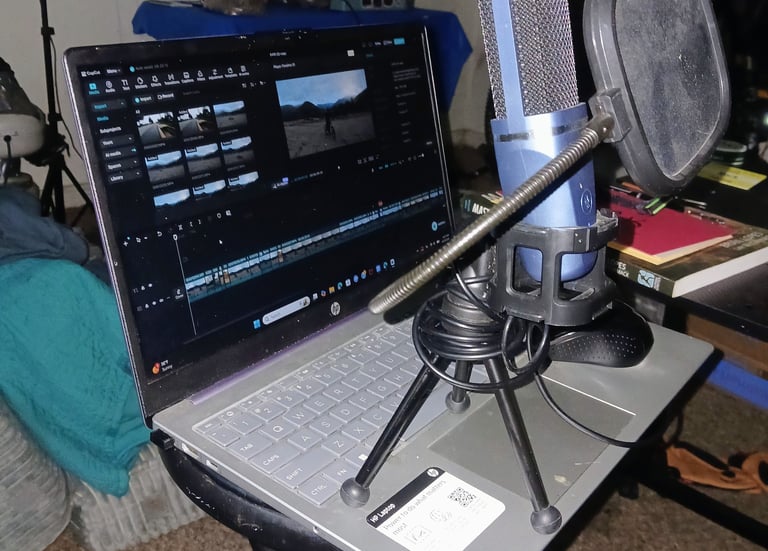
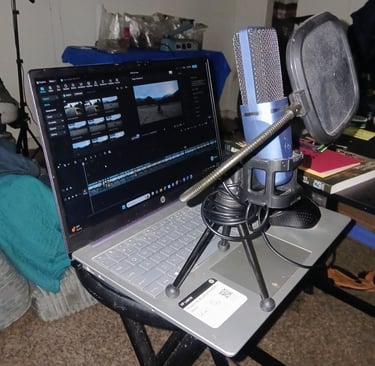
Editing
You've got your footage, you're home, now what?
I use CapCut Pro which runs about $20 and is what I edit all my YouTube content in. It's mobile friendly, intuitive, and has everything I need for cuts, color correction, text overlays, and transitions.
DaVinci Resolve is a free and very powerful alternative that a lot of creators swear by. The tradeoff is the learning curve — it's a professional level editor and takes time to get comfortable with. If you're willing to invest that time it's an excellent free option.
For most riders just starting out I'd recommend CapCut. You'll be making actual content faster instead of spending sessions learning software.
The Short Version
You don't need expensive gear to film great MTB content. Here's the basic setup that works for me:
A GoPro — older model or used is fine, avoid knockoffs. Two cheap tripods, one for the GoPro and one for your phone. A vertical mount adapter for social media clips. A clip-on mic if you plan to do talking head or tutorial style content. CapCut or DaVinci for editing.
Get out there and film everything. You never know when you're going to boost off a jump, snag a tree branch with your visor, and end up on GoPro's channel with a quarter million views.
Tips I Learned the Hard Way
Format your SD card before every ride. When I didn't do this consistently I'd end up with a mix of LRV and MP4 files in my footage and sometimes the clips I actually wanted weren't usable. Formatting the card in the camera before each session clears everything out and prevents that problem entirely. Just make sure you've backed up anything you want to keep first.
Weigh down your tripod on uneven ground or when it's windy. I learned this one the expensive way — wind knocked my camera over and broke my media mod. Now I put a rock or my backpack on the tripod legs anytime the surface isn't flat or there's any breeze. Takes two seconds and saves you from a costly mistake.
Check your settings before you start filming. It's easy to forget you changed resolution or frame rate on a previous session and end up with footage that doesn't match the rest of your clips. Quick settings check before every ride takes ten seconds.
Charge everything the night before. Nothing worse than getting to the trail and realizing your camera or mic battery is dead.