How to Do a Seated Manual on a Mountain Bike (Yes, It’s Possible)
Most riders think manuals mean standing up—but what if I told you there's a way to hold a manual while staying seated? In this post, I break down the seated manual technique I’ve used for years, including body position, braking tips, and the right terrain to practice on. It’s not easy, but once you get it, it’s one of the smoothest, most controlled ways to float over rough trail or pump through flat sections.
SKILLS
6/22/20252 min read
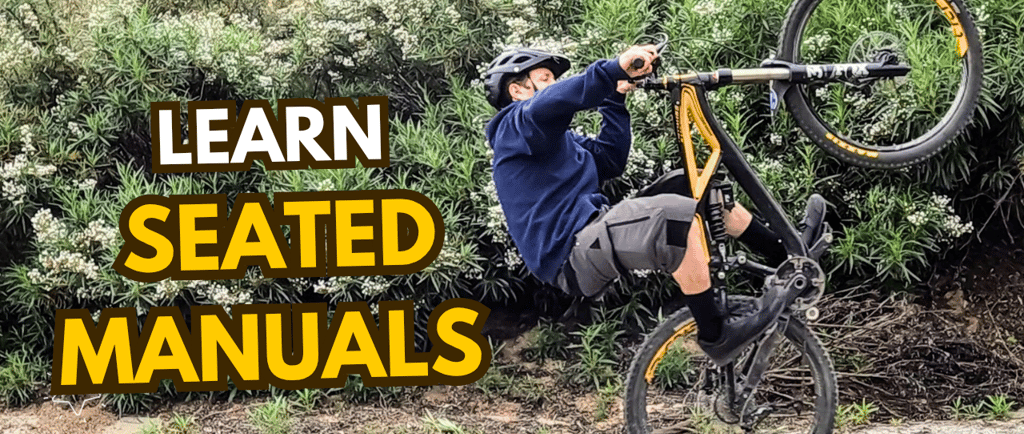
How to Master the Seated Manual
The seated manual is hands down my favorite technique for mellow descents and fire roads. It’s smooth, efficient, and once you find the balance point, you can coast for ages. Unlike a standing manual or a pedaling wheelie, this is all about body position and subtle brake control. You might also hear this called a Coaster Wheelie. Whether you call it a seated manual or a coaster wheelie, the goal is the same: gravity-fed, no-pedal balance.
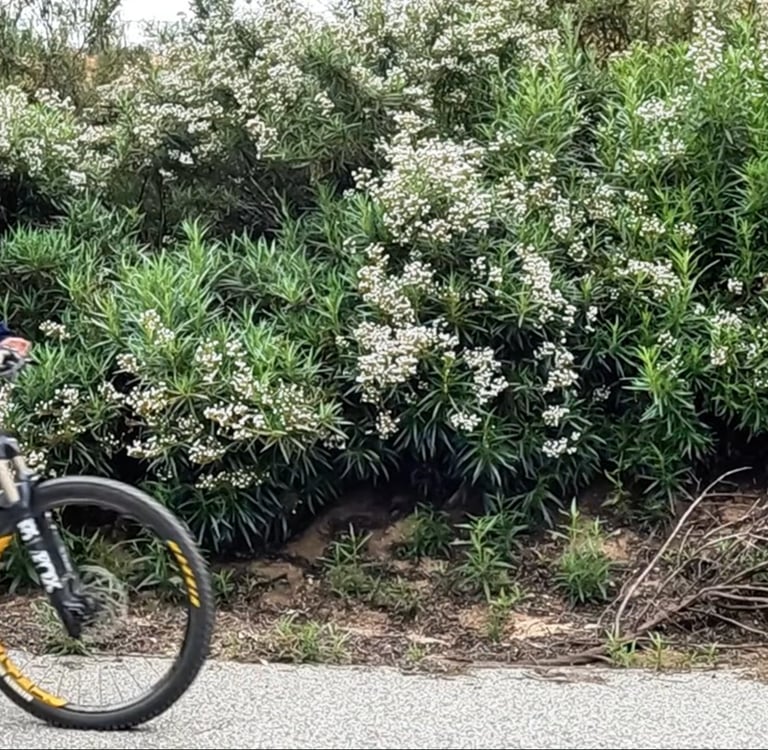
The Setup: Before You Start
Location: Start on smooth dirt trails or paved paths. Fire roads are perfect.
Pedals: Use flats while learning. If you use clips, unclip one foot or be ready to bail fast.
Seat Height: Keep it at your normal pedaling height. If it’s too low, you lose the leverage needed to stay balanced.
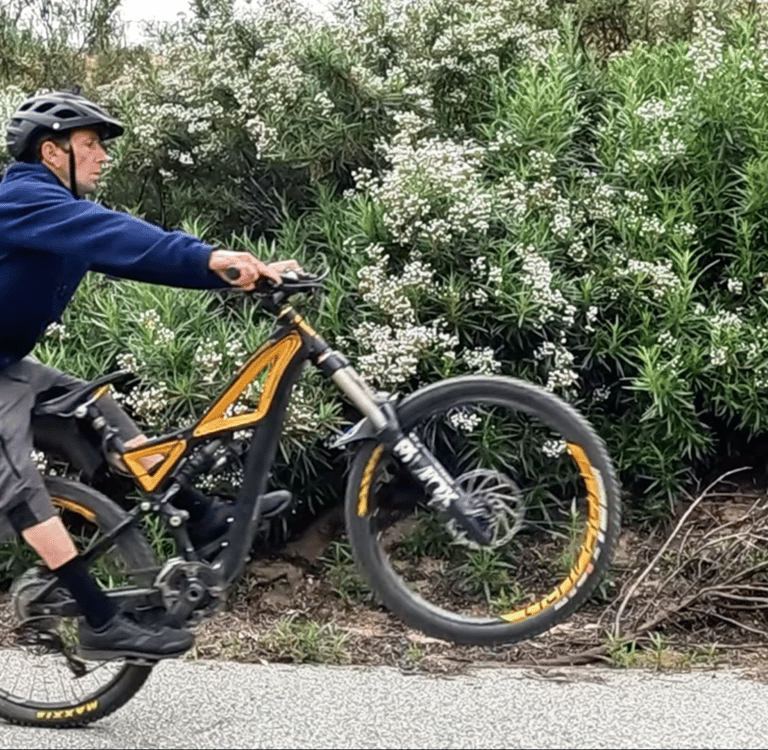
Step 1: Getting the Front End Up
Don't just yank on the bars. Use these three movements together:
Preload: Compress your front suspension slightly.
Pop: Use the rebound of the fork to help "pop" the wheel up.
The Hip Snap: Lean your weight back and snap your hips toward the rear axle while keeping your arms straight.
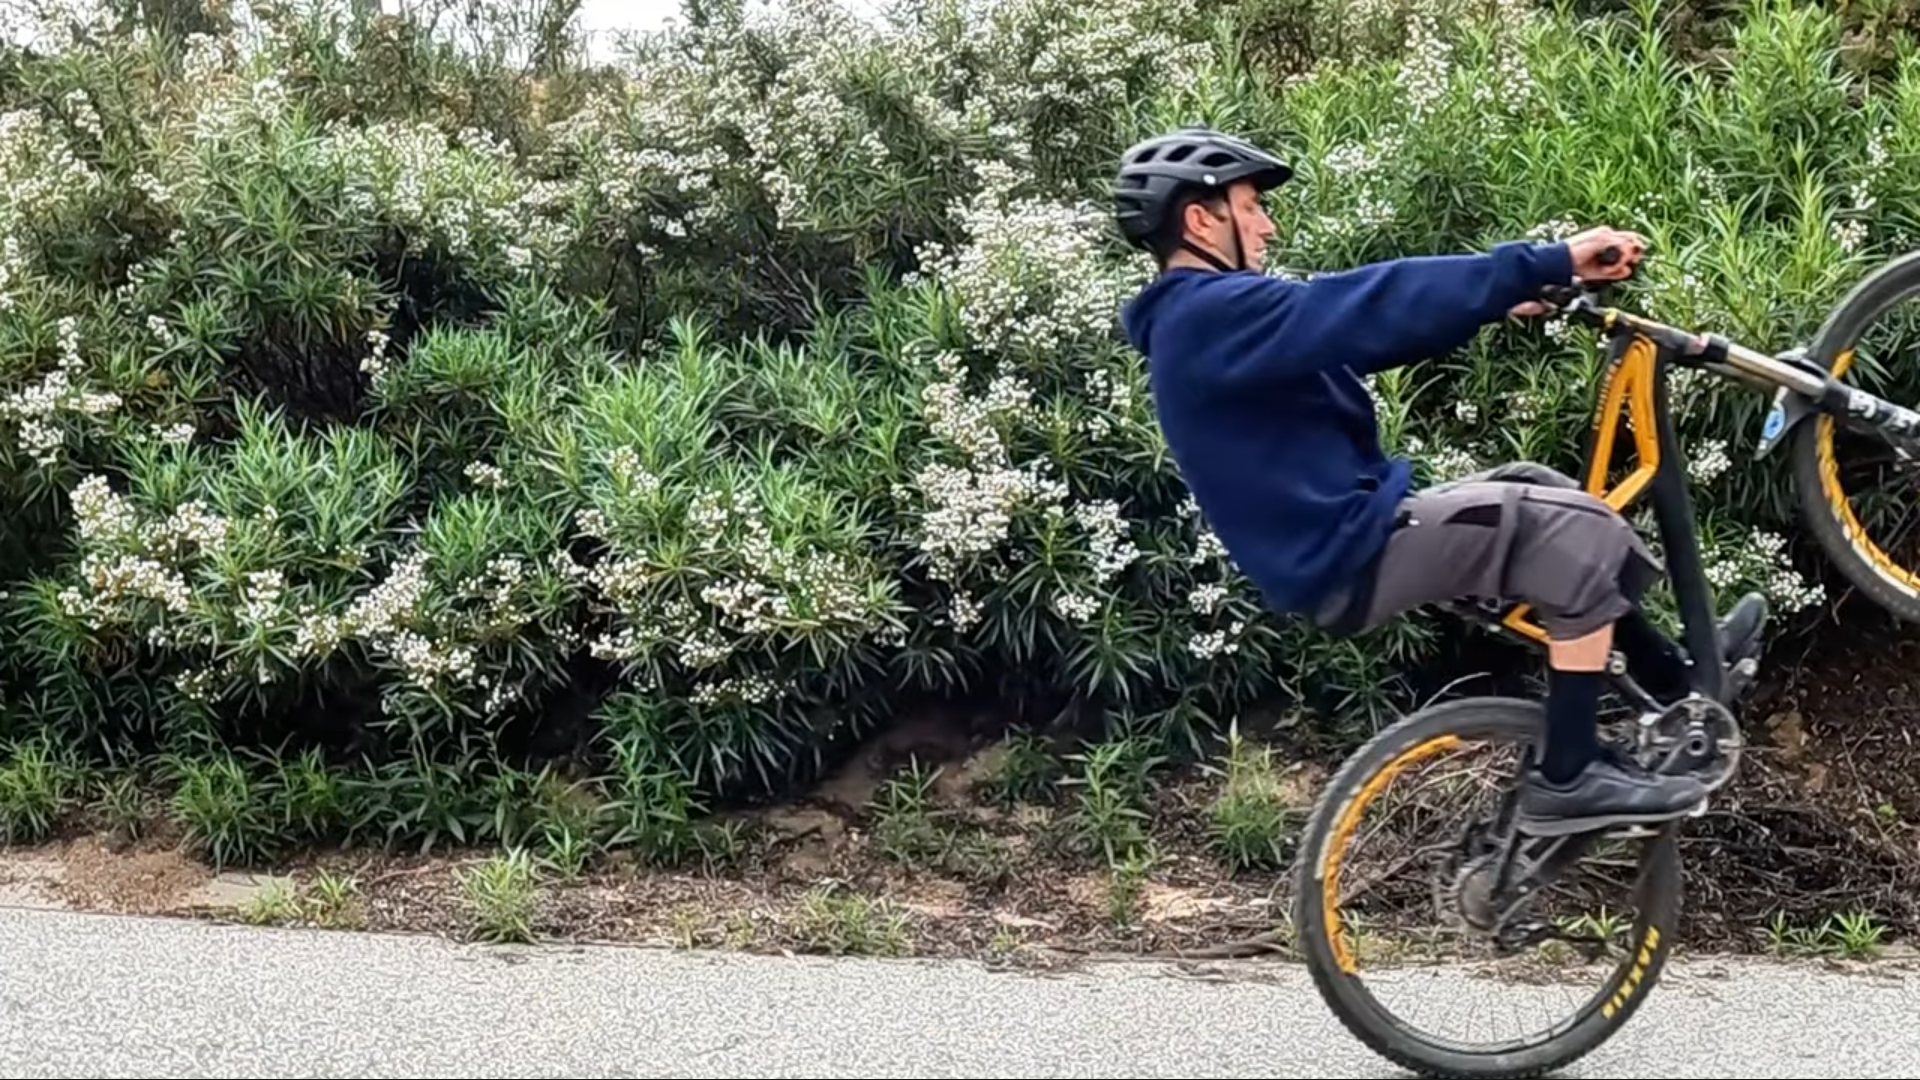
Step 2: Finding the Balance Point
The balance point is that "weightless" sweet spot where the front wheel just floats.
Relax: Once you're up, stop pulling. Let the bike settle.
The Knee Rudder: If the bike tips left, point your right knee out. This slight weight shift keeps you centered without jerking the handlebars.
Stay Centered: Keep your weight over the seat, but don't be afraid to lean back more than you think.
Text: "If you’re struggling with the initial pull, check out my [Pro Tips for Manuals]
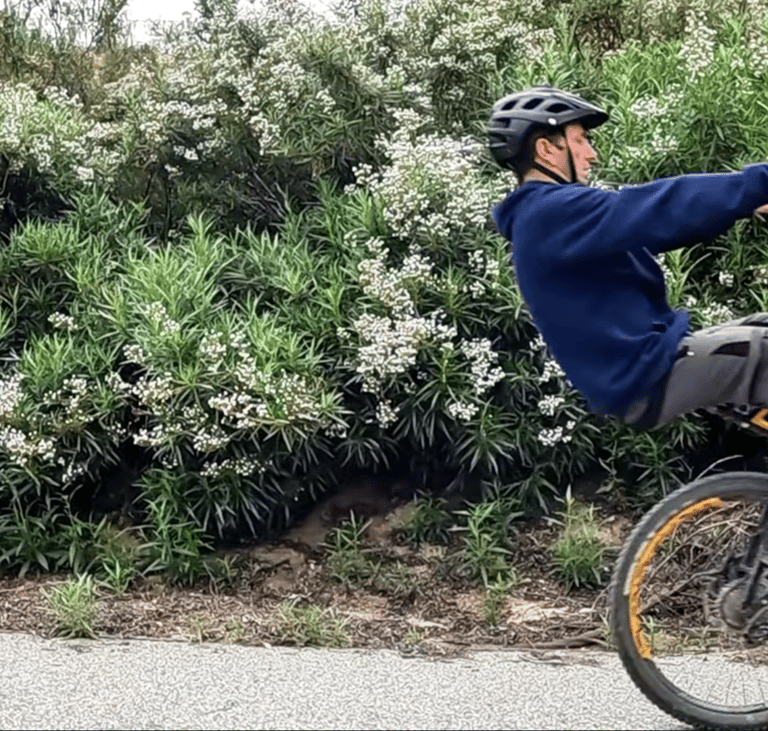
Step 3: The Rear Brake "Lifeline"
The rear brake is your safety net.
Feather It: Don't slam it. Use one finger to gently "tap" the brake if the front end gets too high.
The Panic Slam: If you feel like you’re going to loop out, pull the brake hard to bring the front wheel down instantly.
What to do if You "Loop Out" (The Bail)
As a GoPro Award winner for a crash, I can tell you: learning to bail is a skill. If the front end comes up too high and the brake doesn't save you, simply step off the back of the bike. Practice this at low speeds on grass first. Once you know you can bail safely, the fear of lifting the front wheel disappears.
Summary Checklist
[ ] Start slow on a mellow downhill.
[ ] Keep arms relaxed and straight.
[ ] Use your knees to steer.
[ ] Trust your rear brake!