How to Bunny Hop a Mountain Bike (The Skill That Changes Everything)
Learn how to bunny hop a mountain bike step by step — front wheel lift, the pop, and how to level out for a clean landing. The foundational skill that makes everything else easier.
SKILLS
4/25/20265 min read
How to Bunny Hop a Mountain Bike (The Skill That Changes Everything)
The bunny hop is one of those skills that once you have it, you wonder how you ever rode without it. It opens up the trail in a completely different way, logs, rocks, curbs, gaps, things you used to roll around or slow down for become features you can pop over without breaking stride. And if you ever want to get into jumping, this is the foundation everything else is built on.
Let's Talk Terminology (Because It Always Comes Up)
Before we get into technique I want to address this because it comes up constantly in the comments and on every MTB forum.
I have called this move a bunny hop my entire riding life and honestly I always will. Most riders do. But technically speaking the terms have specific meanings, a j hop is when the front wheel lifts first followed by the rear, while a bunny hop or English hop refers to both wheels leaving the ground at the same time. Different movements, different mechanics.
I cover this in more detail in my video so check that out if you want to go deeper on the debate. For this post we're teaching the j hop style movement, front then rear, and calling it a bunny hop because that's what most of us have always called it. Call it whatever feels natural, the technique is what matters.
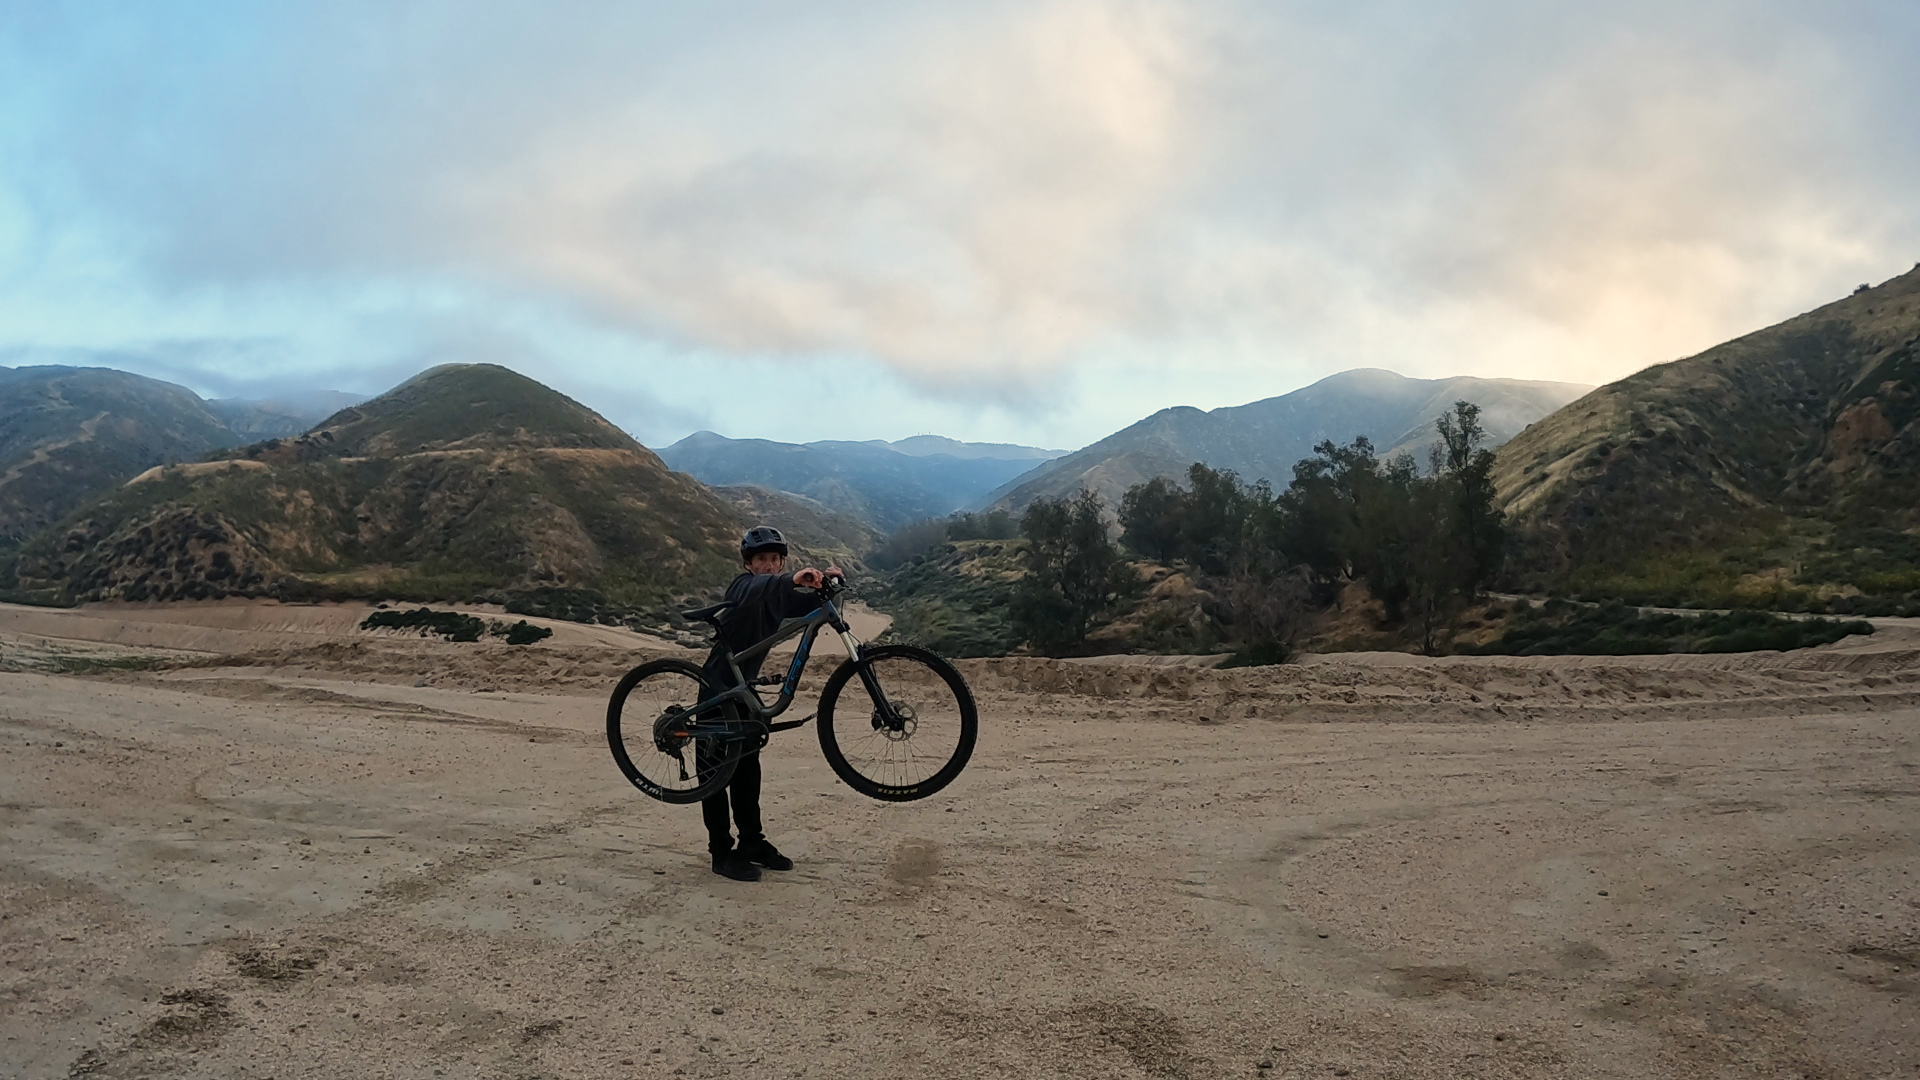
Bike Setup
Before you start practicing a couple of setup things make a real difference.
Lower your seat. You need to be able to move freely over the bike and a high seat will limit your range of motion. Drop it all the way or close to it while you're learning.
Flat pedals over clipless. This is important. With clipless pedals you can cheat by pulling up with your feet which masks whether you're actually doing the movement correctly. When you eventually try to do this on flat pedals you'll realize you've been relying on the clips rather than your body mechanics. Learn it on flats first, build the right movement pattern, and it will transfer to clipless later if you want to go that route. See my post on best flat pedal shoes to wear for maximum grip to help you with this.
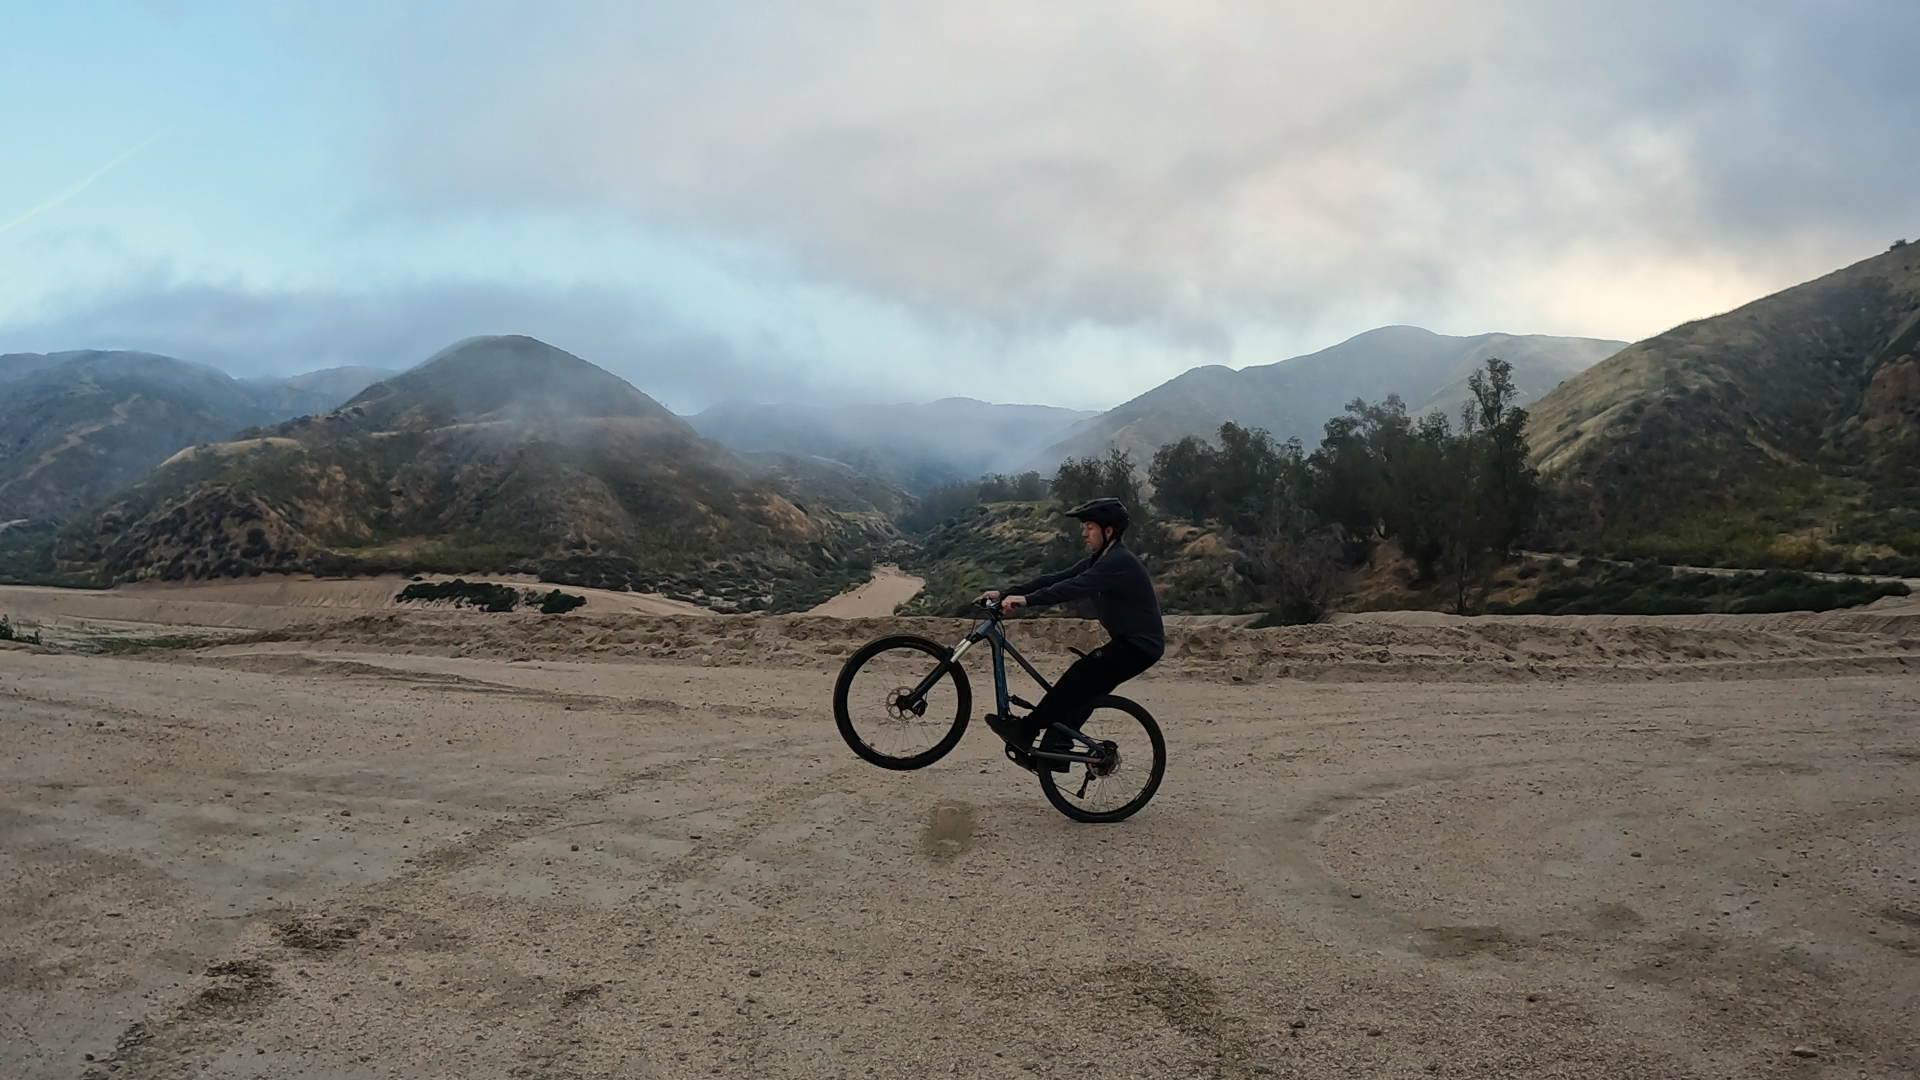
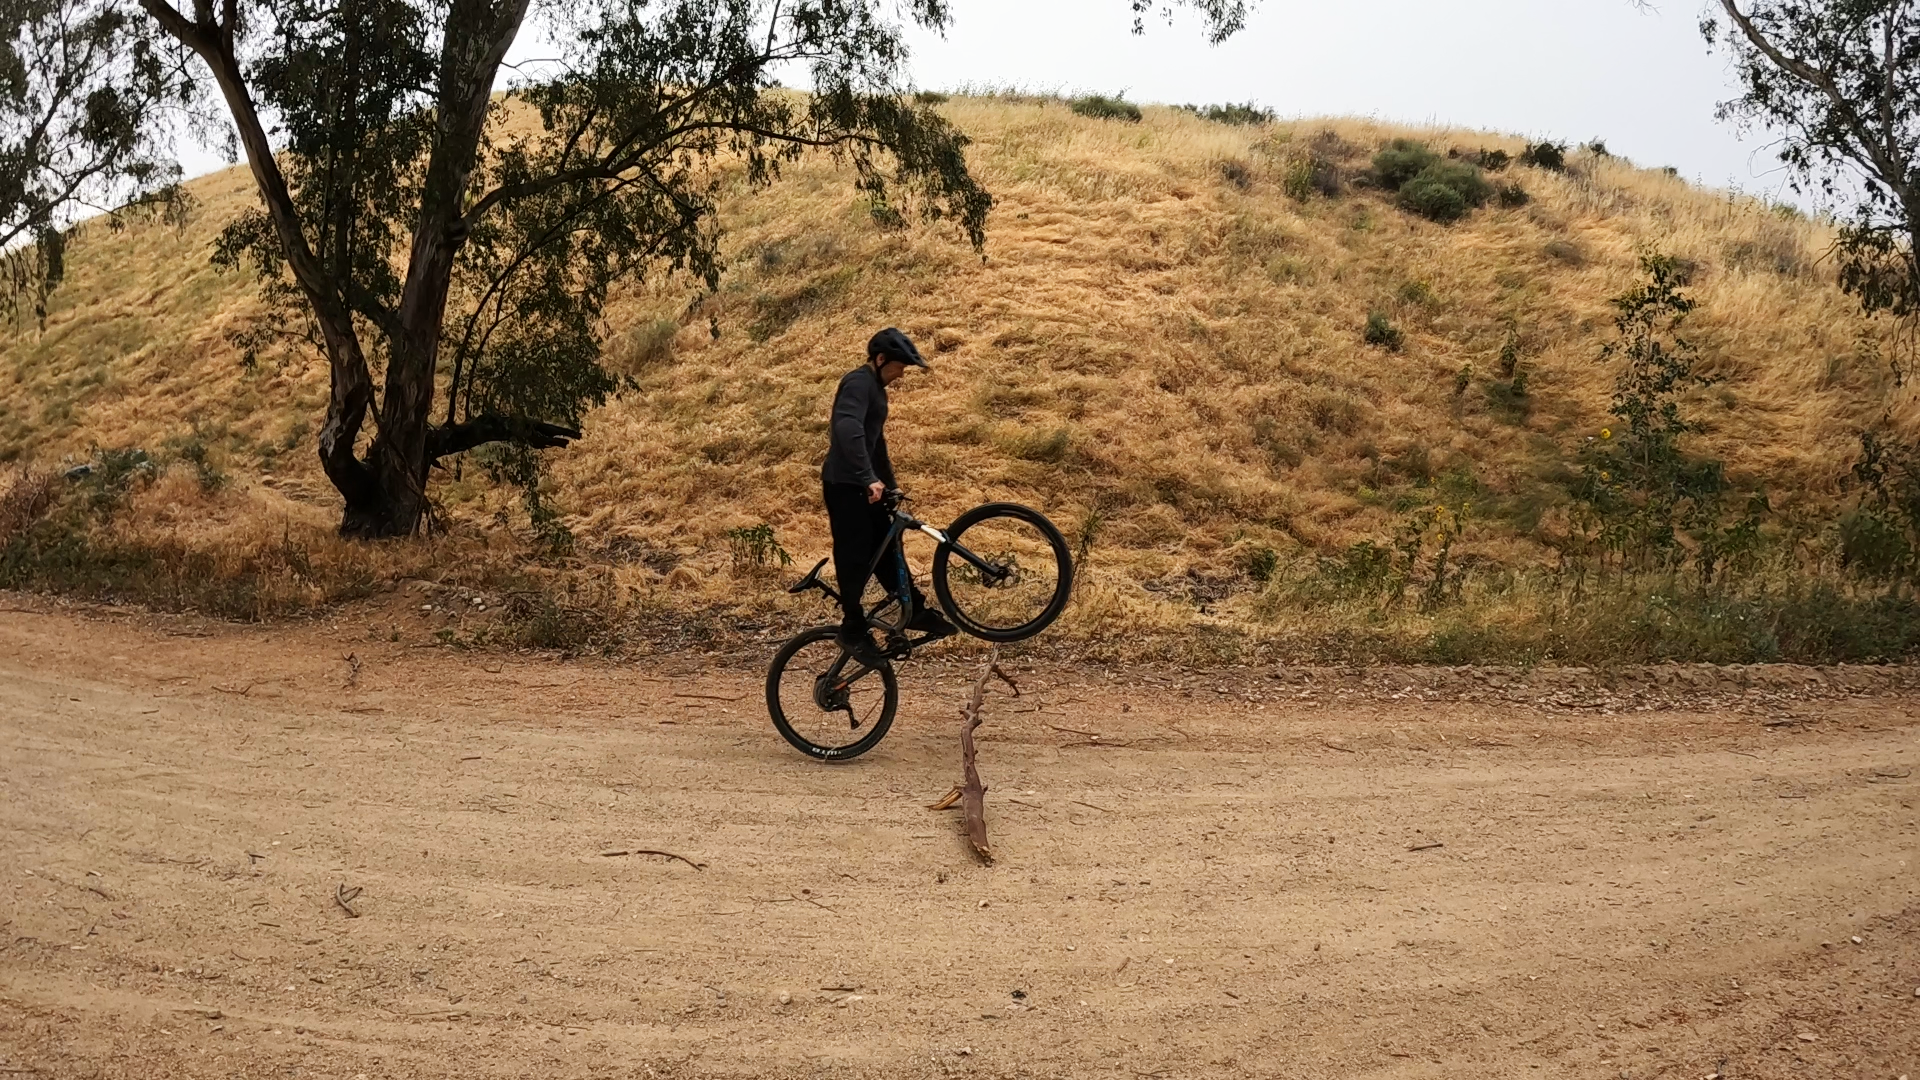
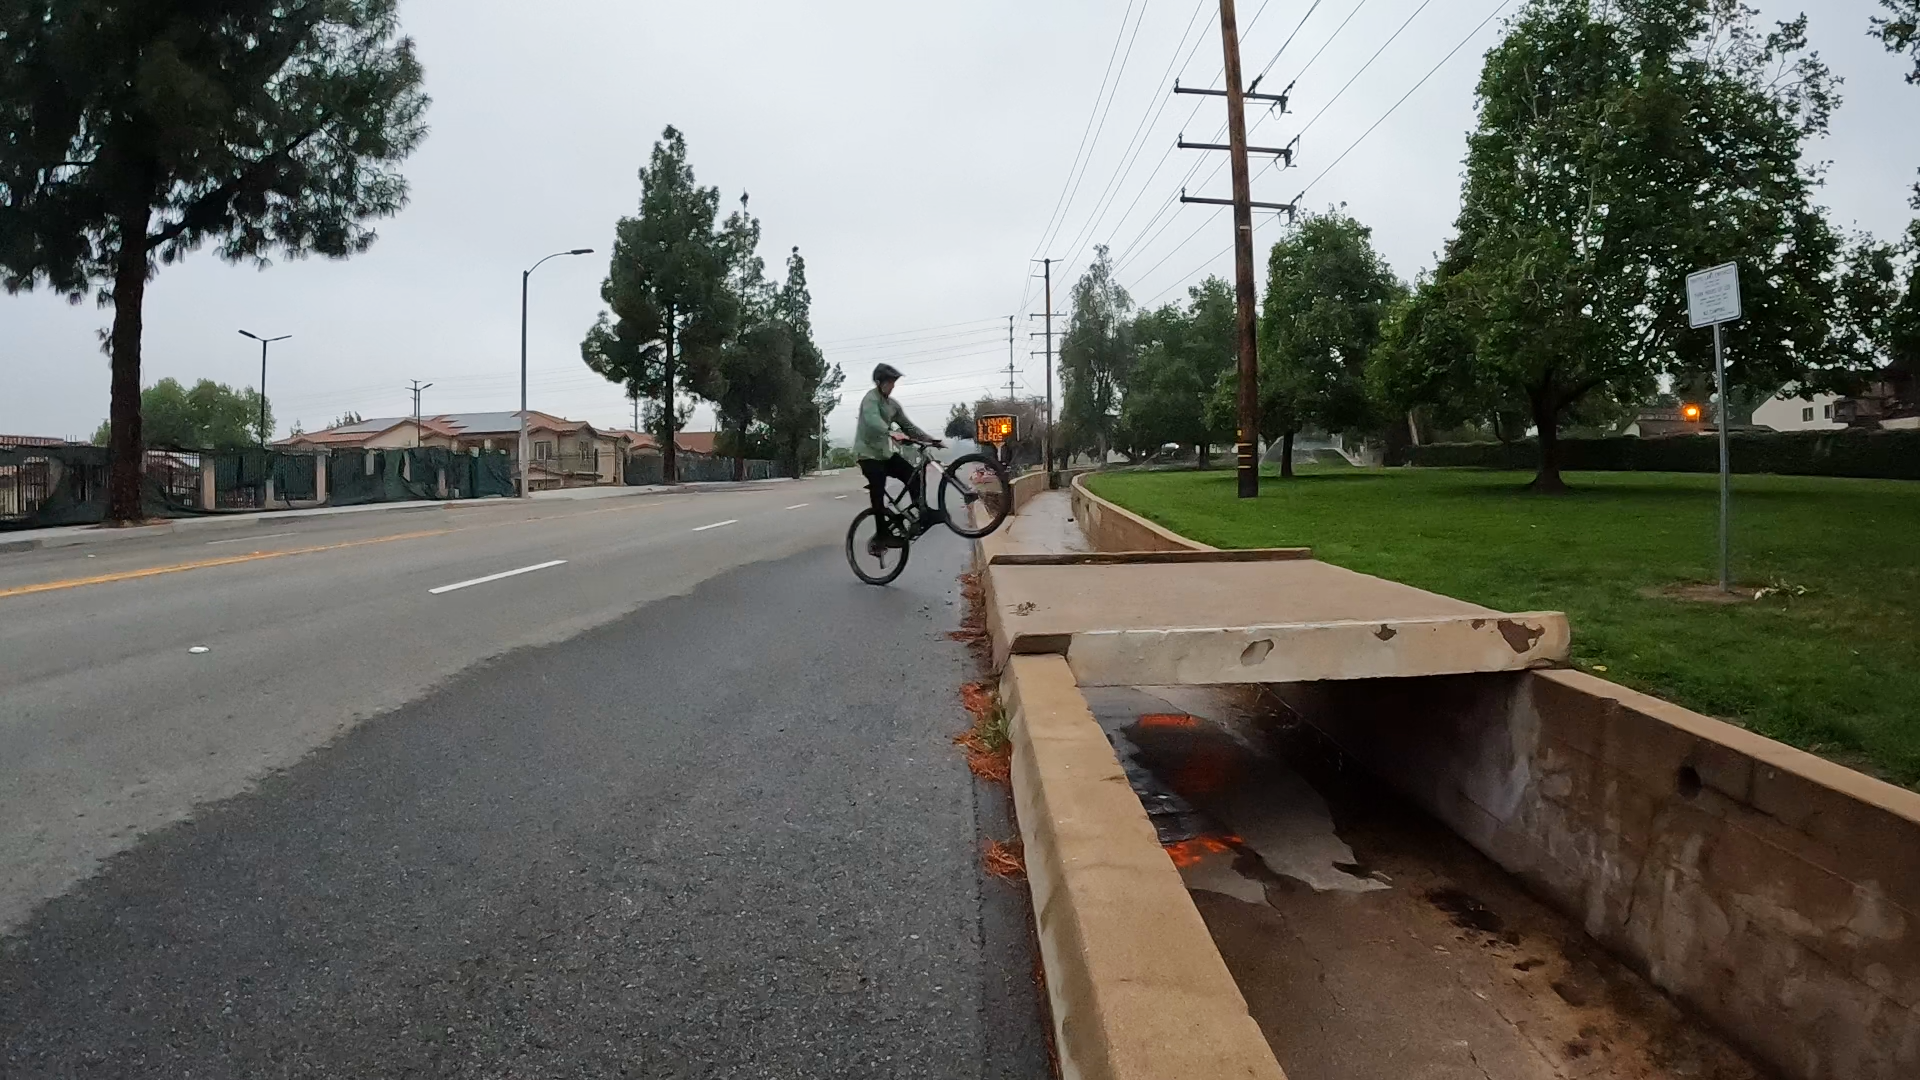
Step One: The Front Wheel Lift
The first part of the bunny hop is getting that front wheel off the ground. There are different ways to do this but we're going to use the rock back method sometimes called the manual style lift where you shift your weight back and down to pop the front wheel up.
Start slow and just practice this part on its own. Roll at a comfortable pace, compress slightly, then shift your weight back and down while pulling back on the bars. The front wheel should rise. You don't need to go big here, just get comfortable with the feeling of the front end coming up on command.
A great drill before you even get on the bike is to stand next to it and manually lift the front wheel with your hands, then lift the rear. This gives you the feeling of the sequence in your arms and helps your brain understand the movement before you're trying to do it while rolling.
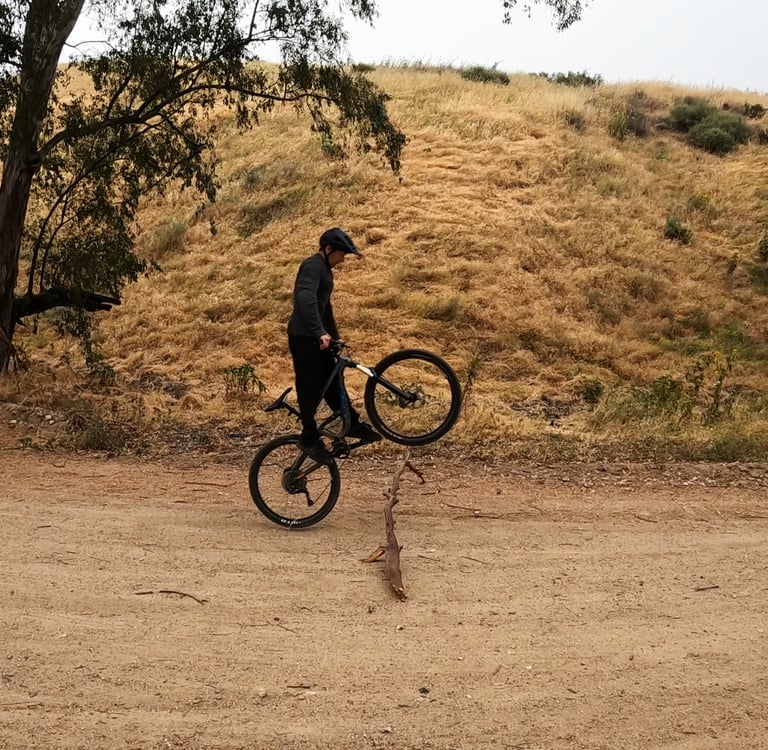
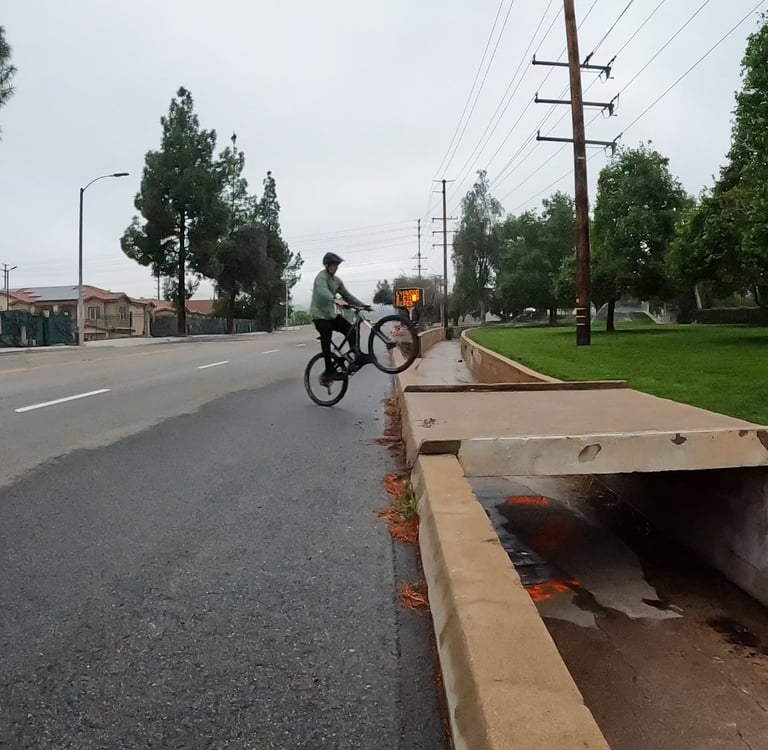
Step Two: The Hard Part — Jumping Up and Forward
Once you've got the front wheel coming up consistently here's where most people get stuck. With your weight shifted back and the front wheel up you now need to explosively jump up and forward, bringing your hips toward the bars as you do it.
This is the part that takes the most practice. The instinct is to stay back but you have to commit to that forward movement to get the rear wheel off the ground. Think of it as scooping your weight goes back to lift the front, then you drive forward and up to bring the rear with you.
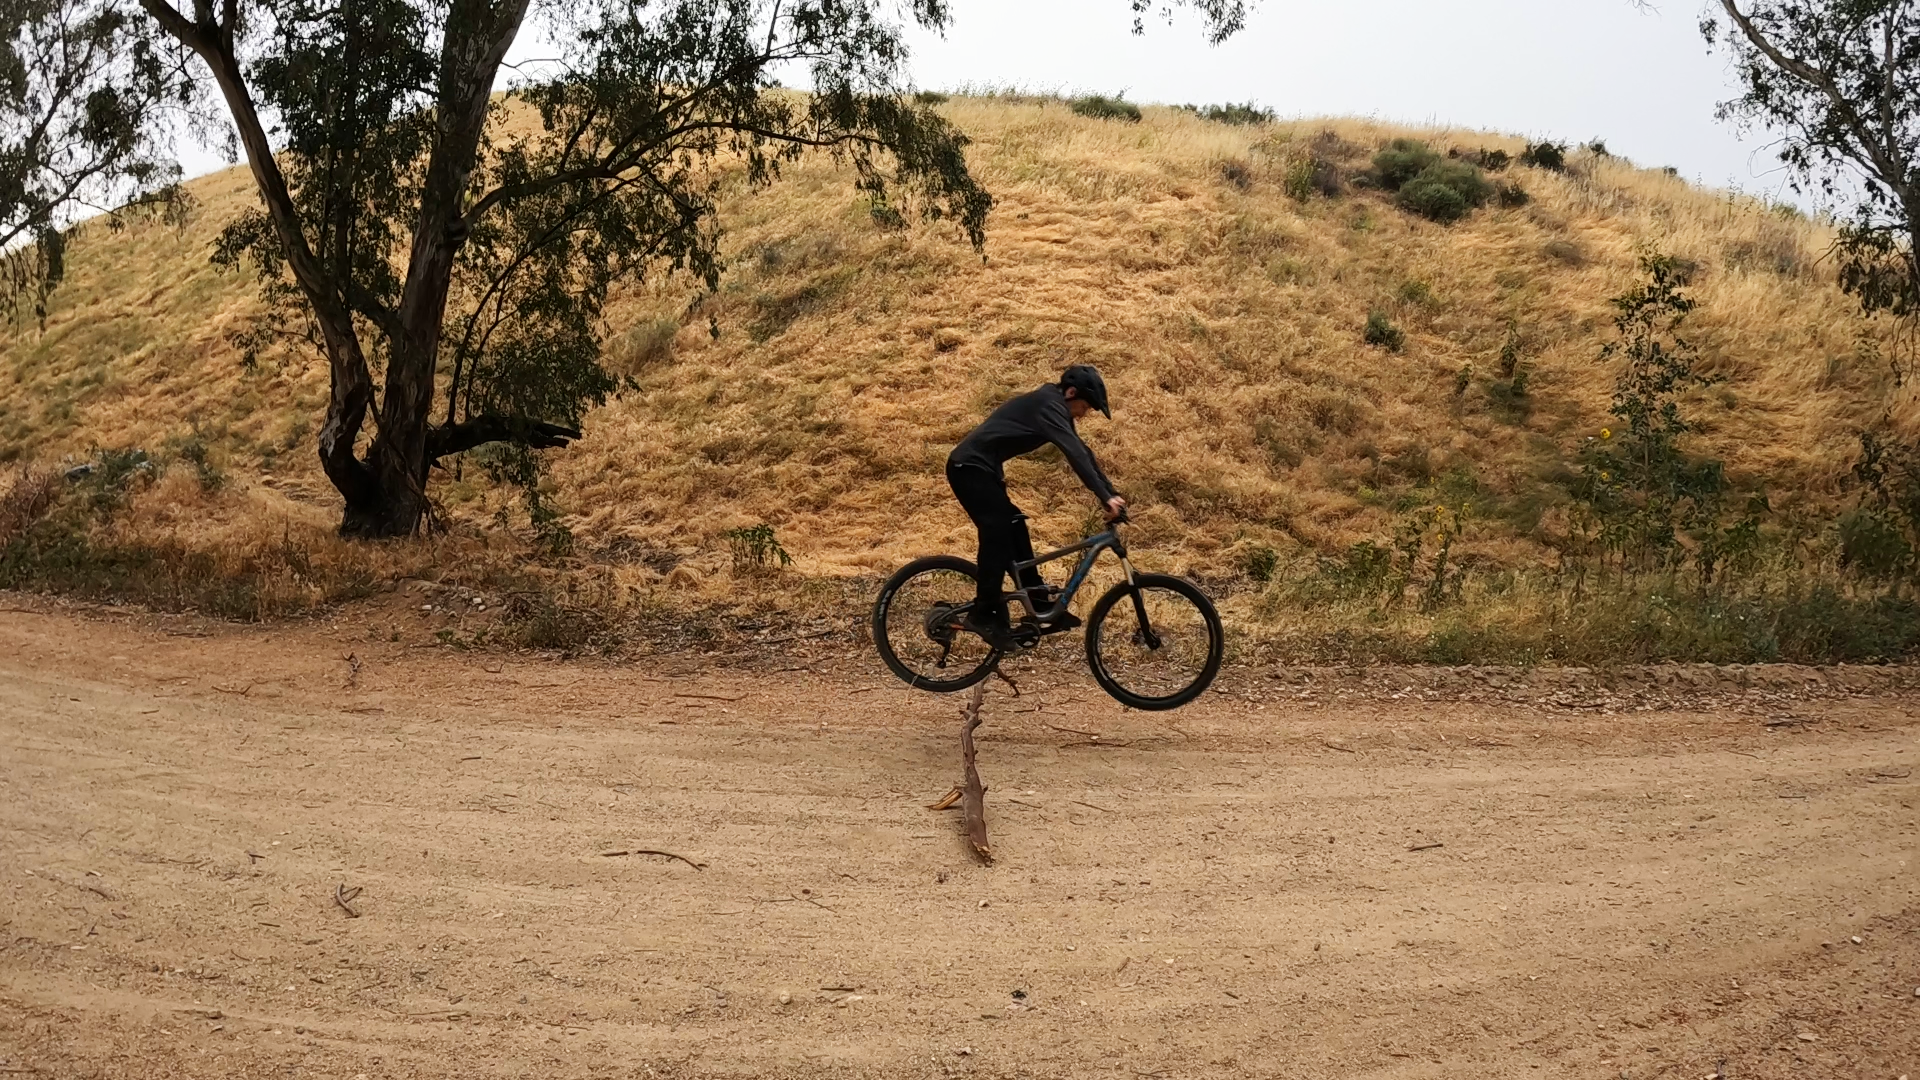
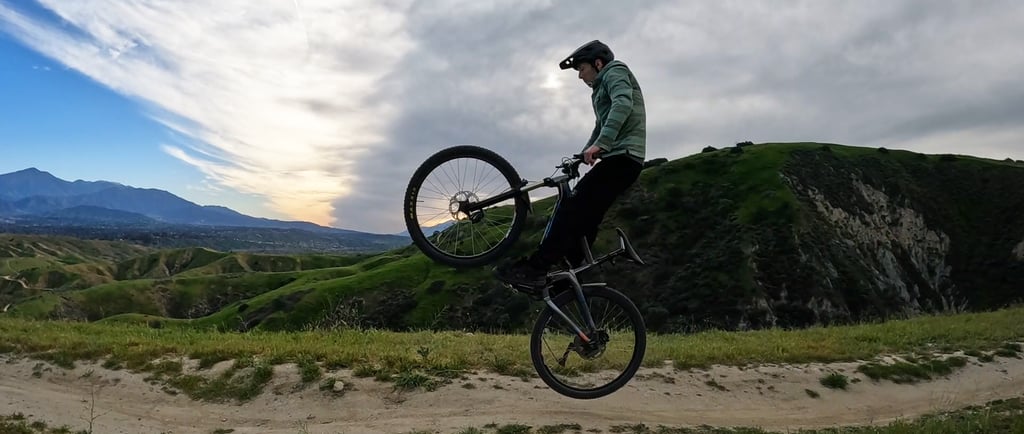
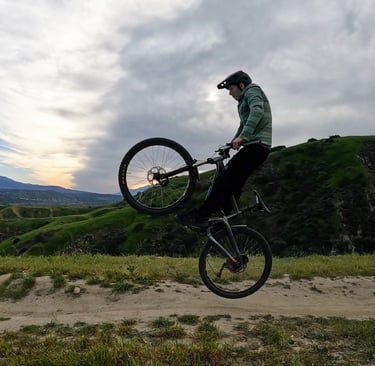
Step Three: Level It Out
Once both wheels are in the air push forward on the bars to level the bike out. This keeps you from landing nose heavy which can send you over the bars. The push forward is what controls your angle in the air and gives you a clean landing with both wheels touching down together.
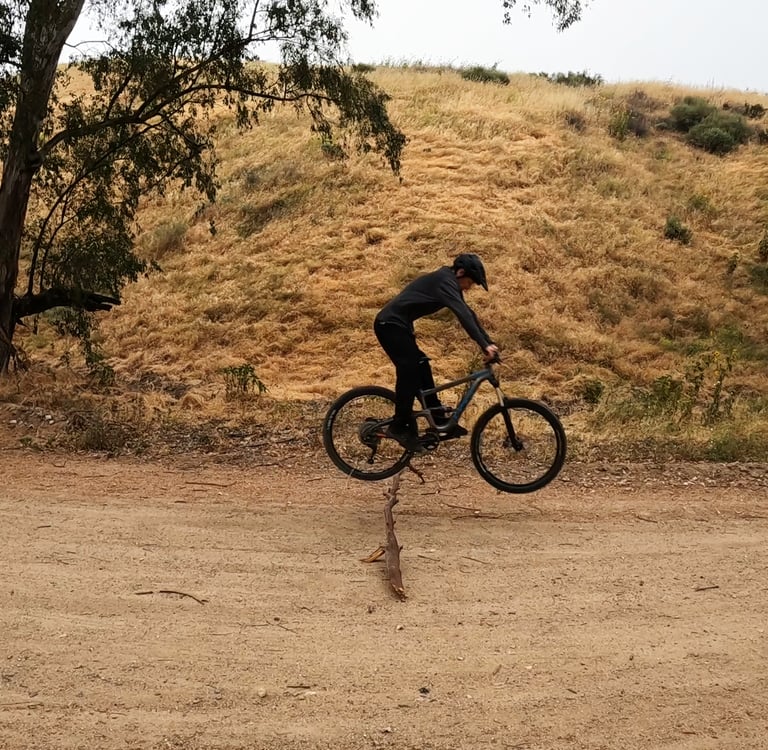
Putting It Together
The full movement is a fluid sequence, compress, weight back to lift front, jump up and forward bringing hips to bars, push forward to level. It sounds like a lot of steps but once it clicks it happens in one smooth motion.
Start practicing over something small — a crack in the pavement, a painted line, a small stick. You don't need height at first, just get the feeling of the full sequence connecting.
Taking It to the Trail
Once you've got the basic movement dialed a few things to keep in mind when you start using it on actual trail features.
Speed matters. The faster you're going the earlier you need to initiate the movement. On a slow rolling hop you can start it pretty late but coming into a log or curb at speed you need to begin the weight shift a little earlier than feels natural at first.
Commit. Half committing to a bunny hop is how you clip the top of things. Once you start the movement see it through.
The faster you go the further back you start. This is especially true for curbs and logs, approach speed changes your timing so practice at different speeds once you're comfortable with the basic movement.
Why This Skill Matters Beyond Just Hopping Things
Once you have a reliable bunny hop your whole relationship with the trail changes. You start seeing lines differently. Features that used to make you slow down or bail become manageable. And when you start working toward actual jumps this is the exact movement pattern you'll build on — the compression, the weight shift, the pop, the levelout. It's all there in the bunny hop.
It's one of the most valuable hours you'll spend on a bike.