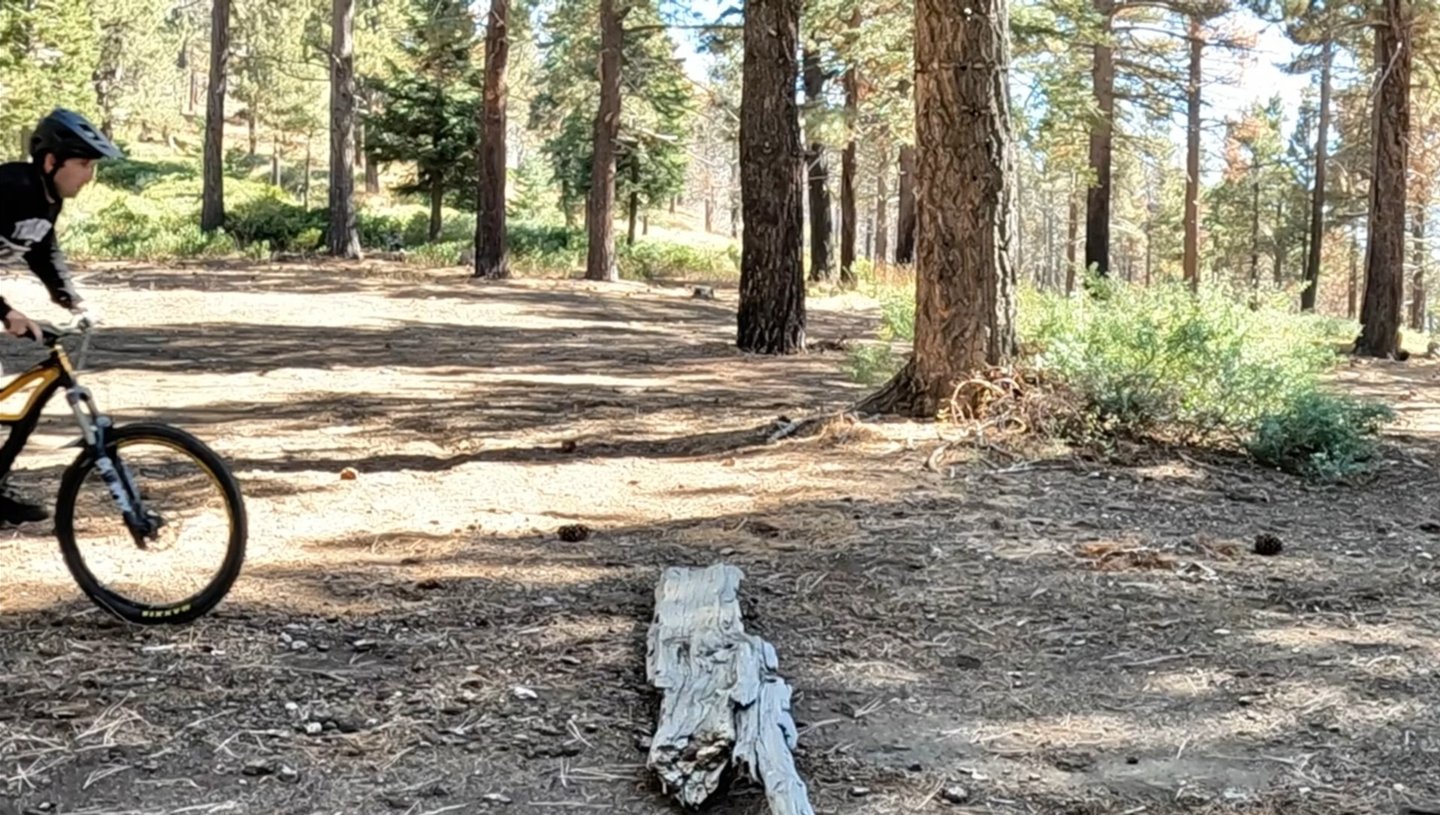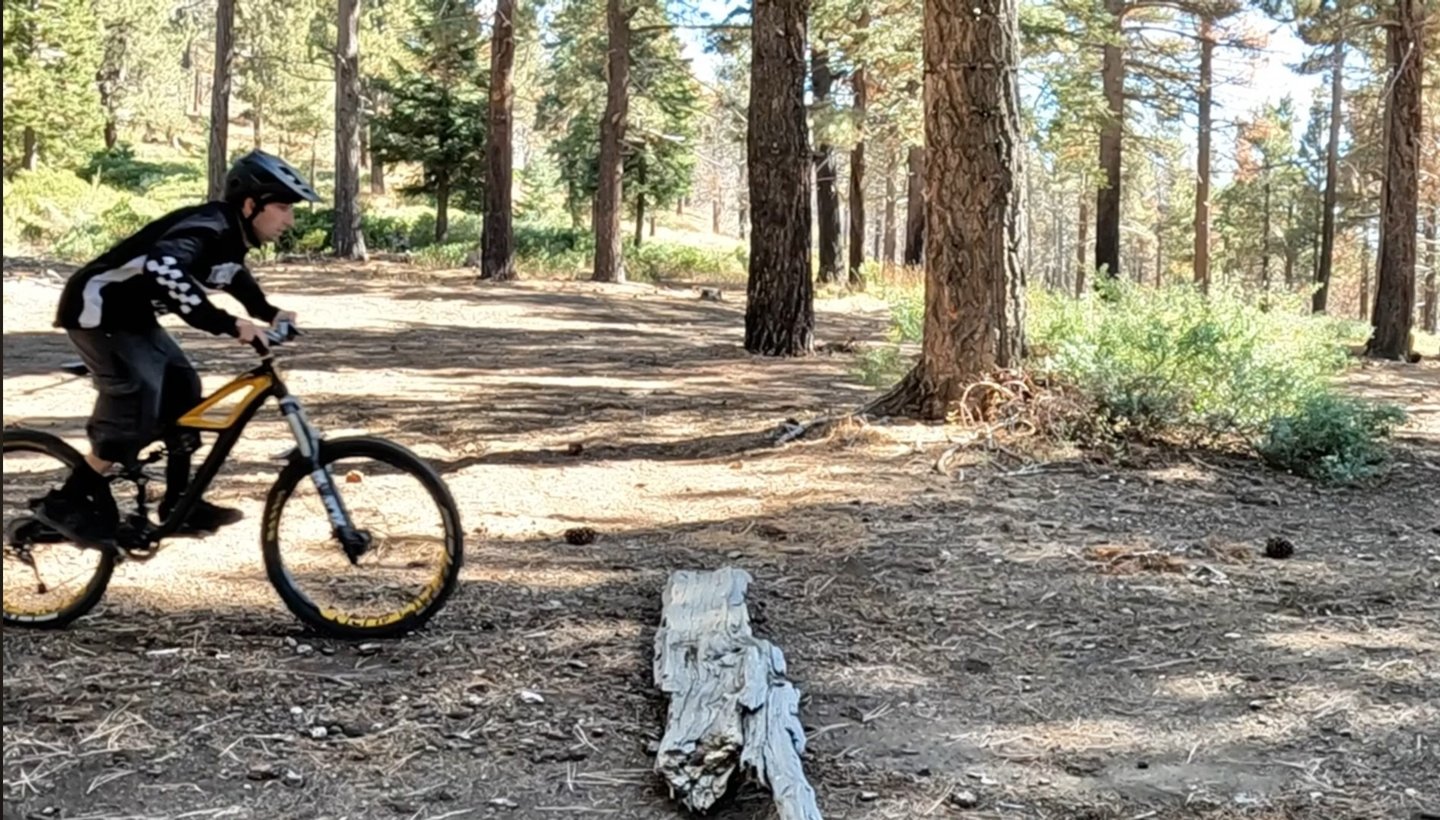
How to Bump Jump on a Mountain Bike (Step-by-Step MTB Skill Guide)
Learn how to bump jump on a mountain bike with this step-by-step guide. Improve your control, flow, and trail creativity using small bumps, roots, or rocks to catch air smoothly.
SKILLS
10/21/20255 min read
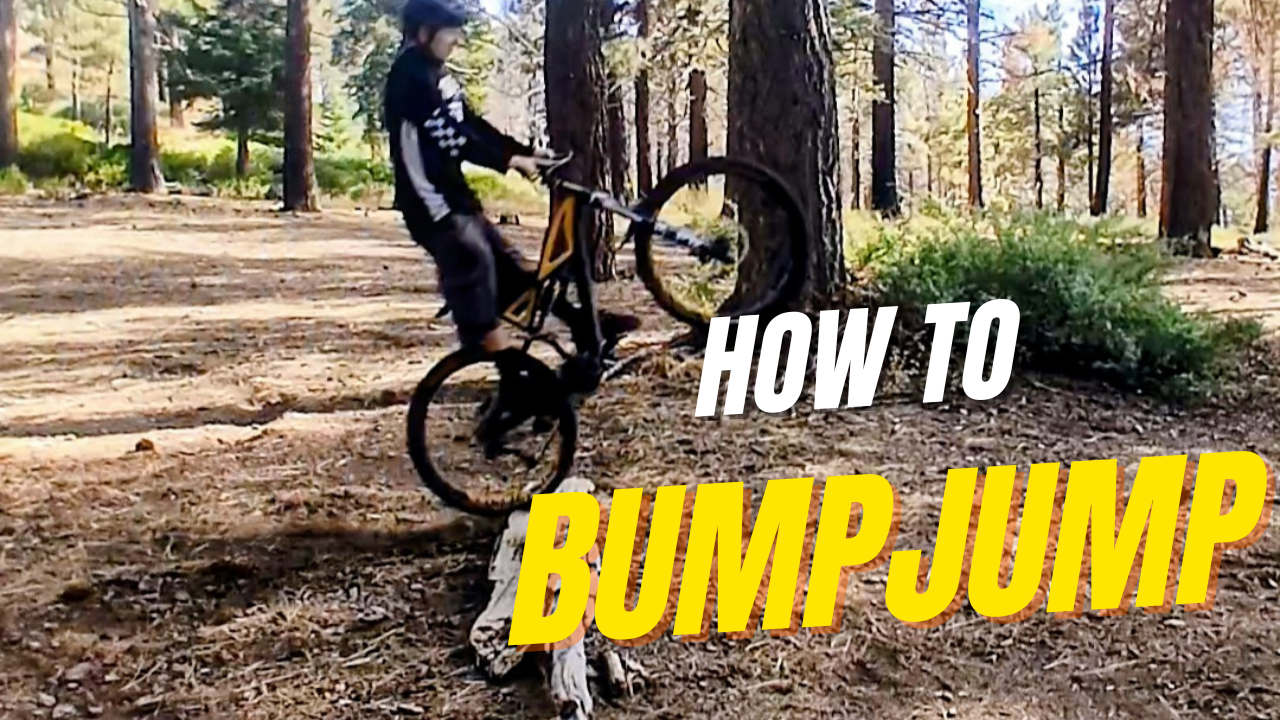
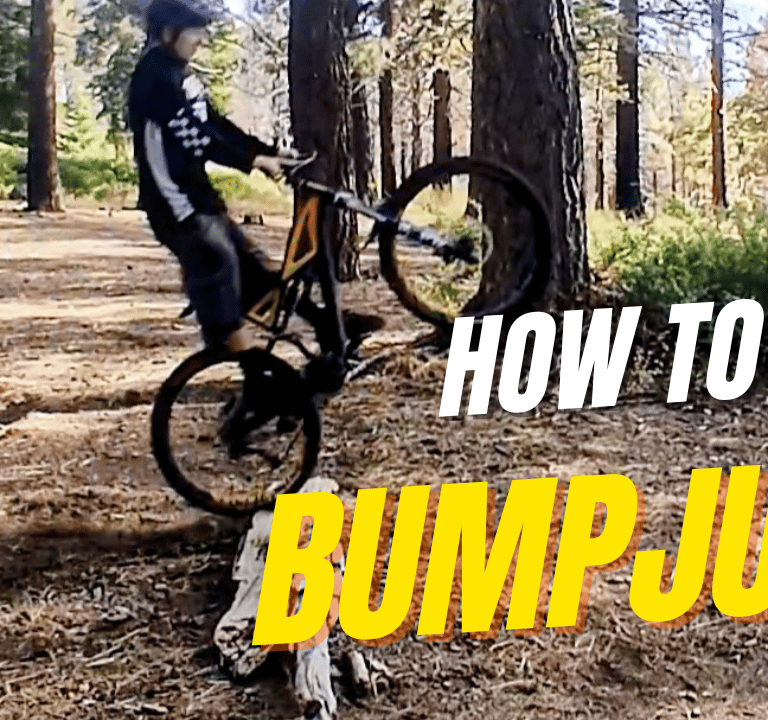
How to Bump Jump on a Mountain Bike
The bump jump is one of the most fun and useful skills you can learn on a mountain bike. It bridges the gap between regular trail riding, bunnyhops, and J-hops—letting you turn almost any trail into a playground. Once you get the hang of it, you can use a bump jump to clear rocks, roots, rough sections, or just catch a little air off random trail features.
Learning bump jumps also helps you understand the timing behind real hops and jumps. It trains you to preload your body, roll your wrists forward, and unweight the back end—all the movements that make bunnyhops and trail jumps easier later on. When I was a kid, a friend taught me on a tiny bump—just a one-inch rise on a concrete foundation with a bit of dirt in front of it. That little bump taught me how to pop the front wheel and pull the rear up naturally. So if you’re trying to learn bunnyhops on flats or get more air off lips, the bump jump is where it all starts.
Why Learn the Bump Jump
Bump jumps build a foundation for J-hops and bigger jumps while teaching you how to use terrain instead of fighting it. They also help with body timing and preload, and can make technical sections feel smoother and more controlled. Once you learn them, even relatively flat trails become more fun because you start seeing little roots, rocks, and bumps as features you can use.
What You Need
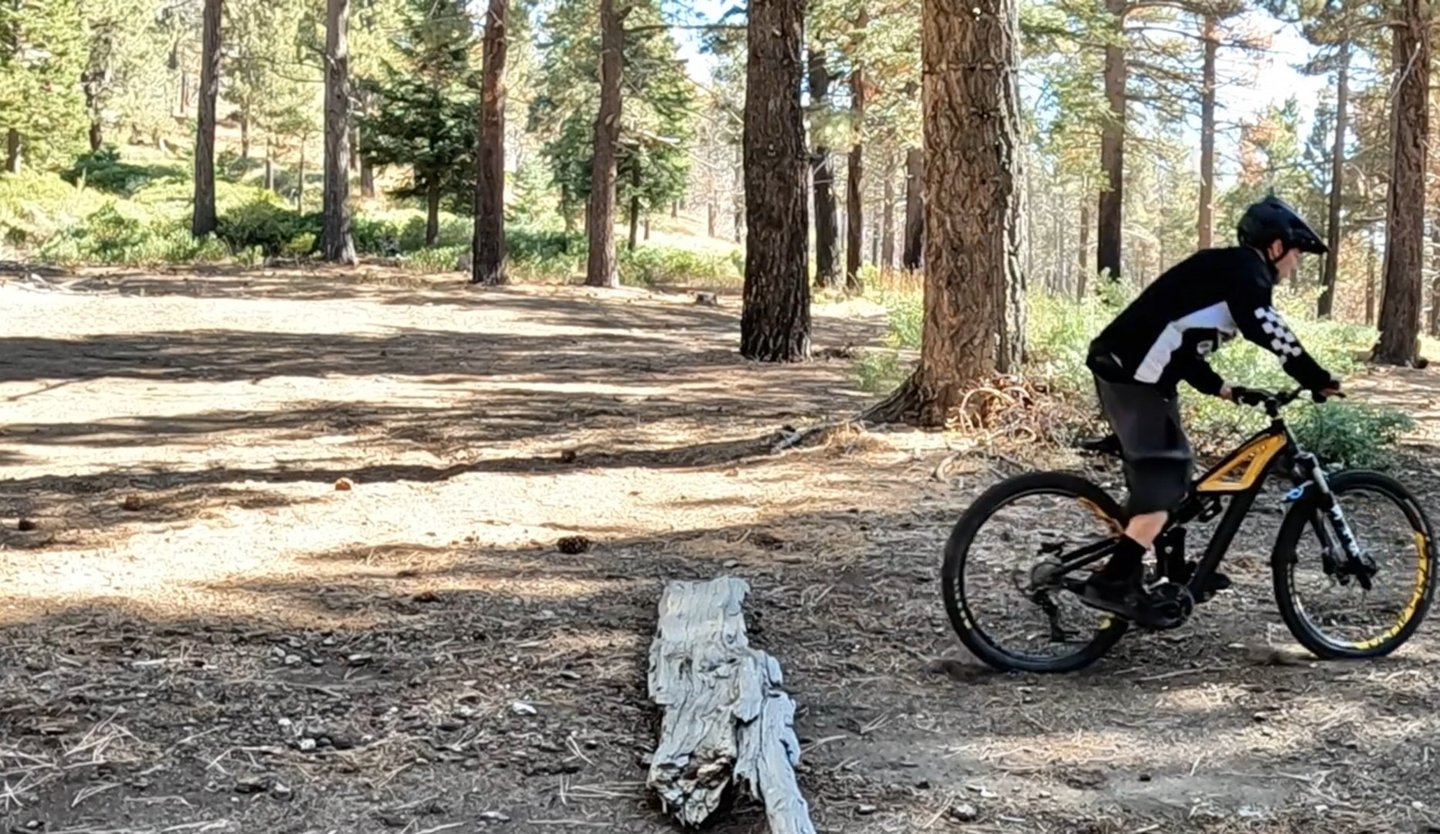
You don't need anything fancy to start. Find a wide, open area such as a driveway, parking lot, or flat dirt area and use a small obstacle—a 2×4, small root, or rock a couple inches tall. Lowering your seat a little can also give you more room to move the bike underneath you.
Step-by-Step: Learning the Technique
1.Approach at a moderate pace.
Start slow to medium speed — fast enough to roll over the bump cleanly, but not so fast that you can’t control your timing. Once you master the motion, you can go faster and slower on purpose to fine-tune control.
2.Body position before the bump.
Shoulders over the bars, knees and elbows bent, standing tall but relaxed. Eyes up, scanning past the bump.
3.Preload your body, not the suspension.
As you near the bump, sink down into the bike — compress your body slightly to store energy. Think of this like loading a spring.
4.Light hands, active feet.
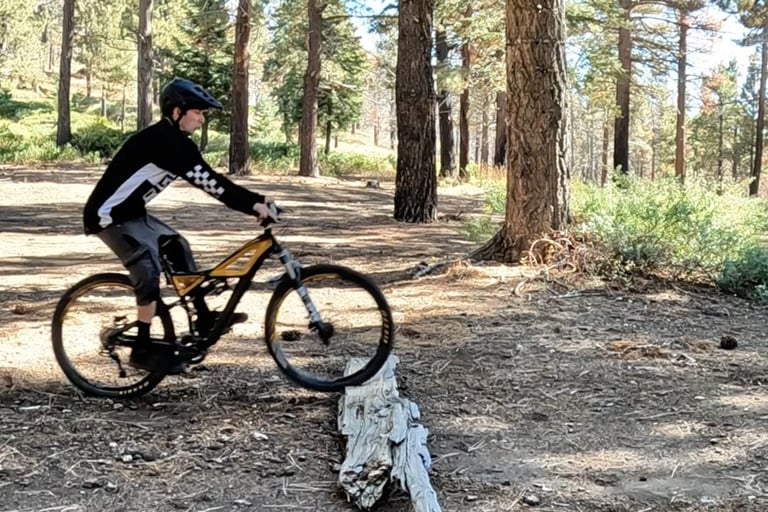
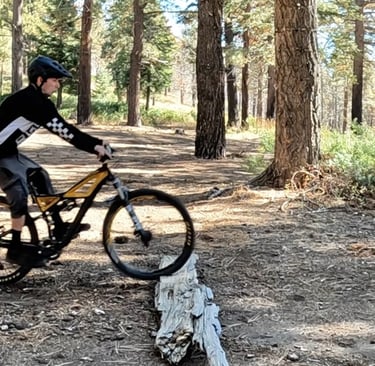
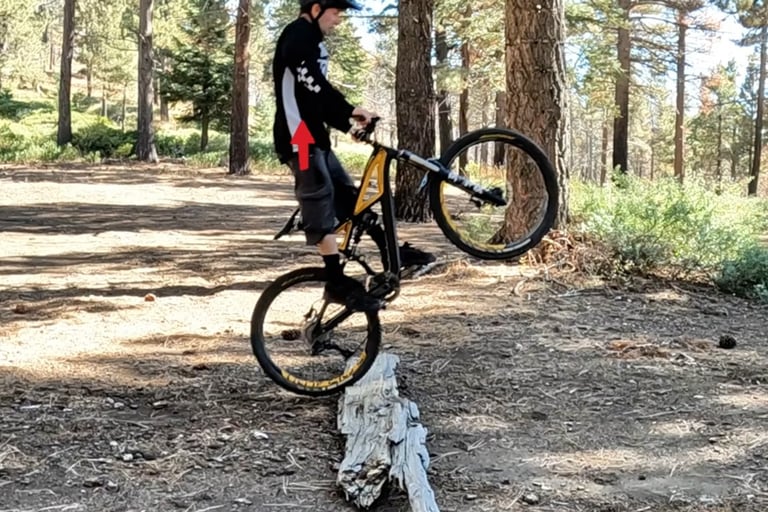
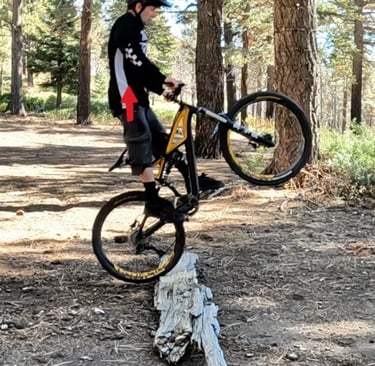
As your front wheel reaches the bump, lighten your hands and let the bump lift the front. Don’t yank or pull up hard like a bunny hop — let the terrain pop you.
5.Drive your feet into the bump.
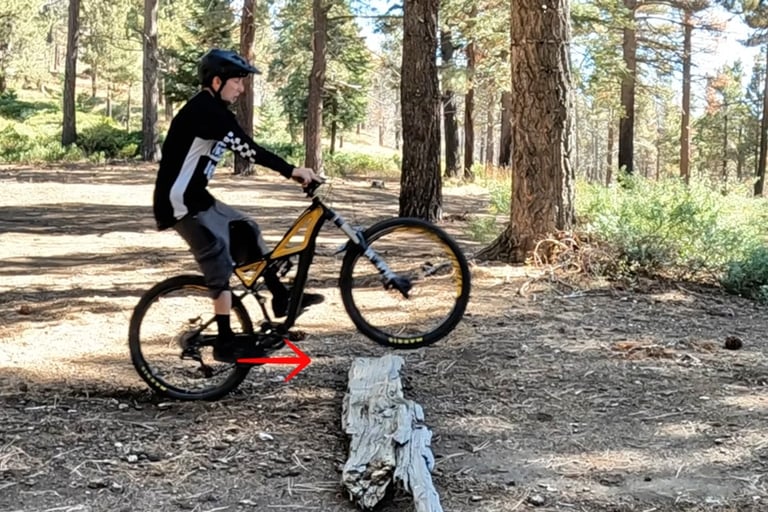
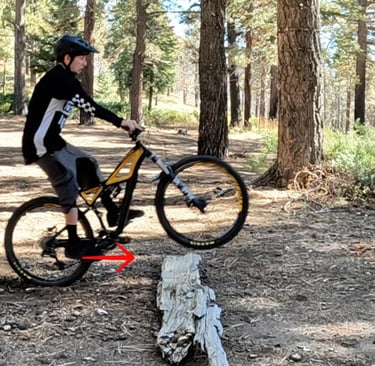
Once your front wheel is airborne, push down into your pedals as your rear wheel reaches the bump. This is what makes the back wheel launch upward.
6.Explode upward.
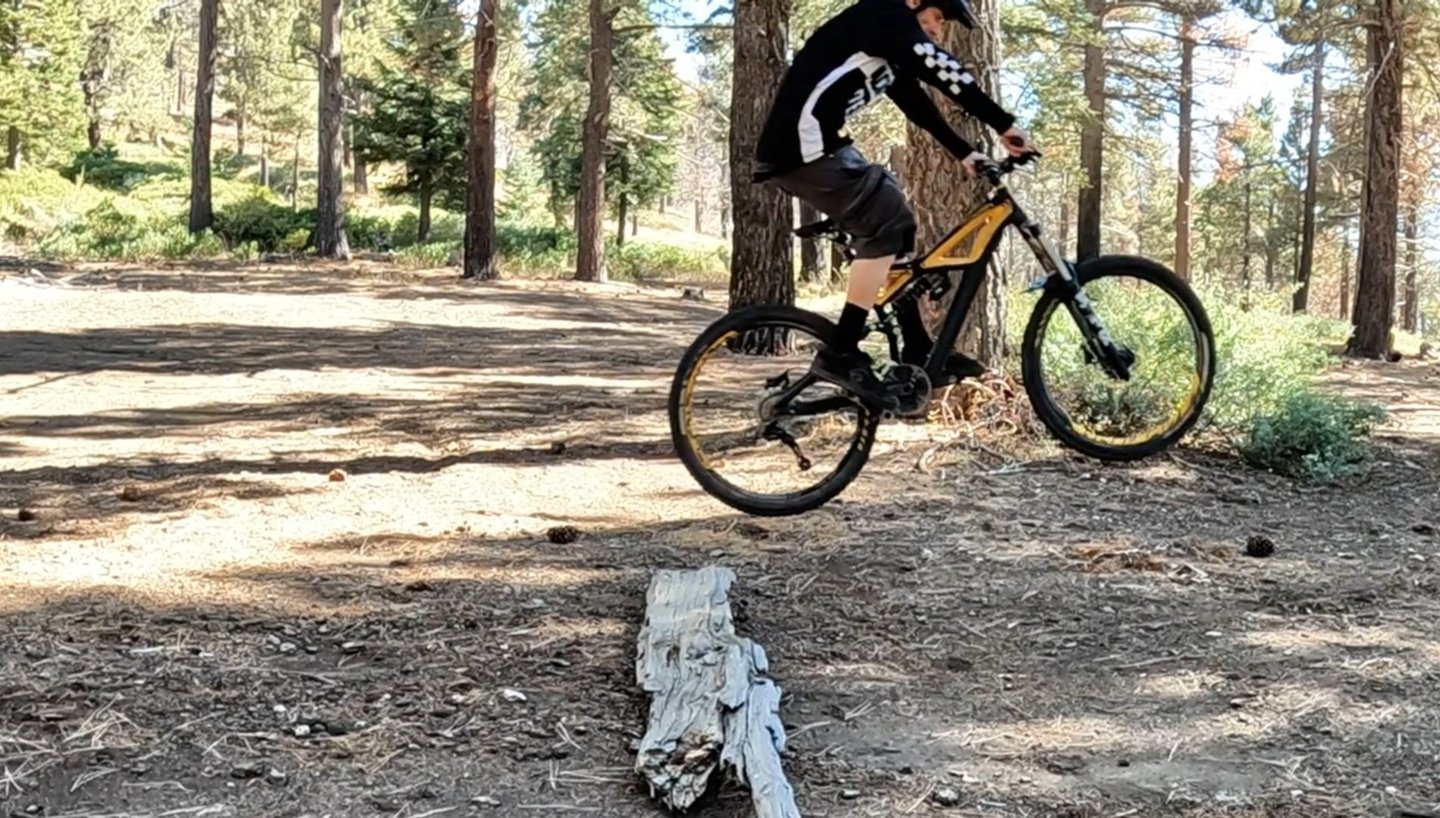
When the rear tire hits the bump, extend your legs and body straight up — this sends both wheels airborne smoothly.
7.Suck the bike up.
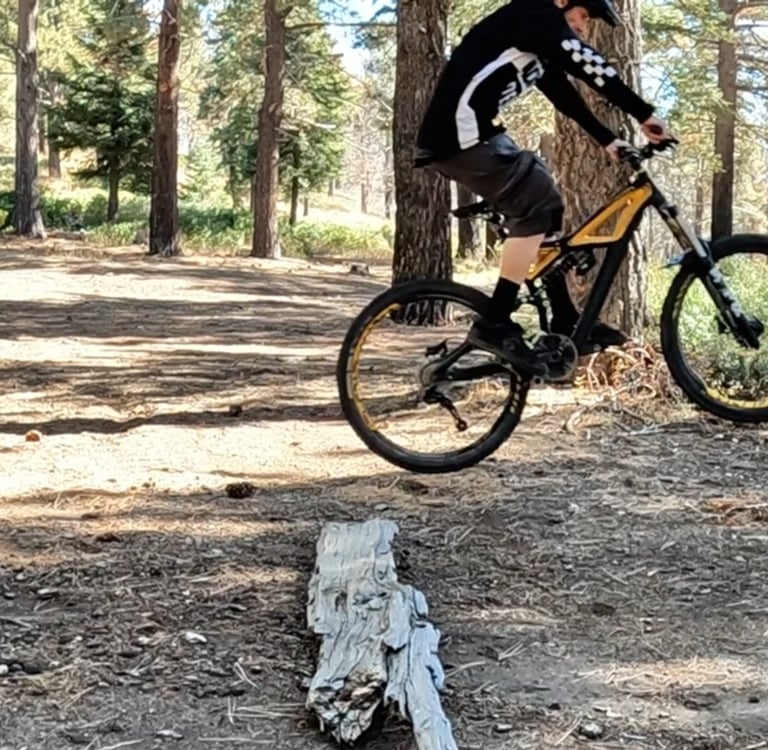
As the rear leaves the bump, roll your wrists forward and “suck” the bike up with your legs to stay compact and balanced.
8.Prepare to land.
Level the bike in the air and land light — knees and elbows bent to absorb impact.
More on Jumping
Bump jumps are just one way to work on your jumping technique. If you want a more complete step-by-step guide, I cover takeoffs, timing, different jump types, landings, and progression in my Complete Guide to Jumping Mountain Bikes.
Practice Tips
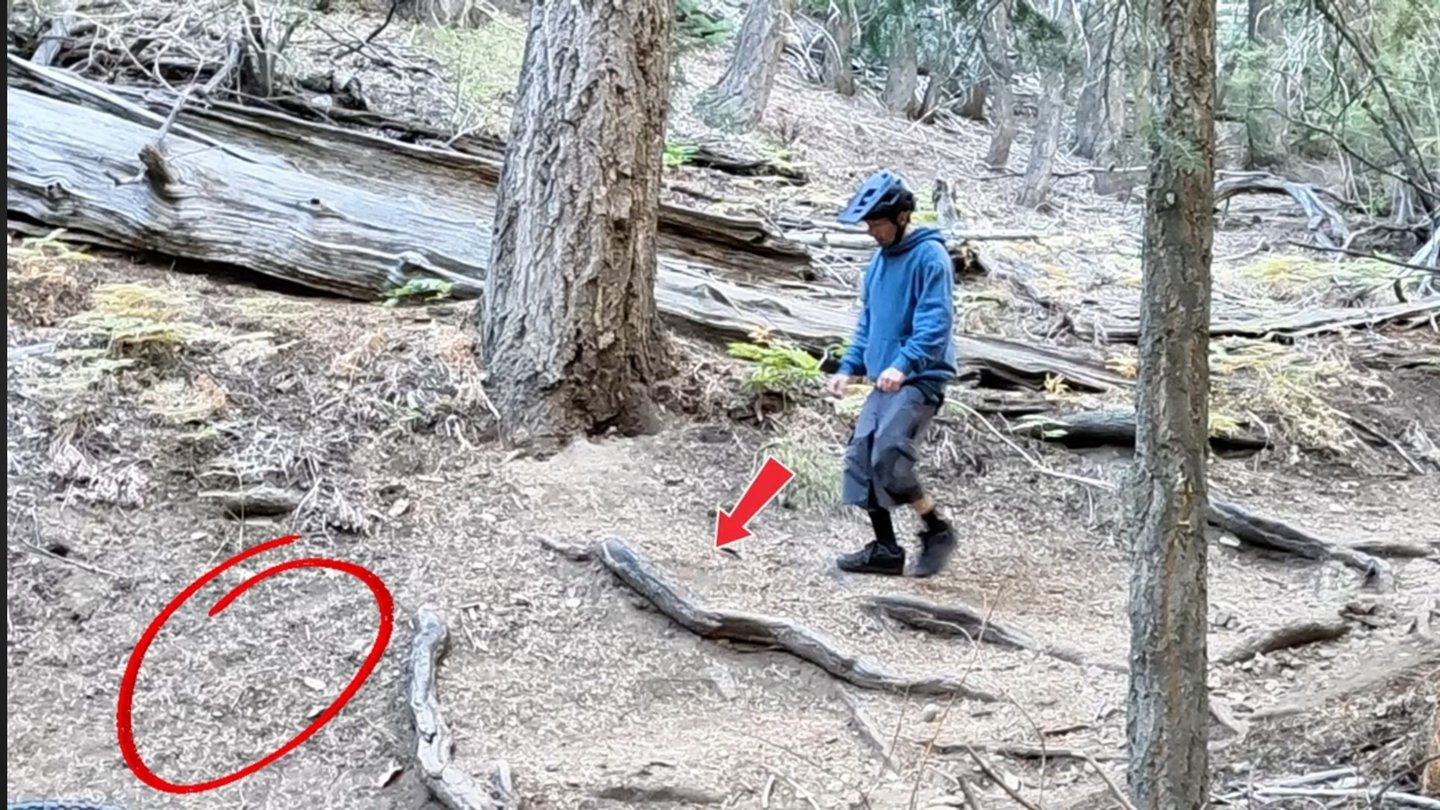
Keep your shoulders low and centered rather than leaning too far back. As you improve, experiment with different-sized bumps and different speeds so you can feel how the timing changes. Eventually, try linking several bumps together or using natural trail features like roots and rocks. Filming yourself can also help you spot whether you're pulling too hard on the bars or mistiming the rear-wheel push.
Bump Jump Video Tutorial
How Bump Jumps Help With Jump Timing
One of the things I really like about bump jumps is that they teach you timing without any pressure. A lot of riders struggle with knowing exactly when to extend or pop as they reach a lip, and that hesitation is usually what causes cases or flat landings.
Practicing on small bumps or rollers takes the consequence out of the equation. Instead of thinking about clearing a gap, you can actually feel what's happening. As your bike rides up the bump you compress slightly, then extend as the front wheel reaches the top. The terrain is doing some of the work for you, which makes it easier to notice the rhythm.
A cue that helped me was imagining a stick placed near the top of the takeoff. The moment your front wheel reaches that point is when you start extending. It sounds simple but having a visual reference like that makes the timing click faster than just being told to "pop at the top."
Bump Jumps and Learning to Bunny Hop
When I was around 11 or 12 I was already jumping and bunny hopping clipped in from racing cross-country. Then one day I was riding with some friends and one of them bunny hopped on flat pedals. I genuinely couldn't figure out how that was possible without being clipped in.
He showed me what he'd been doing — using small cracks in the pavement and little trail bumps to practice lifting the bike. Use the bump to help the front wheel come up, then follow with the rear. That's really all it was.
It's the same idea as a bump jump. The terrain gives you a small assist so you can work on the timing and feel of lifting the bike without needing perfect technique from day one. Once that motion starts feeling natural on small stuff, applying it to real jumps becomes a lot less mysterious.
Final Thoughts
The bump jump is pure trail fun — simple, effective, and a skill that instantly adds style and control to your riding. Once you nail it, you’ll start seeing opportunities everywhere: a root becomes a launch pad, a rock becomes a mini-jump, and even a rough trail section turns into a playground.