6 Types of MTB Jumps Every Rider Should Know (Beginner to Advanced)
SKILLS
3/5/20254 min read

6 Types of MTB Jumps Every Rider Should Know (Beginner to Advanced
You roll up to the bike park or a new trail and see all kinds of jumps scattered around. Someone points at one and says "just start on the tabletop" and you're nodding like you know what that means. Or maybe you've been riding a while but never really knew the difference between a step up and a step down. This guide breaks down the six most common types of MTB jumps, what makes each one unique, and where to start if you're building up your jumping skills.
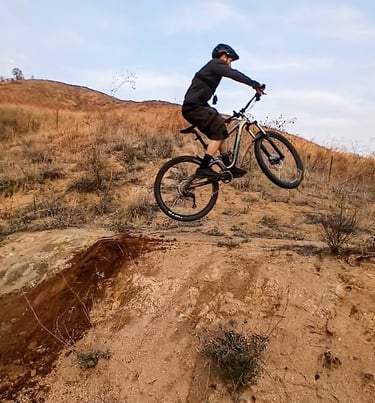
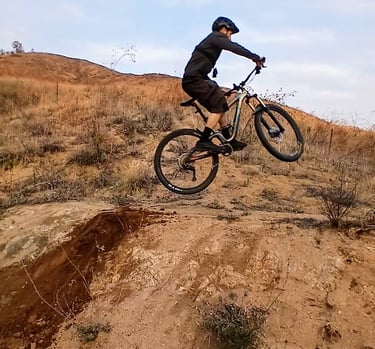
Small Takeoff
A small takeoff can be anything from a simple propped-up board to a small dirt mound. It's the best starting point for beginners because you can focus entirely on the takeoff technique, getting your wheels off the ground, without worrying about a downslope landing or clearing a gap. I learned on a small single roller, and honestly that's still where I'd start most riders.
Where you'll find them: beginner jump lines, trail side features, and anywhere local riders have built something small to session.
Start with a smooth, mellow transition and gradually work your way up in speed. Focus on body position and staying relaxed — that's the foundation everything else builds on.
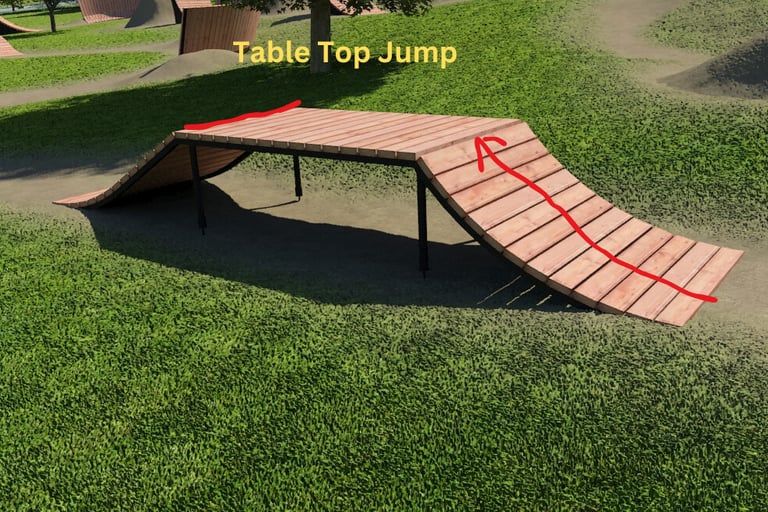
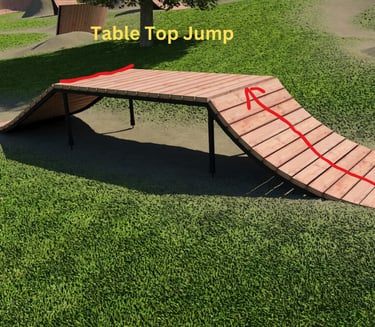
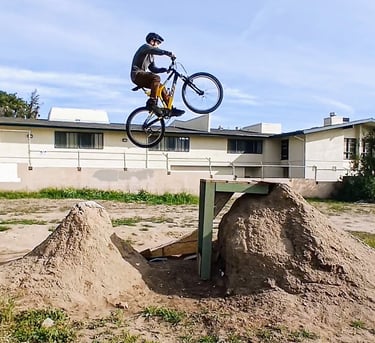
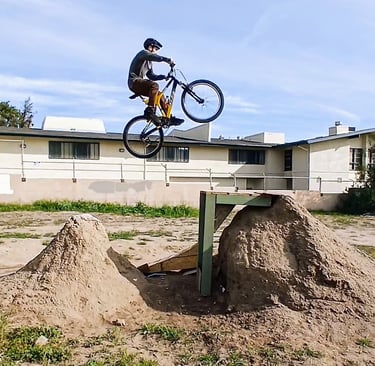
Tabletop
A tabletop has a takeoff and a landing with a flat section in between. Both the takeoff and landing sit at the same height, and that flat top is what makes it so beginner friendly. You'll find them built out of dirt, wood, or even cement at skateparks.
Where you'll find them: most bike parks have at least one, and they're common on beginner and intermediate jump lines.
Once you're comfortable getting your wheels off the ground on small takeoffs, a tabletop is the next step. The flat middle section is forgiving — if you come up a little short you land on the flat top instead of casing a gap. That makes it a great place to build confidence before moving on to doubles.
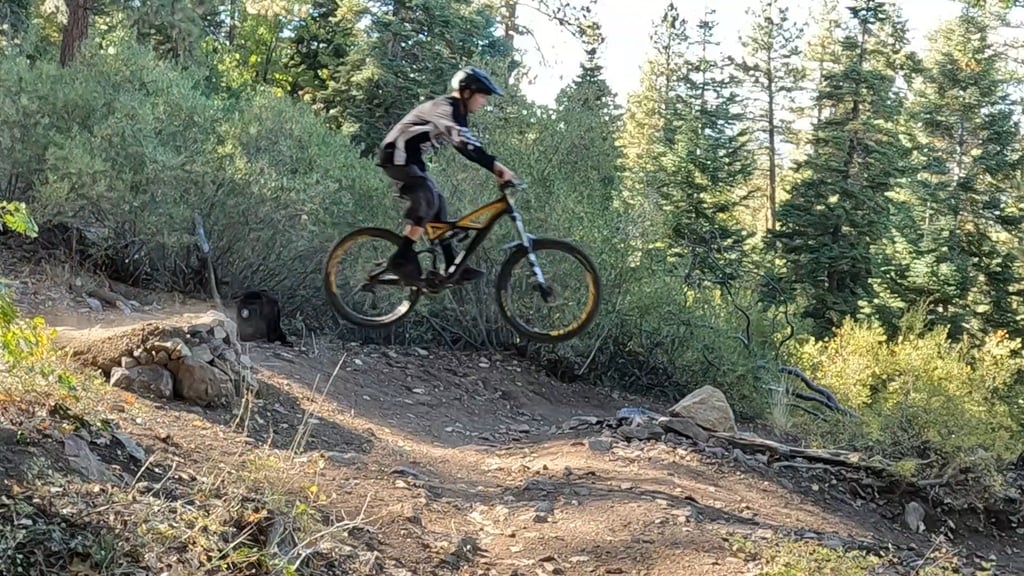
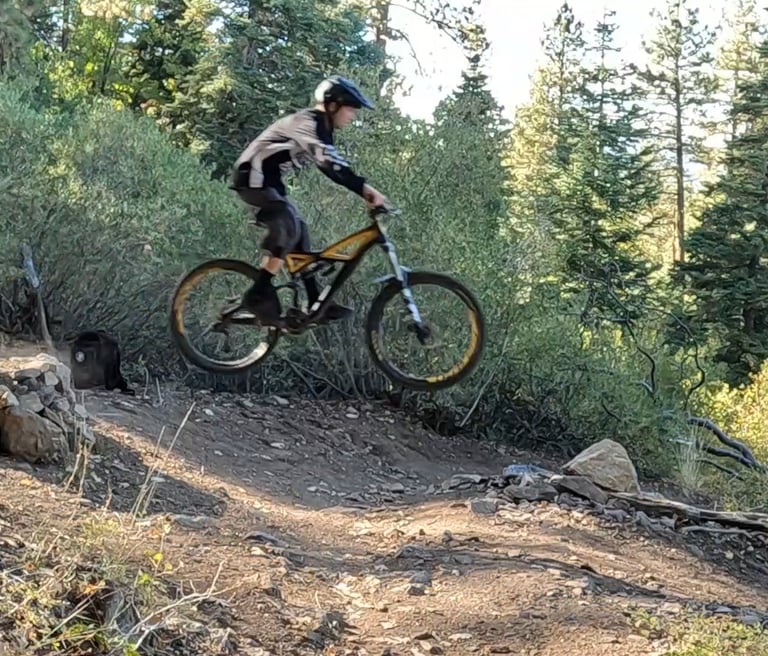
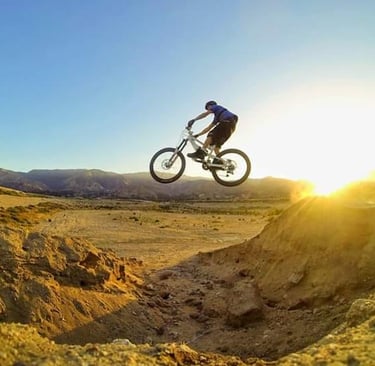
Double
A double is shaped like a tabletop but with the flat middle section removed, replaced by a gap. That means you have to clear the gap entirely, there's nothing to save you if you come up short.
Where you'll find them: intermediate and advanced jump lines at bike parks, and on trail jump features everywhere.
Get comfortable on tabletops first so you have a feel for the speed and commitment needed. Clearing a double feels great, but the margin for error is smaller. Proper speed is everything here.
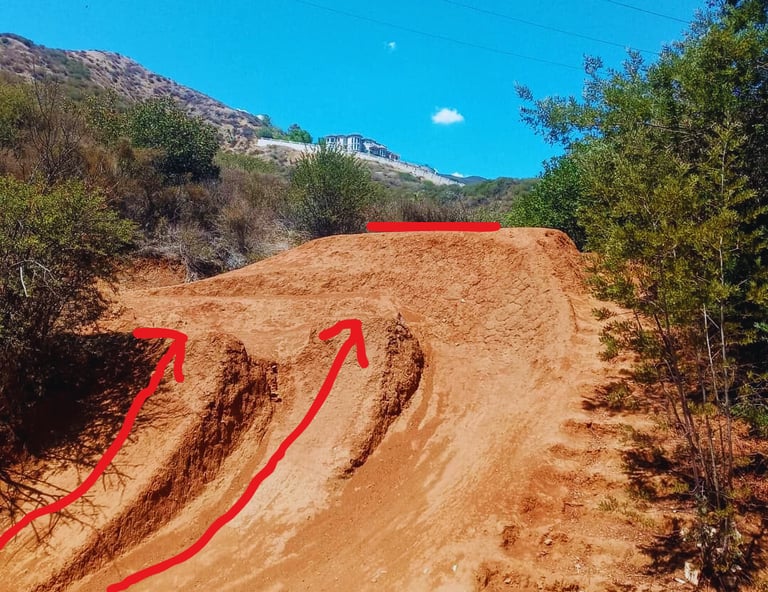
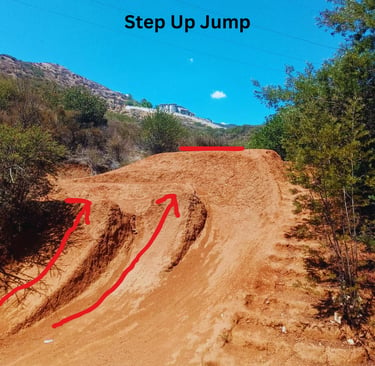
4. Step Up
A step up has a landing that's higher than the takeoff. It can include a gap like a double, or be rollable like a tabletop with a raised landing.
Where you'll find them: bike parks, dirt jump spots, and built trail features.
One thing that makes step ups good for learning new tricks: because you're jumping up to a higher landing, you're not falling back down as far, which means you arrive at the landing slower. That extra hang time and softer arrival gives you more room to work with compared to a standard jump. Landings tend to feel gentler too, which makes them a bit more forgiving when you're trying something new.
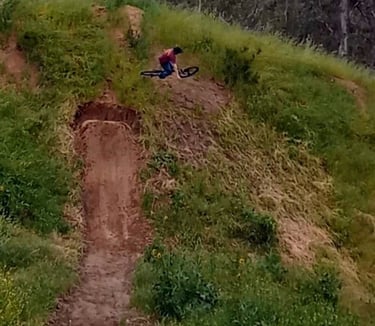
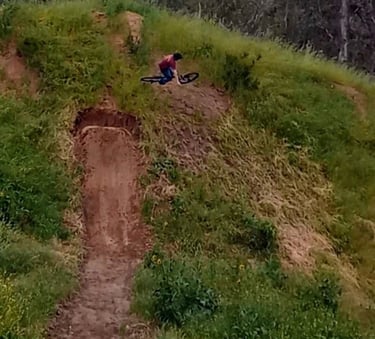
5. Step Down
A step down is the opposite — the landing is lower than the takeoff. These usually have a more gradual ramp and can include a gap or be rollable.
Where you'll find them: natural terrain transitions, road gaps, and trail features where the ground drops away after the lip.
Because you're dropping onto a lower landing the impact can be heavier on your body and bike. Full suspension helps absorb that. Road gaps are often step downs because of the drop to the road or lower surface below. Make sure you're comfortable with your speed and commitment before dropping into a bigger one.
6. Hip
A hip jump has a landing set at a different angle than the takeoff, often around 90 degrees. Instead of going straight, you carve off the lip and turn in the air to match the landing.
Where you'll find them: bike parks and more advanced trail features. You might also hear a variation called a tombstone at bike parks, usually a taller, narrower lip set off to the side of a jump line, same idea of landing at an angle.
Hips take more practice because you have to carve enough on the takeoff to actually reach the landing. Once you've got the technique dialed they're a lot of fun and great for stylish tricks since you already have rotation happening naturally.
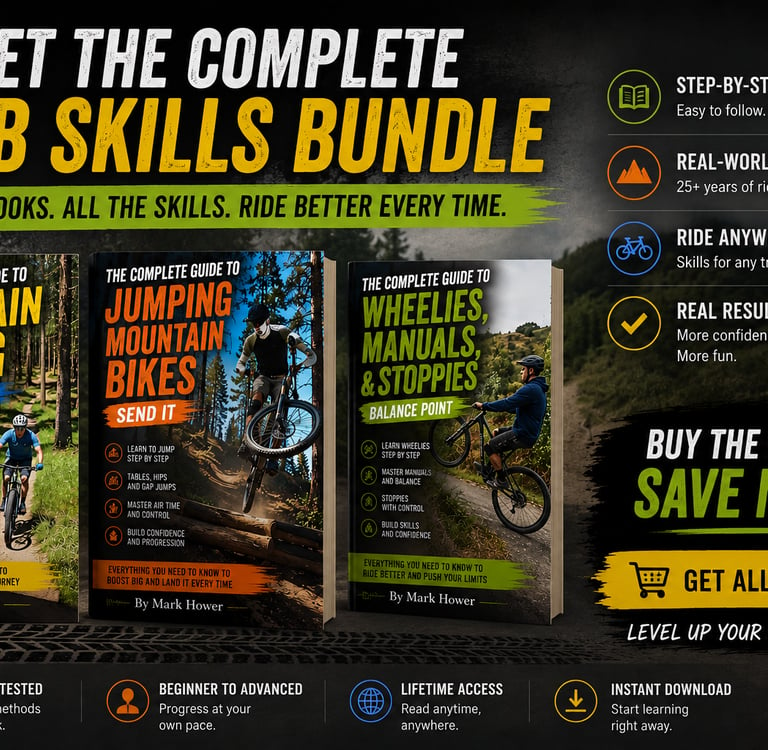
I've put 25+ years of riding into three step-by-step guides. Grab all three and save $10 — The Complete MTB Skills Bundle
Final Thoughts
Progress through these in order if you're starting out, small takeoffs first, then tabletops, then doubles. Don't skip steps just because a jump looks easy. Focus on body position, speed control, and clean takeoff and landing technique, and everything else gets easier from there.